Easy 3 Ingredient Whole Wheat Artisan Boule Recipe
Are you a beginner baker looking for an easy 3 ingredient whole wheat artisan boule recipe? I’m sharing the NO-KNEAD, NO-FAIL bread recipe that I have used since I first started baking bread!

Sometimes I feel like making a fancy, artisan loaf of bread. When I do, I go for an easy yeast boule of bread. And since freshly milled whole wheat flour has the most flavor and nutrients, that’s what I use.
3 Ingredient Whole Wheat Artisan Boule Recipe
Homemade bread is delicious and more nutritious than what you can buy at the grocery store. Using just three ingredients, you can make your own beautiful loaf of whole wheat bread!
This recipe is so delicious that it’s hard to believe how incredibly easy and forgiving it is. Like I mentioned before, this recipe was the one that I started with when I had zero experience baking my own bread. It turned out great then, and it still turns out great every time I make it!

Ingredients
Flour – I like to grind my own flour so that it’s fresh. I use a mixture of soft white wheat and hard red wheat because it has a more complex flavor and texture. Use what you have, though. All-purpose flour and ancient grain flour works, too.
Salt – Use good quality fine sea salt. I prefer Redmond Real Salt, but use what you have.
Yeast – Make sure your yeast is fresh. You can use either fast-acting yeast or regular granulated yeast. To be sure that your yeast is fresh, put 1 ½ tablespoons (or 1 ½ packets) of it into a cup of lukewarm water, give it a good stir, and check on it in 5 minutes. If the yeast “blooms” and gets a nice dome top on it, it’s good to use. Don’t throw out your yeast water…you can use it in this recipe!
Water – You will need lukewarm water (about 100°F or just slightly warmer than your body temperature) for this recipe. I love the taste and purity of my Berkey water filter.
This post contains affiliate links, which means I make a small commission at no cost to you. See my full disclosure here.
Tools you may need
Large mixing bowl with lid – You can use any container and lid that you like. I most often use a large, rectangular Rubbermaid container. It fits nicely in my fridge and is large enough for me to mix the dough inside it. It’s also spacious enough to allow the dough to double and rise without overflowing.
Danish dough whisk – You can also use a wooden spoon.
Dutch oven – You can also use a cast iron skillet.
Parchment paper
Bread lame – This is optional since a sharp knife will work, too. But if you want to do some fancy cutting on top of your loaf, a bread lame is an option you can use.
Wire cooling rack
Cutting board
How to Make 3 Ingredient Whole Wheat Artisan Boule (Bread)
Get out your ingredients and tools. This recipe makes four delicious 1-pound loaves.

The three ingredients you need are 6 cups of freshly milled flour (or 6 ½ cups of flour from the store), 1 ½ tablespoons of salt, and 1 ½ tablespoons of granulated yeast. You’ll also need 3 cups of lukewarm water, but I don’t consider that an “ingredient”, per se.

In a large mixing bowl or similar container, mix together the flour, salt, and yeast.

I use my Danish dough whisk to mix it all together. It doesn’t take more than 30 seconds.

Next, pour in 3 cups of lukewarm water, and whisk it together with a Danish dough whisk or long wooden spoon until it forms a loose, lumpy dough.

It won’t look too pretty at this point, but you don’t want it to be too wet or “shaggy” as some say. Just be sure you scrape your bowl and mix until you don’t see any dry flour left.

Set the lid over your bowl loosely and let it rest for 2 hours until it doubles in size. You will see some nice bubbles in your dough when the time is up.

After your dough has risen, set the lid on it loosely. Then put it inside the refrigerator for at least 2 hours so that it’s easier to work with. If you plan ahead, you can make your dough in the morning and bake a fresh loaf in the afternoon!
When you’re ready to bake…
After your dough has been refrigerated and you’re ready to bake a boule of whole wheat artisan bread, dust the surface of your dough with a bit of flour.

Line your Dutch oven or a cast iron skillet with a piece of parchment paper.

Then, grab a 1-pound (grapefruit-sized) piece of dough. If the dough is too sticky to work with, dust with some more flour. And remember to use more flour or less water the next time you make your dough. Every kitchen is different.
Tip: If dough is stuck to your hands, put extra flour in your hands and rub them together over your dough bowl until the dough falls off.
Gently stretch the top of your dough downward and pull it around to the bottom of the dough. Rotate the dough in your hands as work. The goal is to make the top as smooth as possible.
Place the ball of dough onto the parchment paper, and let it rest uncovered for 40 minutes. It will rise.
After 20 minutes, preheat your oven to 450°F. This is an optional step, but if you want to make a design in the top of your loaf, then dust the top of your ball of dough with some flour. Then, slash it using a sharp knife or bread lame with a ¼-inch-deep cross, scallop, or hashtag pattern. This helps the dough to rise and expand evenly during baking.
When your oven has reached 450°F and your dough has rested for 40 minutes, put it into the center of your oven.
Bake uncovered at 450°F for 30 minutes, or until the outside is browned and firm to the touch. Use caution removing it from your hot oven after baking!
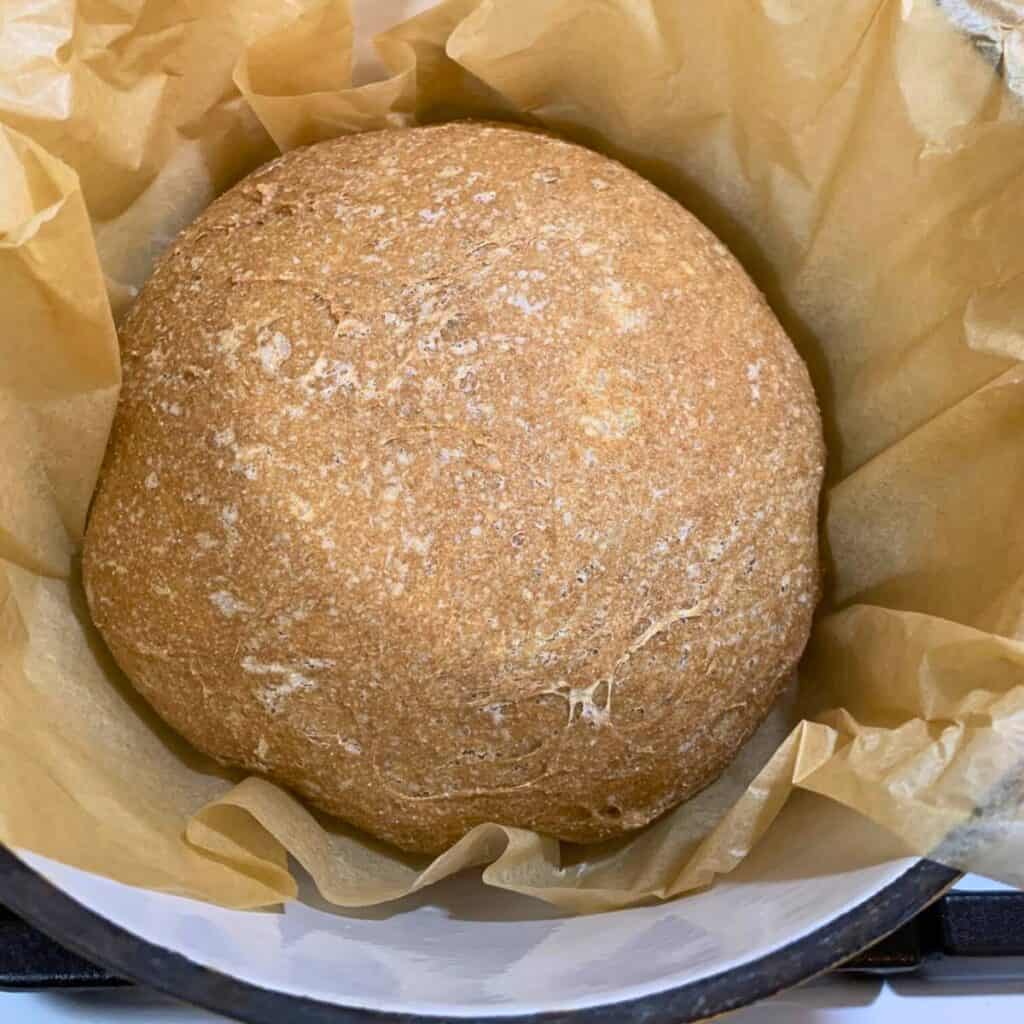
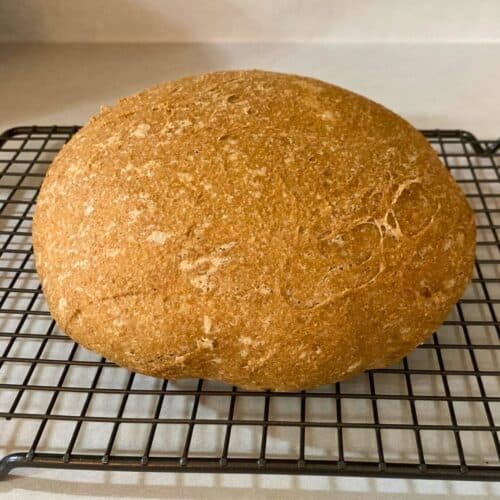
Being careful not to burn yourself, grab the parchment paper and gently lift your bread out of the Dutch oven, and set it on a wire cooling rack.
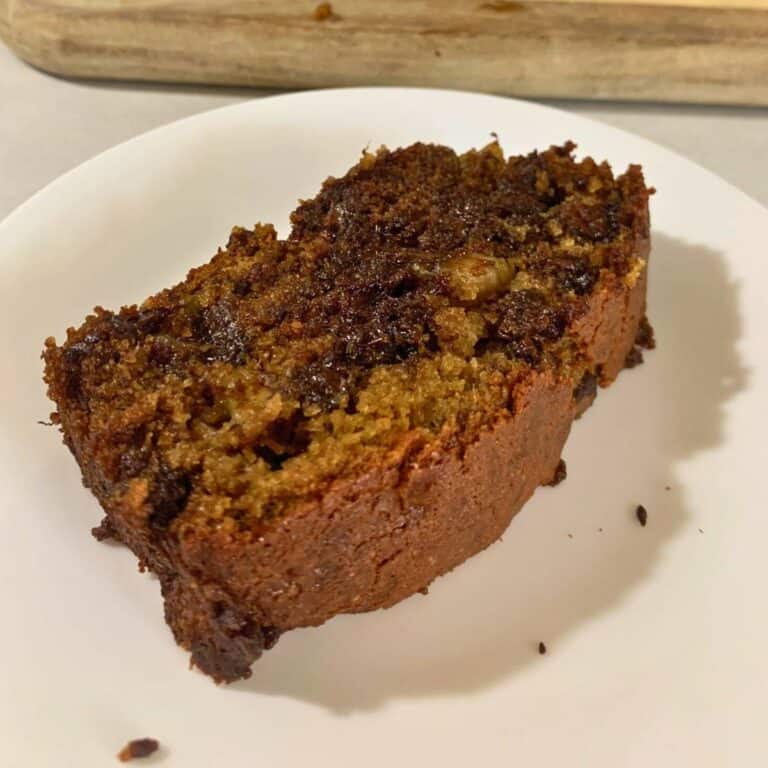
If you can resist the urge to slice right into it, the texture is better after your boule of whole wheat artisan bread sits for 15 minutes. And that’s all there is to it! Store your unused bread dough in your refrigerator and use it up within a week. This bread is great for sharing with friends and family.
Recipe Card
Easy 3 Ingredient Whole Wheat Artisan Bread
Equipment
- large mixing bowl with lid or similar container
- measuring cups and spoons
- Danish dough whisk
- Dutch oven (or cast iron skillet)
- parchment paper
- small mixing bowl (optional)
- bread lame (optional)
- wire rack
- cutting board
Ingredients
- 6 cups freshly milled flour, plus more for dusting (up to 6 ½ cups if using flour from the store)
- 1½ tbsp granulated yeast (same as 1 ½ packets)
- 1½ tbsp sea salt
- 3 cups water (about 100℉)
Instructions
- In a large mixing bowl, mix the flour, yeast, salt, and water with a wooden spoon or dough whisk. The dough will be very lumpy, but there shouldn't be any dry fly left. If so, add a bit more warm water.
- Cover the bowl or container loosely with a lid and allow it to rest at room temperature for 2 hours. It will double in size and rise if your yeast is fresh.
- Refrigerate the dough for at least 2 hours so that it’s easier to work with.
When you're ready to bake a loaf:
- Line a Dutch oven or cast iron skillet with some parchment paper.
- Dust the surface of your dough with flour. Grab a 1-pound (grapefruit-sized) piece of dough. If the dough is too sticky to work with, dust with more flour and use more flour or less liquid the next time you make your dough.Tip: If dough is stuck to your hands, put extra flour in your hands and rub them together over your dough bowl until the dough falls off.
- Gently stretch the top surface of the dough around to the bottom, rotating as you go. The goal is to get the top as smooth as you can.
- Set the dough ball onto the parchment paper, and let it rest uncovered for 40 minutes. After 20 minutes, preheat your oven to 450℉. If you desire, dust the top of your dough with flour and slash it with a ¼-inch-deep cross, scallop, or hashtag pattern. This helps the dough to rise and expand during baking.
- When your oven is heated and your dough has rested for 40 minutes, slide it into the center of your oven.
- Bake at 450℉ for 30 minutes, or until the outside is browned and firm to the touch.
- When your artisan loaf is fresh out of the oven, pull up on the parchment paper to remove the loaf and set it onto a wire rack to cool evenly. Try to resist the temptation to cut right into it. The texture is better if you let it rest for at least 15 minutes first.
Want to turn yeast bread dough into sourdough bread dough?
Want a trick to turn yeasted bread dough into sourdough? If you’re unsure of how to get started with sourdough, let me help with a trick to convert yeast dough into sourdough!
All you have to do is follow the recipe as it’s written above. You can bake yeasted bread right away, and the extra dough is kept in your refrigerator in a covered dish or other container.
The next time you grab a chunk of your dough to make a loaf of bread, add equal parts of water and flour to your container to fill it back up again! Stir it in the best you can to mix the new and old dough together, but don’t stress out over it.
Over time, your dough will change from a yeast dough into sourdough! Just be sure to put your dough into a clean container at least once per week or you may find mold. At least until you get a nice, mature sourdough going, which won’t get moldy.
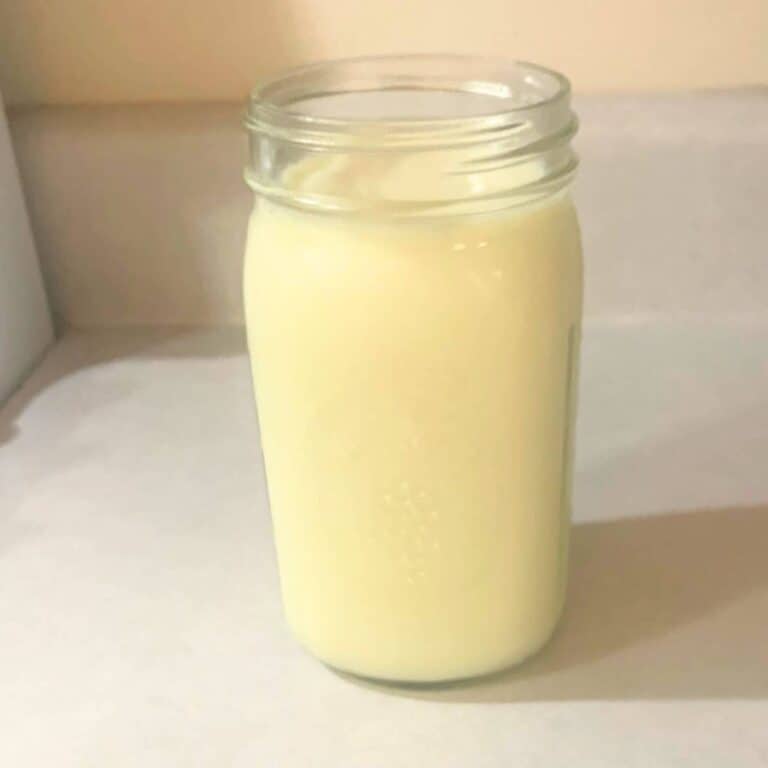
Alternatively, you can use cultured buttermilk in lieu of water and your leftover dough will become sourdough over time!
Shop This Post
NutriMill Classic High Speed Grain Mill
hard red wheat berries, organic (Azure Standard)
soft white wheat berries, organic (Azure Standard)
Pin It For Later!