How to Start Homesteading: 20 Practical Steps
If you’re curious about how to start homesteading, these 20 practical steps can get you started today!

Homesteading is hard work. But if you want a more self-sufficient lifestyle, consider starting your own homestead.
That said, it’s also full of a lot of joy and contentment. You don’t need to start a homestead if you’re afraid of hard work. But if you’re not afraid of learning new skills, you can literally start homesteading right where you’re at! Don’t wait for your dream property before you get started!!
Homesteading is a mindset…not a location. You can be a “homesteader” right where you’re at!
If you dream about being more self-sufficient but think it’s out of your budget, I want to encourage you to start where you’re at. Bloom where you are planted!
I’ll go over some homesteading options available for every budget plus tell you some tips and tricks that we’ve learned since being on the farm. Even if you have a healthy budget to launch your homesteading dreams, take a look at my list below to see if you want to add something you may have overlooked!
This post contains affiliate links, which means I make a small commission at no extra cost to you. Read my full disclosure here. Thanks for your support!
How to Start Homesteading
The homesteading lifestyle includes a lot of work, figuring out solutions to problems, and getting creative with what you have.
The list below is not exhaustive and you might be able to do some things from many of these sections.
- Learn a new skill.
- Cook from home.
- Start some seeds to grow your own food.
- Make your own sterile potting soil.
- Start preserving your food.
- Buy in bulk.
- Start an outdoor garden.
- Add some chickens in a stationary chicken coop.
- Start a compost pile.
- Add a setup in your house for starting seeds.
- Add semi-dwarf fruit trees to start an orchard.
- Add meat rabbits.
- Add a feeder pig or two…or turkeys or ducks.
- Get a freezer.
- Get a dairy cow.
- Get a dairy goat.
- Buy food preservation appliances and/or harvesting equipment.
- Add beef steers, sheep, or other livestock.
- Collect firewood.
- Add implements, infrastructure, and streamline farm processes.
How to start homesteading with no land and no money
First off, don’t be ashamed! This category is where being more self-sufficient is most important. Necessity is the mother of invention, so be creative where you can to save money.
Here are some ideas when you have no land and no extra money to spend but want to learn how to start homesteading.
1. Learn a new skill.
The first step toward homesteading is to learn some new homesteading skills from public library books, YouTube, internet blogs, and your local county extension office. It’s also a great way for continuing education so you can keep learning basic skills no matter where you are on your journey.
I LOVE to go to public libraries. If you have a good public library where you live, you can find all sorts of helpful books and videos to learn new homesteading skills.
And if your local library is a little bit deficient in any homesteading areas that you might be interested in, ask the librarian if they are partnered with other libraries that do have the books you’re interested in. In that case, the other library can send the books you want to your library and your library will hold it for you.
Also, you can ask your librarian to order certain books. They usually order books every year and it doesn’t hurt to ask if they can order some that you’re interested in.
The library is also a great place to meet like-minded people that you can talk to. Try to cultivate a community of friends. Community is very important to homesteaders. You can always bounce ideas off each other, barter with each other, and help each other out.
Here are some suggested homesteading skills for you to learn:
Basic Carpentry, Plumbing, and Electrical Skills
Homesteaders need to have basic carpentry, plumbing, and electrical skills, because we build and repair all sorts of things.
From building coops, barns, and installing fences to repairing water pipes, installing irrigation for animals or gardens, and running electric fencing, getting a baseline of knowledge in advance will be beneficial and help keep you safe.
It can also save you a lot of money if you can do these chores yourself.
Tip: Durable and high quality tools will be more expensive up front if you have to buy them, but they will hold their value and continue working long after cheap tools break. If you don’t have a tool or can’t afford it, maybe a friend or family member can let you borrow theirs until you get a tool for yourself.
Herbal Medicine
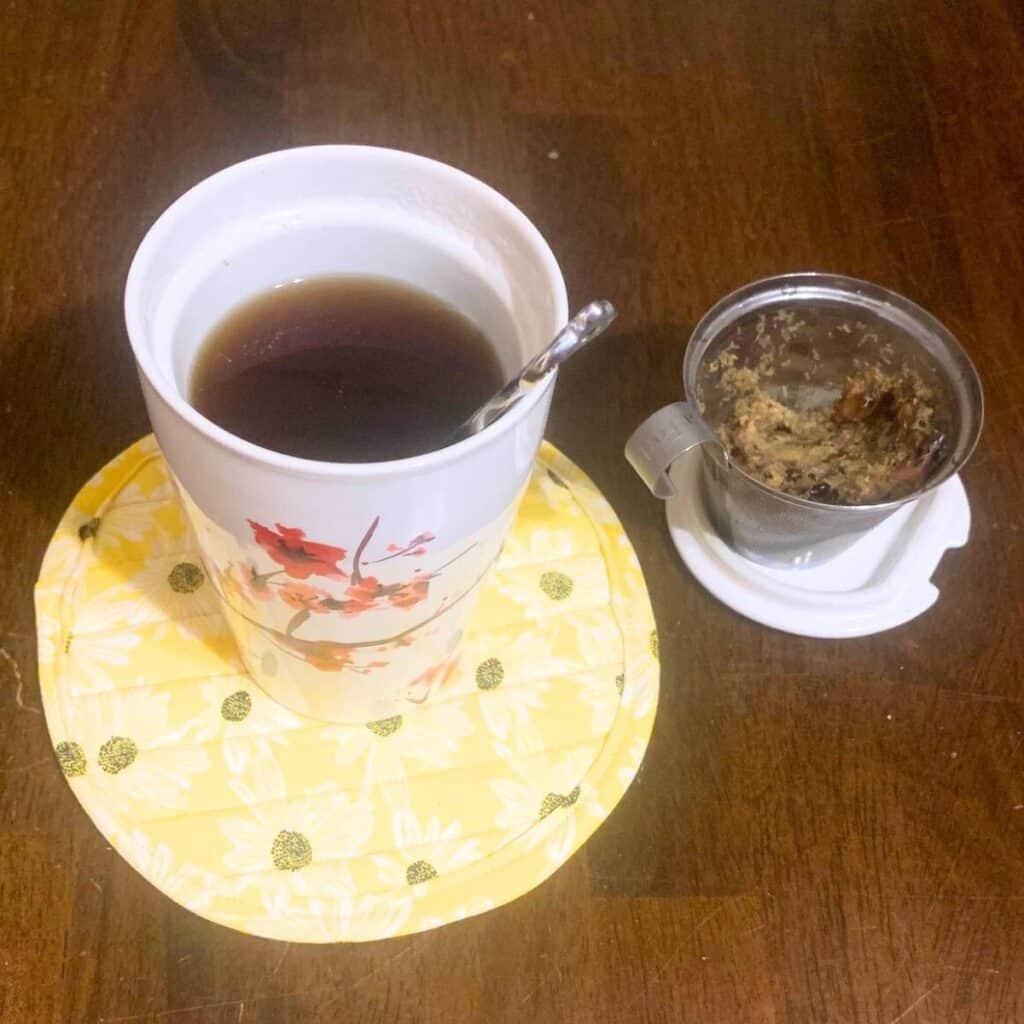
Herbal medicine knowledge will come in very handy. If you or your animals get sick on your homestead, learning some basic first aid and how to make herbal home remedies are convenient and will save you money in the long run.
You might not be able to rush off to a veterinarian if your horse’s leg gets caught in a fence or if a predator injures one of your chickens. It’s also nice to make herbal remedies if you get a cold or the flu. Knowing how to heal yourself and your animals will save you time and money.
I wrote a post on how I make antiviral elderberry syrup every year. It’s simple!
There is a learning curve when you get started down this road, so the sooner you can get started learning and applying your knowledge, the better. Also, it doesn’t necessarily have to cost anything! You might be surprised to learn about native plants that grow near you that have medicinal uses!
Starting and Saving Seeds
Another free homestead skill is to read everything you can on starting and saving seeds. There are some great books available that will help you learn how to successfully start a vegetable and herb garden.
And if you want to have a sure supply of garden seeds in the future, it will be important to know which plants you can plant together and which ones that you should not plant around each other so that you don’t cross-pollinate plants and get hybrid seeds.
If you need to hide your fruit and vegetables from the Homeowner Association’s prying eyes, try mixing flowers, herbs, fruit, and vegetables in an aesthetically pleasing way. And if you don’t have land of your own, look for a community garden near where you live.
You might be surprised how many different things you can grow in a small space.
Animal Husbandry
Learning how to breed and care for animals (a.k.a. “animal husbandry”) is important if you plan on having livestock on your homestead.
One of the reasons my family moved to a farm in 2020 was so that we could disconnect from the industrial food system. We wanted the flavor, freshness, and nutrition of local food and to grow as much fruit, vegetables, and meat as we could.
But we also didn’t want to support commercial feed lots that raise animals in a disrespectful way. I love being able to meet one of our basic needs by raising and harvesting our own meat.
Personal Care Products
When you start this new lifestyle of living off the land and eating what you produce, it’s a slippery slope to starting to make your own personal care products like deodorant and soap.
The first thing that I ever learned to make was homemade deodorant and I couldn’t believe how well it worked! You probably already have the ingredients in your pantry for a good, basic deodorant!!
2. Cook from home.

Homesteaders cook a lot…generally because they’re too far away for delivery or drive-through. But it’s also because we grow some of our own food and enjoy the fresh flavors.
A cheap way to start living like a homesteader is to start cooking more from your home. Not only will it save you money over the long run but cooking at home is generally healthier.
Choose to cook meals that you can make from scratch from actual food ingredients. Avoid the center aisles at the grocery store that’s full of processed and pre-packaged foods. They’re more expensive and generally not that healthy.
When you cook from home, try to eat with the seasons so that your groceries don’t get expensive.
Remember that cooking is a skill that gets better over time. Start off by baking your own bread.
Helpful recipe blog posts when learning how to start homesteading:
Below are some blog posts I’ve written to help you succeed.
How to Make Easy Sandwich Bread
Delicious and Crispy Roast Chicken and Veggies Cooked in Cast Iron
How to start homesteading with a little land and less than $50
3. Start some seeds to grow your own food.
Urban homesteaders can start a window sill garden, porch container garden, or small vegetable garden on your plot of land. Try to stick with high-yielding fruit and vegetables that mature quickly and give you a great yield.
Most summer squash are easy to grow and produce an abundant crop that can be used for fresh eating, baked into breads (think zucchini bread), and chopped for adding into soups and stews. I wrote a post on when and how to pick zucchini for the best harvest, if you’re interested in learning more!
A pack of seeds is pretty cheap and you can get a lot of food in return for your labor. However, buying several packs of seeds can get expensive fast.
See if you can get some friends or family together and share the purchase cost and the seeds. You probably don’t want to plant 50 of the same tomato plant even if you did have access to a lot of land.
Also, you don’t need fancy terracotta pots or half wine barrels for your window sill garden or porch container garden. Plastic pots also work! They just need to be monitored and watered more frequently.
When you start your seeds, be creative and look for free pots. You can re-use old plastic salad tubs, empty egg cartons, or any container that has holes in the bottom or that you can poke holes into (yogurt tubs, etc).
Helpful gardening posts when learning how to start homesteading:
Gardening: Is Clay Soil Acidic (Low pH)? Growing at least some of your own food can save a lot of money on feeding your family. But since most fruits and vegetables prefer a slightly acidic soil, it’s important to know your soil’s pH level. Where I live, we have red clay soil and I’ve often wondered while gardening if clay soil is acidic (low pH). I did some research to answer this question and I hope it helps you garden more successfully.
Laboratory Soil Testing and Resources for Gardeners Soil testing is vitally important if you want to plant and grow anything. Knowing your soil is essential for you to be a successful gardener of any kind.
Signs of Acidic Soil (Low pH) and How to Make it Alkaline Your garden soil may look and feel like fertile soil but that doesn’t necessarily mean that you’ll have the best or healthiest production when you try growing fruits or vegetables. If your soil is too acidic (low pH level) or too alkaline (high pH level), plants can’t absorb the essential nutrients and will suffer.
How Much Worm Castings Should You Add to Soil? Add organic worm castings (vermicompost) to your seed starting mix before sowing your seeds and you’re sure to have healthy seedlings pop up! This post explains everything you need to know to grow your best seedlings with worm castings.
4. Make your own sterile potting soil.
Bagged seed starting mix can get expensive, but sterile soil is the best medium for starting your seeds. So a great idea to save money is to make your own sterile potting soil!
To make your own sterile potting mix, make sure that whatever soil you use from outside has not been sprayed with any pesticide or herbicide or else your seeds will struggle and die. If there’s any doubt about what’s in your outside soil, your local county extension office can help you get your soil tested for just a few dollars.
Oven Method
To make your own sterile potting mix, shovel some outside dirt into buckets, a small trash can, or even directly into a large roasting pan. Spread the soil evenly in your roasting pan and bake it in an oven at 200°F (100°C) or hotter for 1 hour, stirring after 30 minutes.
Soil bugs and weed seeds will die when soil temperatures get that hot. Baking soil may stink up your kitchen, so bake it when your family is out of the house…just in case.
Avoid using the microwave to heat soil, if you immediately thought of that.
Solar Method
Alternatively, you could shovel any soil into a black trash bag, tie it tightly, spread the soil in the bag so that it lays down flat outside, and allow it to heat up on a very hot and sunny day.
Keep it outside the whole, hot afternoon until the sun starts to go down. It should have heated up for long enough to kill the weed seeds and pests.
Once your sterile soil has cooled down, add shredded newspaper (or other paper that’s not glossy) or shredded cardboard such as toilet paper tubes and paper towel tubes. It will add some air pockets into the soil and break down over time. Oxygen is very important for developing roots.
5. Start preserving your food.
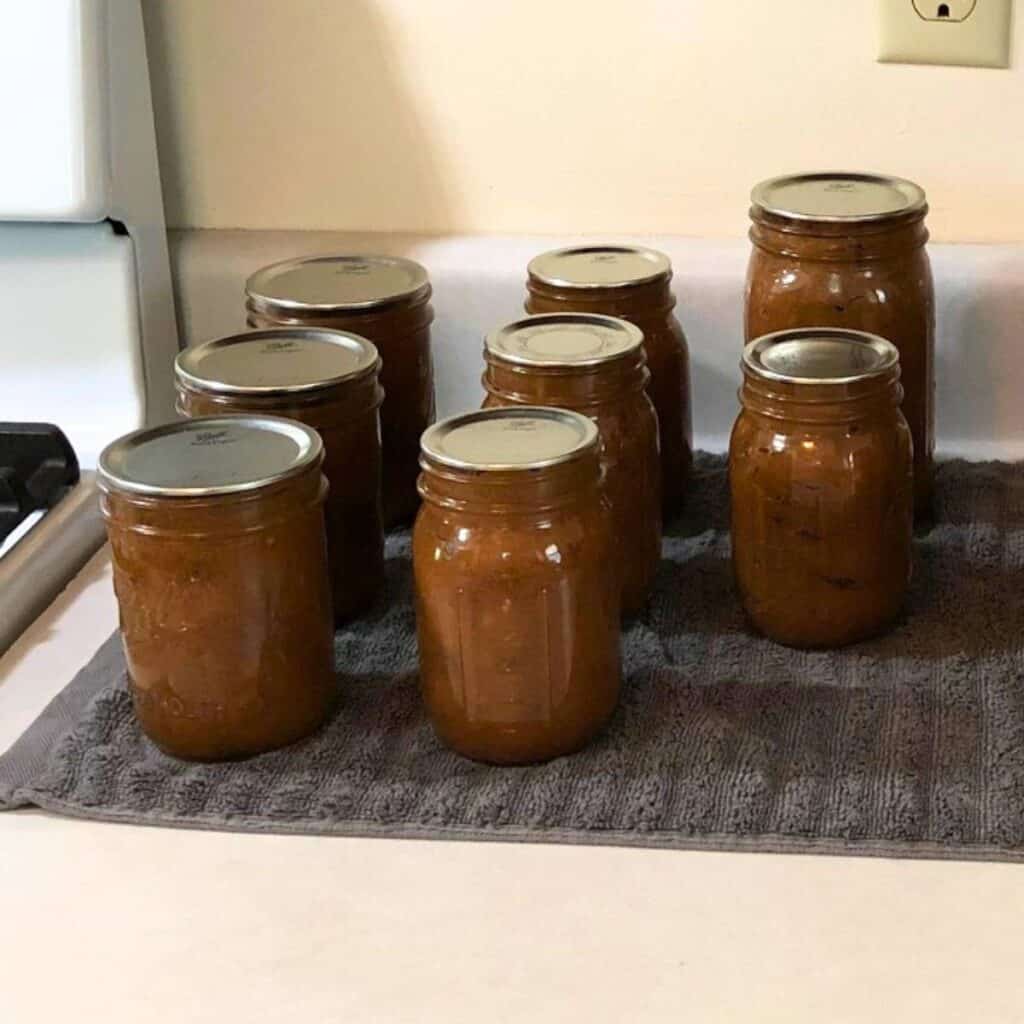
Preserving food at home is another cheap and productive homestead skill that you can develop where you’re at. You can freeze your extra meals, but I want to encourage you to learn how to can foods so that they will be shelf-stable.
Water bath canning is great for beginners. As you get more experienced and comfortable with canning, you can start pressure canning.
Dehydrating is another excellent food preservation skill and you don’t always have to own a food dehydrator. Many things like jerky can be made in your oven.
Here are some of my favorite cookbooks and canning supplies that you will find helpful when learning how to start homesteading.
Helpful canning posts when learning how to start homesteading:
Easy Instant Pot Apple Butter and Canning Recipe
Canning Reduced-Sugar Apple Jelly
How to Make and Can Cranberry Juice
How to start homesteading with no land and $250
6. Buy in bulk.
Start buying staple foods in bulk little by little. Buying in bulk saves money when you do it the right way.
Here are some of the foods that I buy in bulk.
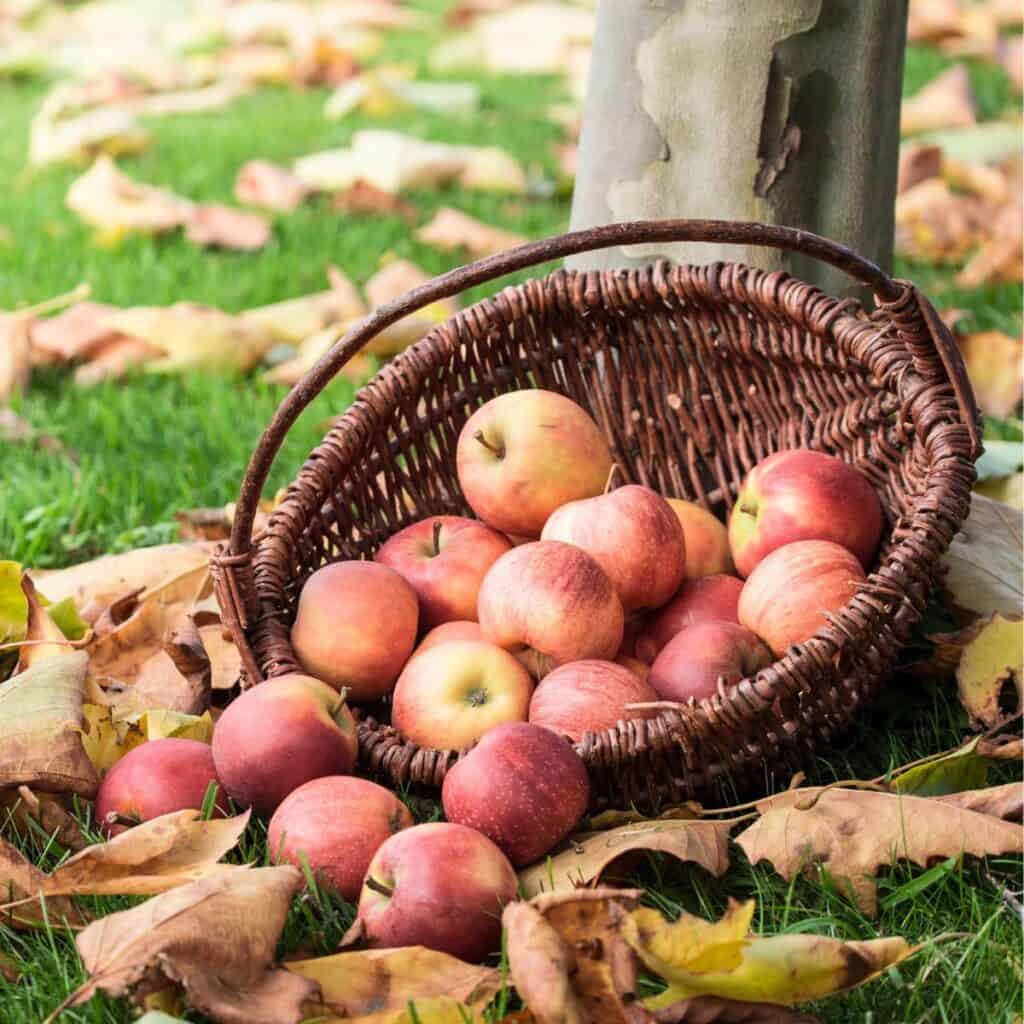
A pound of apples can cost $4 but a 25-pound box of apples should be closer to $50. So that $4 pound of apples suddenly went down to $2 per pound.
Additionally, buying in bulk will help shift your mindset about the cycle of food and general preparedness.
Using the apple example from above, apples don’t grow on apple trees year round. There are seasons. Harvesting apples generally only happens one or two months out of the year.
So when you move to your homestead and pick apples off your apple tree and get several 5-gallon buckets and bags full, you won’t be the least bit overwhelmed and will know exactly what to do with them to preserve them for the upcoming year.
How to start homesteading on a tenth of an acre and $500
You can do a lot of homesteading on a tenth of an acre with $500. All of the previously mentioned ideas are options, plus below are some additional options.
7. Start an outdoor garden.
Start a small garden outside! You can be creative with your front, back, and side yards to get the most food production.
Grow vertically for the most food such as growing pole beans that produce much longer and yield a lot more green beans than the bush bean varieties. All you need are some long sticks you find in the woods or anything else that you have laying around along with some string or twine.
You can also purchase several fruit plants and bushes that will produce for years. Start your own blueberry, strawberry, blackberry, or raspberry patch.
If blackberries grow wild where you live and if you love blackberries, try transplanting some blackberry primocanes when they’re dormant (late winter through early spring) and replanting them in your yard.
Once blackberries and raspberries are established in your garden, you can take cuttings or the new primocanes every year and expand your berry patch as much as you want.
Helpful gardening posts when learning how to start homesteading:
How to Get Rid of Tiny Black Bugs on Tomato Plants – There are several organic methods of pest control that are fast, effective, and simple.
How to Trellis Tomatoes Using the Florida Weave – Learning how to trellis tomatoes using the simple Florida weave method (basket weave) will save you lots of time and space!
8. Add some chickens in a stationary chicken coop.
Chickens are the gateway livestock animal and are the cheapest livestock animal to purchase.
Ordinarily I would recommend that you let your chickens free-range. However, that might not be the best option if you only have a tenth of an acre for them to wander. It would be really easy for them to wander off into your neighbor’s yard.
When you’re building their coop, try to salvage free materials to keep your costs down. Pallets are a great option. It doesn’t need to be anything fancy or expensive. It just has to get the job done.
Check with your local zoning laws and neighborhood covenants before buying those cute baby chicks and building their coop.
If you find that chickens are allowed where you live, call your local feed store or hardware store to see when baby chicks are sold in spring. Also find out what day(s) of the week they receive shipments of baby chicks. Usually they will price any unsold birds for cheaper if they haven’t been sold by the time the next batch of baby chicks arrives. You can get a lot of $1 chicks that way!
You don’t want any baby roosters because they won’t lay eggs and are not required to be around for the hens to lay eggs. And your neighbors will thank you for not having a rooster crow at all hours of the day…not just the early morning.
However, if neighbors are not an issue for you, roosters make great meat chickens!
Helpful blog posts on chickens and eggs:
How much space do chickens need in a chicken coop?
9. Start a compost pile.
With all your gardening debris and chicken droppings, a compost pile is a must. Not only will it recycle all the waste into another useful product (black gold), but the compost will improve your garden’s soil and ultimately increase your garden’s yield.
The compost pile can be just a 4-foot by 4-foot pile of yard, garden, and chicken waste that you keep adding to and turning with a shovel. You don’t need an expensive compost tumbler if you need to keep costs down.
10. Add a setup in your house for starting seeds.
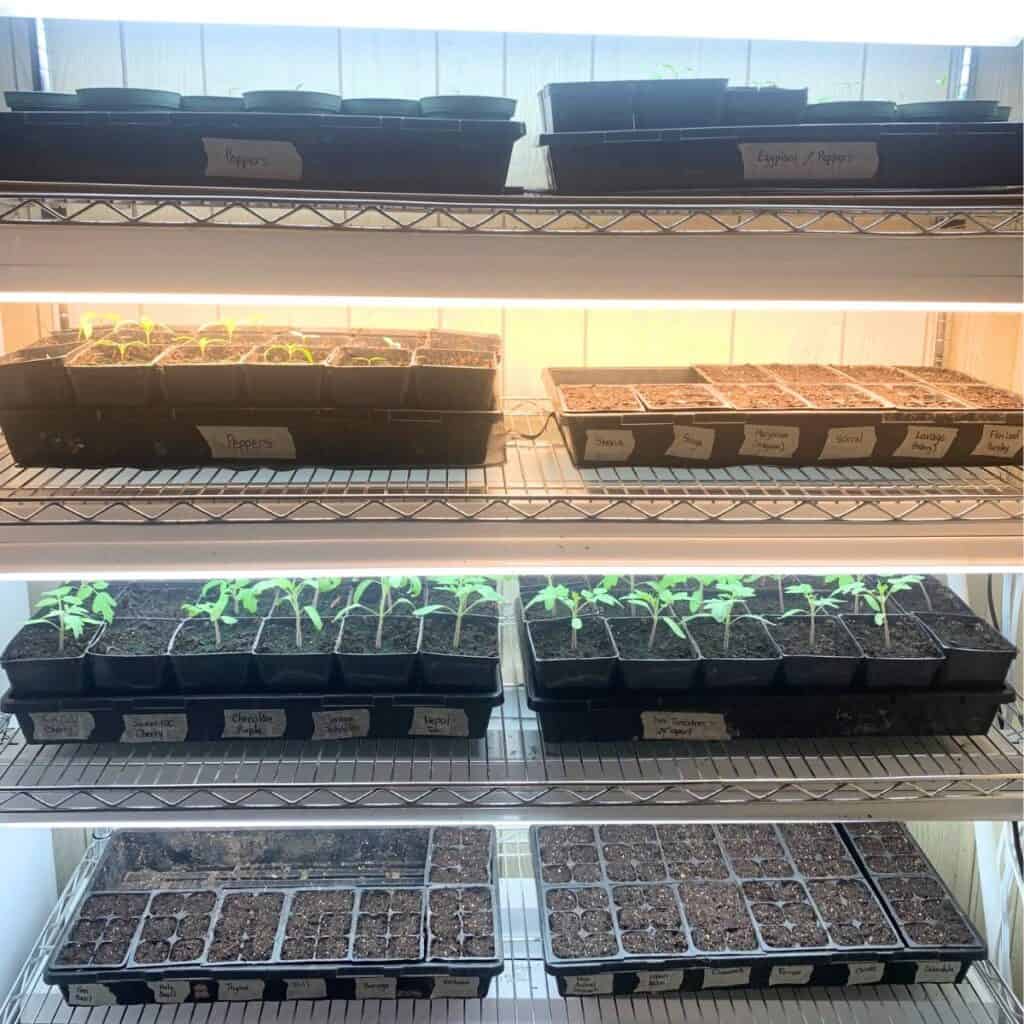
Start and grow plants successfully using fluorescent lights inside your house. Cheap, shop lights work great and that’s how I’ve started my seeds for many years.
Rather than fuss with raising and lowering the shop lights, we just use scrap blocks of wood or other material to raise up the seedling trays to where they are just an inch or two away from the light bulbs. And we lower the trays as the seedlings grow.
If the seedlings are too far away from the light, they’ll grow tall and “leggy” and that’s not ideal. Structurally, you want them to be short and stocky with a thick, strong stem. Keeping them an inch or two away from the lights will allow them to grow thick without growing tall to reach the lights.
How to start homesteading on a quarter to half acre and $1,000
You can do any of the above options but you can also add to your garden or livestock if you have extra land and funds.
11. Add semi-dwarf fruit trees to start an orchard.
You can find some fruit trees for affordable prices. If you’re worried about blocking out the sunlight to your vegetable garden, you can espalier the branches. That’s when you train the branches across one plane so that they stretch wide in two directions but not all four directions. Fruit trees are often espaliered against a fence. They still produce a lot of fruit, though, and the fruit will be easier to harvest.
12. Add meat rabbits.
Meat rabbits produce more meat for less feed than any other livestock and the meat is the leanest of any land-grown meat. So there are good reasons to consider raising them. The New Zealand White and the California are both popular meat rabbit breeds.
You will need to build a rabbit hutch so evaluate your budget before starting. The great thing about keeping rabbits is they can live off grass and their droppings are perfect fertilizer pellets for your garden vegetables. They’re also small, quiet, docile, and a breeding pair can reproduce up to seven times per year. It’s best to only breed the female (doe) four or five times per year, though. Each litter of baby bunnies (kits) are born around 31 days of gestation. The doe can have anywhere up to 16 baby kits per litter but will only successfully nurse 8 or 9 kits.
Tip: You can dry bean and pea vines from your garden to feed your rabbits during winter. You can also feed them storage beets and cabbages from your garden during the winter. With a little work and planning, you can grow enough food for yourself and your rabbits so that you won’t have to purchase food for them.
How to start homesteading on 1/2 to 1 acre and $2,000
With one-half to one acre and $2,000 you can have your hands full of gardening and raising livestock.
13. Add a feeder pig or two…or turkeys or ducks.
If it’s allowed where you live, fence off a section of your yard big enough for two feeder pigs and then run a low electric fence line around the perimeter. A good rule is to have at least 50 square feet per feeder pig. If you raise two feeder pigs, set up the pig pen to be at least 8 feet by 16 feet so they have room to walk around.
Feeder pigs are not that expensive to purchase. The expense comes with feeding them if you don’t have a lot of scraps. While it’s possible to raise pigs this way, it may not be the most economical way to raise pigs. So evaluate your situation.
Alternatively, you can raise some turkeys or ducks but they will need separate habitats from your chickens. Turkeys are much larger than chickens and will need a taller shelter. Ducks really enjoy having a little pool of water in their shelter to swim and splash around.
14. Get a freezer.
When you start producing a lot of fruit, vegetables, and meat, having an extra freezer to preserve your abundance will come in handy. As you expand your food production, you may have to buy multiple freezers or build a cold storage room.
I prefer standing freezers rather than chest freezers. Standing freezers often have auto-defrosts where the chest freezers that I’ve seen are all manual. Also, it’s easier to see what you have in a standing freezer because of the shelves. Chest freezers tend to hide the items at the bottom so it’s harder to cycle through the food you have.
How to start homesteading on 2 to 5 acres and $5,000
This is where it gets more exciting. With more land and a bigger budget, you can buy bigger livestock!
15. Get a dairy cow.
Getting your first dairy cow is a memorable day. I still remember the day that Belle arrived on our farm like it was yesterday. I didn’t grow up around cows and immediately thought I had made a mistake because she was so large and intimidating. Now that I’ve been around her every day for close to two years, I realize how small and perfect she is. She’s a mid-size Jersey cow.
If you don’t have a lot of pasture, get a mid-size cow or smaller. They don’t need to eat the quantity of grass and hay that standard large cows need just to maintain their body weight. It takes less food for them to maintain their body weight and produce milk.
We paid $2,500 for Belle plus an extra $300 to get her from Ohio to Alabama. If you’re curious, I wrote a post on how much milk a Jersey cow produces plus how long it took our cow to pay for herself.
You can graze a dairy cow and her yearly calf on 5 acres if there’s enough green pasture. Of course, this will depend on the quality of your pasture. But keep in mind that you can always improve the quality of your pasture simply by grazing it with ruminant animals. As the years go by, the pasture will improve.
If there’s not enough green grass to support cattle, you can start off with a dairy goat.
16. Get a dairy goat.
As mentioned above, if you don’t have enough good quality pasture to support a dairy cow and her calf, just get a dairy goat! You’ll still have fresh, raw milk and your land will be able to sustain it.
Fencing is important if you keep goats, so make sure your fences are strong. You may also need to attach a hot wire to electrify your fence to keep them in.
17. Buy food preservation appliances and/or harvesting equipment.
Adding food preservation appliances like a pressure canner and food dehydrator can open the doors to more food preservation techniques. As you produce more of your food, be on the lookout for appliances you want at garage sales and thrift stores. You might be able to find some really good deals!
Harvesting equipment will also make things easier on you. I really love our feather plucker (similar to this feather plucker) that we use when we harvest our chickens and turkeys. It saves so much time and energy.
How to start homesteading on 6 to 10 acres and $7,000
You can produce more of your food when you have more land and funds. In addition to all the above, you can add the below options.
18. Add beef steers, sheep, or other livestock.
With more land to graze your animals, you can support feeding a beef steer every year for your family’s needs. When you get around 10 acres, you can raise several beef steers and sell them for profit!
If you want to branch out and get a few sheep, goats, or llamas, you can graze them well on six to ten acres. Just don’t bite off more than you can chew and get too many animals for you to properly manage.
Add livestock breeds to your homestead one by one so that you can master taking care of them before adding other breeds of livestock.
19. Collect firewood.
If some of your land is wooded, you may want to consider collecting and storing firewood to be more self-sufficient during winter.
Winter fuel costs are always rising. Did you know that anything that produces heat uses far more electricity than appliances that chill or freeze? That’s why your microwave, dishwasher, stove, hot water heater, A/C heating (and air), and clothes dryer need their own dedicated electrical breaker. But you can have several freezers in your basement on the same circuit and never flip the breaker (wink wink).
How to start homesteading on more than 10 acres and $10,000
20. Add implements, infrastructure, and streamline farm processes.
Equipment
At a certain point in your homesteading journey, you may want to invest in some farm implements to make your life easier. A livestock trailer will come in handy when you need to transport your farm animals to the butcher.
You don’t have to buy every piece of equipment you’ll need if you won’t need to use it all the time. Search your local area for farm equipment you can rent by the day like a livestock trailer, tractor, hay baler, etc.
You may also want to install solar panels if you desire off-grid living.
Ponds and irrigation
If you have a lot of animals, they’ll need access to a lot of water. If you don’t already have water in the pasture where your animals graze, you will have to manually haul water to fill their water troughs. As time and funds allow, you may want to consider earth works like building a pond to capture rainwater. You can also run water pipes to your pastures if ponds aren’t an option.
Shelter and other infrastructure
Smaller livestock will need protection from predators but even larger livestock could use shelter.
When your dairy cow or dairy goat have their babies, you’ll need to separate the baby from the mama at night so you can milk your dairy animal in the morning. It’s nice to have a barn stall to put the baby in for the night so they’ll be dry, warm, and protected.
Streamline processes
As you get more experienced, you’ll see what works and what can be improved on your homestead. Try to streamline your farm processes for time efficiency and fiscal efficiency.
Every homestead is different because the people who live there are different and have different goals.
How to Start Homesteading: Takeaway
I hope this post helps you understand that there are a lot of homesteading options available for every budget. I want to encourage you to get started learning how to start homesteading today!
I’m a firm believer that you can bloom where you are planted. Whether you’re in an urban setting and have a small backyard, or you live on a big farm with family members, you can start to live self-sufficiently today!
Leave a comment.
Leave a comment if you found this helpful or if you have any more tips!
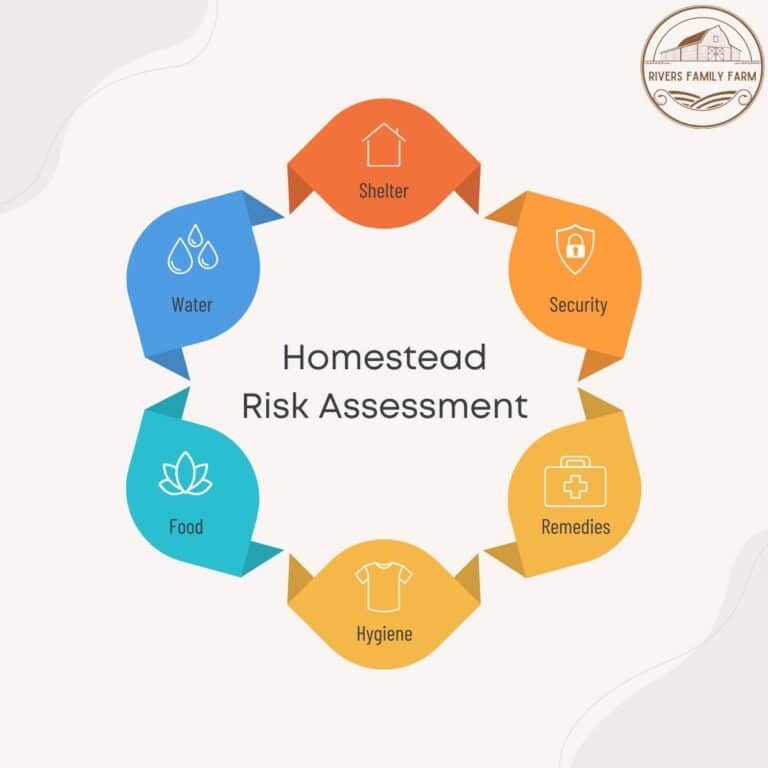
Take the Homestead Risk Assessment Quiz!
Are you interested in a free tool that can help you see how prepared you would be whenever life happens? I developed a Homestead Risk Assessment Quiz that can help you!
Pin It For Later!
Other Related Posts
Gardening: Is Clay Soil Acidic (Low pH)?
How to Hatch Eggs Using an Incubator
Signs of Acidic Soil (Low pH) and How to Make it Alkaline
Laboratory Soil Testing and Resources for Gardeners
How Much Worm Castings Should You Add to Soil?
Why Living in the Country is Cheaper


Wow great job! This was a lot of brain work but is super helpful. I’m in the first few categories with being in a rental, but I’m definitely doing all I can to learn and grow where I’m at now. You really can do a lot in a small space. Thanks for sharing!
This is so important. I find our culture tends towards saying you’re not ‘X’ unless you do ‘ABCDEF’. Finding out how to do what you can with what you have is so great. I love seeing the thoughtful ways of levelling up on things.
we live right inside the city here so our ability to homestead is limited, not to mention time constraints related to 3 very young boys who aren’t extremely helpful yet. We’re dong what we can though-we have 8 chickens, 9 different 4ft by 8ft raised gardens and have tried to cover the property with high bush blueberries, raspberries and fruit trees. The idea for homemade sterile potting mix is something I’ve never thought of but my frugal spirit definitely gravitates towards. My wife is already cooking everything from scratch and preserving everything that’s edible so I feel like meat rabbits are the next step in our budget/property size.
These are all wonderful & helpful tips. I just started saving seeds & also have been expermenting with rooting seeds from fruit. Great post!
What a comprehensive and I thoughtful post. Thank you for sharing, I’m inspired!