How long does homemade apple butter last in the fridge?
This post may contain affiliate links. Please read our disclosure policy.
How long does homemade apple butter last in the fridge? Well, I’m happy to take you on a deep dive into all there is to know plus a recipe for delicious homemade instant pot apple butter! It is so simple to make! When the apples come in this fall, make sure to add apple butter to your To-Do List. I also love to make easy baked cinnamon apples, and skillet pork chops with caramelized apples, reduced sugar apple jelly, cranberry-apple jelly, and apple scrap vinegar.
Fall eating should always include something with delicious apple butter on or in it! The spices add warmth to dishes that make it ideal for fall and winter cooking and eating.
Who can resist the lovely fragrance of apples simmering away? The kitchen smells so good with the apples and all the warm spices used to make this apple butter. I’m sure you’re going to love it, too!
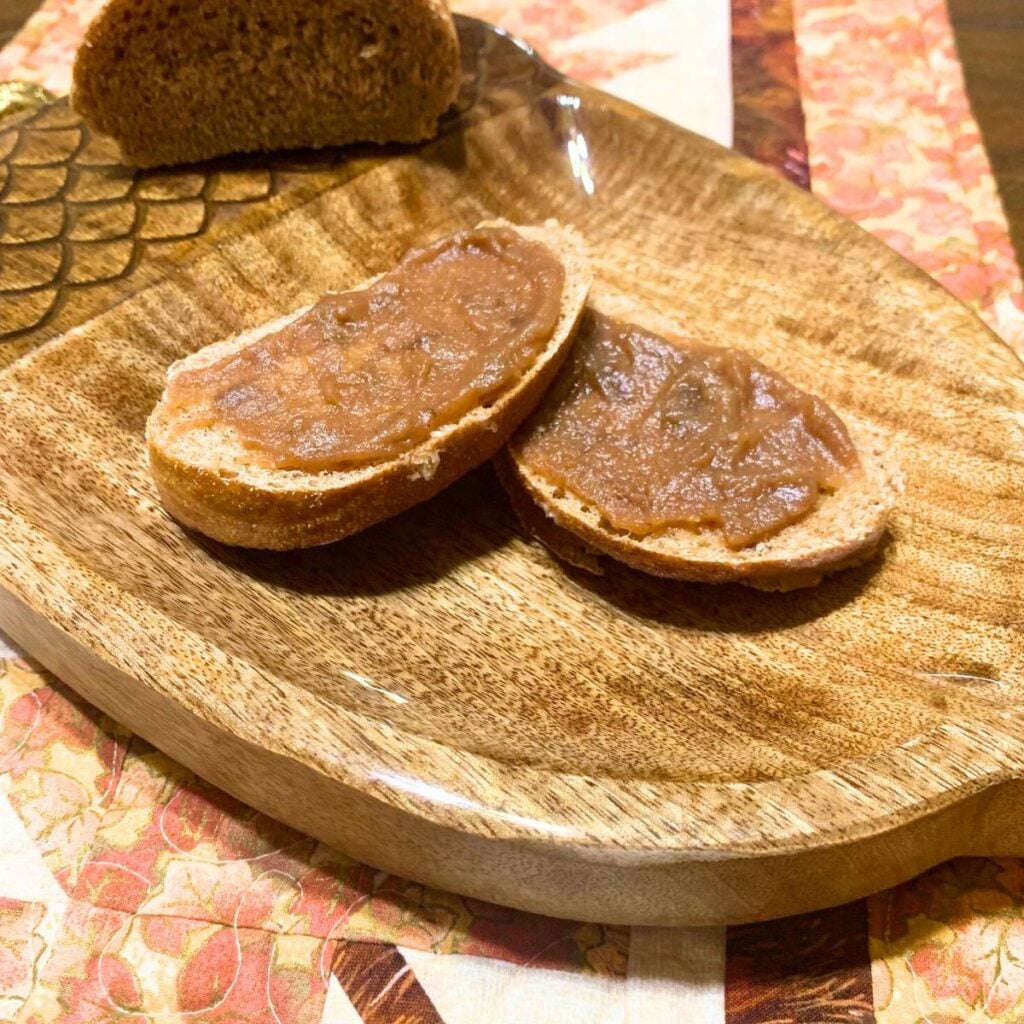
Apple butter is delicious on sandwiches and biscuits or toast but our favorite way to eat it is stirred into some hot oatmeal. We add some mashed banana and apple butter to every batch of plain oatmeal and it’s simply THE BEST!

How long does homemade apple butter last in the fridge?
Homemade apple butter can last up to 3 months in the fridge if it is first water bath canned, but only a couple weeks if it is not processed in a water bath canner first. Other variables that affect the shelf life include the acidity of the apples, whether or not you add extra citric acid in the recipe, and how clean your jar and utensils are when you prepare the apple butter. Also, be sure that the temperature in your fridge is colder than 36°F.
For the best quality, store opened jars in an airtight container in your fridge. Mason jars used in hot water bath canning are perfect. If you didn’t process your jars of apple butter first, don’t worry. Store as much as you think you’ll eat in a week, and store the rest in a freezer-safe container in your freezer. You can pull out jars as you need them!
How to Make Instant Pot Apple Butter
This homemade apple butter recipe has a concentrated apple flavor from tart apples. It’s a versatile, no fuss recipe. You can adjust the seasonings to your taste, but I’ll give you a slightly sweet and moderately spicy apple butter recipe.
You can make apple butter in a crock pot but my favorite way to make it is by using my instant pot.
I don’t recommend using this recipe on a stove because it needs to cook for 30 hours and it’s not a good idea to have your stove going when you’re asleep. Plus, it’s fussy to keep your apple butter from scorching at the bottom.
Before I got my instant pot, I used to make apple butter in my big crock pot. It turned out great each time I made it, so if you don’t have an instant pot, the recipe is the same for using a crock pot.
Ingredients

Apples – You’ll need about 25 to 30 medium-sized apples to start with and more for later. It’ll be worthwhile to use a variety of apples to get a greater depth of flavor but use what you can get. Golden Delicious and Jonagold or Gala pair well together. I like to use granny smith apples because we have those apple trees growing on our farm.
Sugar – Use cane sugar or brown sugar for this recipe.
Ground Cinnamon – Ceylon cinnamon is the best but use what you have on hand.
Ground Allspice – This spice is aromatic and warm with a nice kick for apple butter.
Ground Cloves – Cloves are sweet with undertones of pepper and camphor…perfect for apple butter.
Tools you may need
Measuring Cups
Measuring Spoons
Long, Wooden Spoon
Spatula
Instructions for Making Instant Pot Apple Butter
First, get out your ingredients for the apple butter.
Wash, core (save your scraps for making apple scrap vinegar, apple cider, reduced-sugar apple jelly, and even cranapple jelly), and chop enough apples to fill up your instant pot. I leave the peel on the apples because that’s where most of the nutrients are. Once it’s blended up, the peels almost disappear!
Also, don’t add any water regardless of if you’re using a crock pot or an instant pot. The juice from the apples will be released during the slow cooking process.
Then add 2 cups of sugar, 2 tablespoons of cinnamon, 1 teaspoon of ground cloves, and 1 teaspoon of ground allspice. Mix well with a wooden spoon or spatula.
Add your lid to your instant pot, push the “crock pot” or “slow cook” button, set the heat to “low,” set the timer for 10 hours, and then set your lid to “vent” mode. The “keep warm” option on your instant pot should also be on just in case you’re busy (or sleeping) 10 hours after you do this step.
10 Hours Later…
After 10 hours, take your lid off and give your apples a stir.
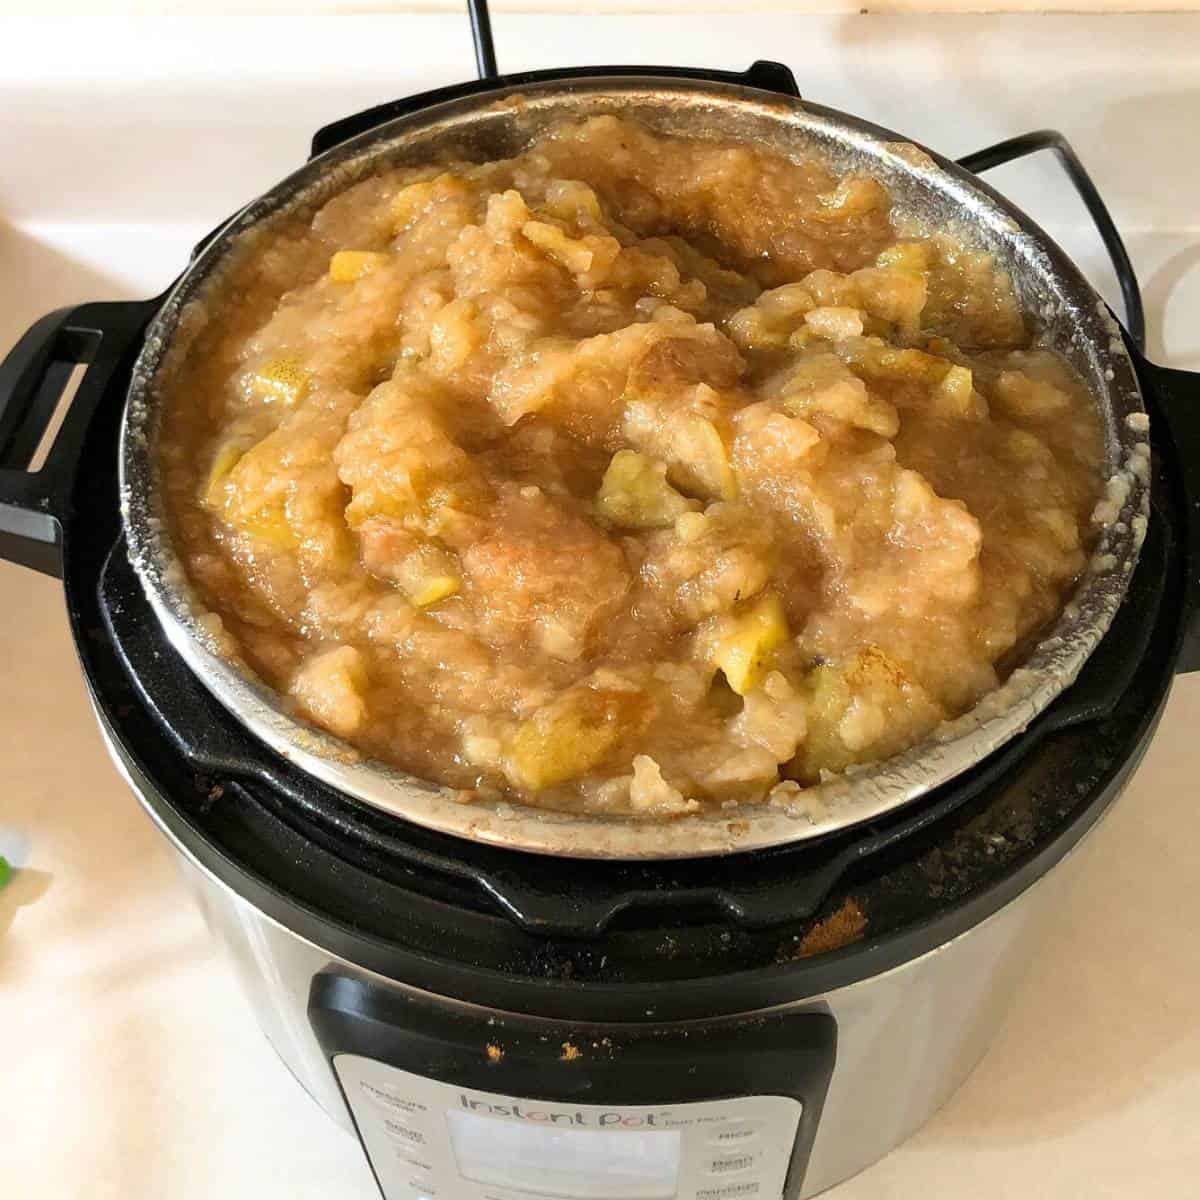
The apples should be starting to soften and cook down.
Go ahead and add more washed, cored, and cut apples to fill your instant pot back up again. Alternatively, if you have leftover apple pulp from making apple juice and apple jelly, you can add your apple pulp to your pot.
Taste your apple butter and add more spices to taste. I personally like to add another 1 tablespoon of cinnamon, 1 teaspoon of cloves, and 1 teaspoon of allspice. I don’t add more sugar.
Add your lid and set your timer for another 10 hours on “low.”
20 Hours In…
When your timer goes off again (20 hours into the process), take your lid off and give your apples a stir. Add more apples or apple pulp to fill your pot back up one more time. Then add additional spices or sugar to taste.
Set your timer for another 10 hours on “low.”
30 Hours In…
When your timer goes off again (30 hours into the process), take your lid off and give your apples a stir. If your pot is still basically full, you won’t need to add any more apples or apple pulp.
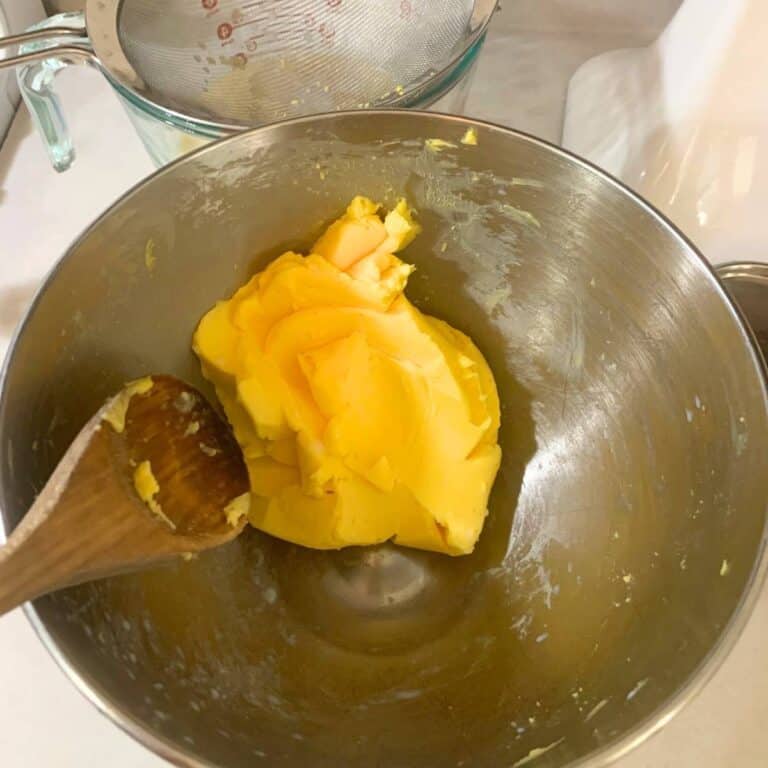
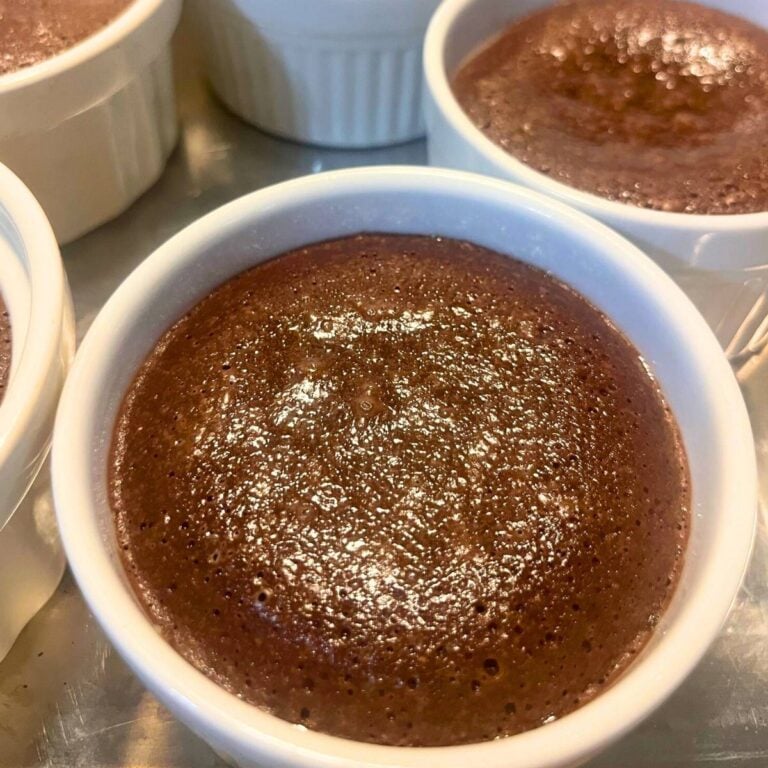
Use your immersion blender and blend up your softened apples into apple butter. Alternatively, you can scoop the mixture out and give it a whirl in a food mill, food processor, or similar high speed blender.
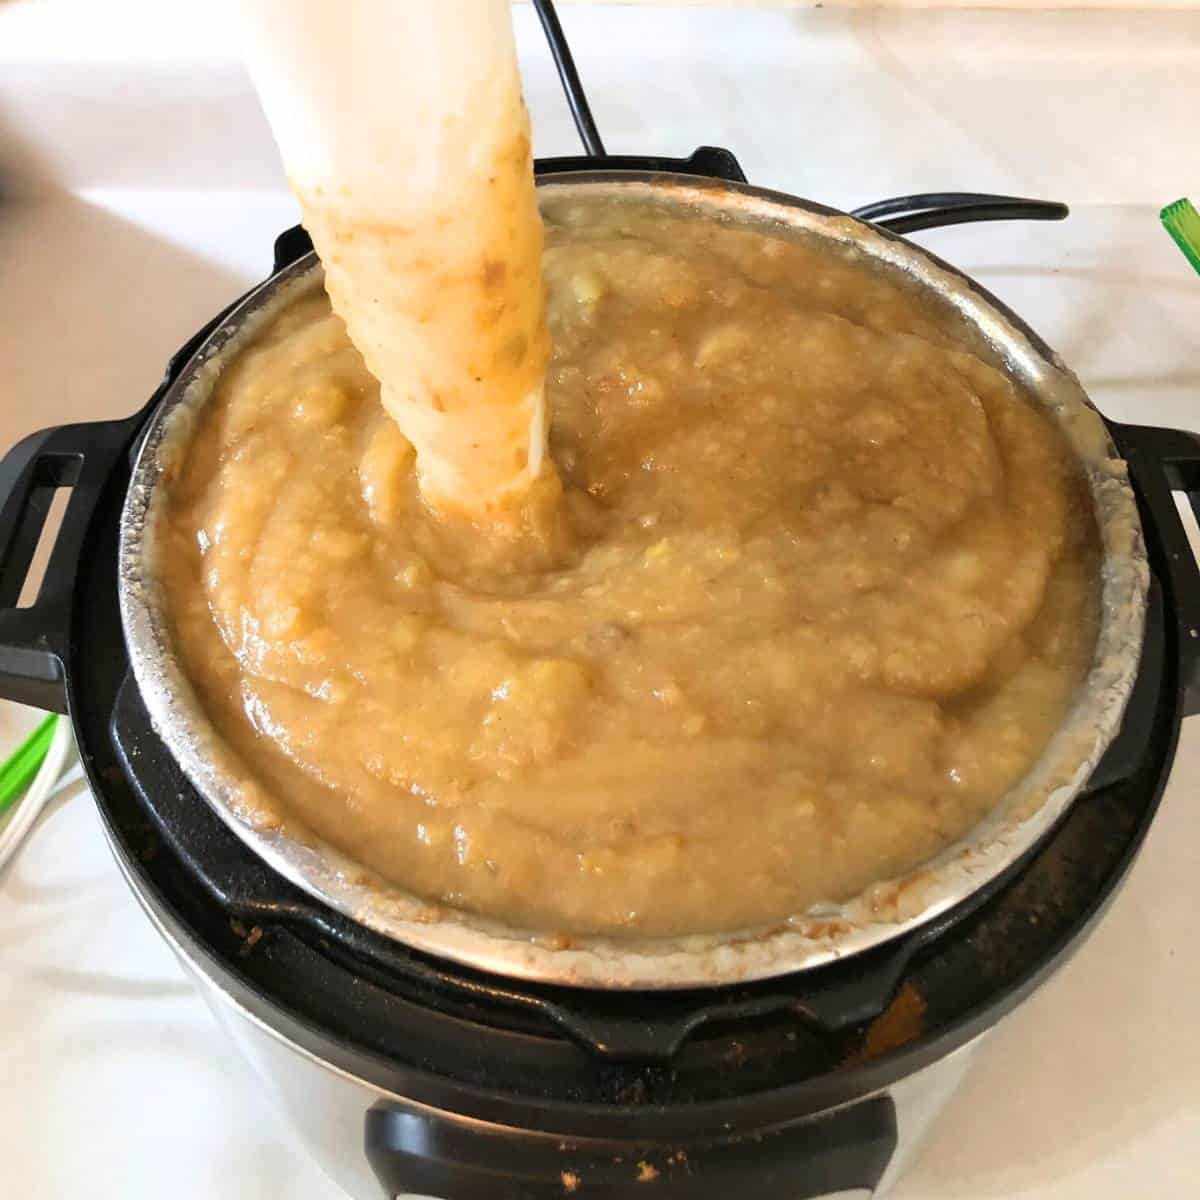
Your apples should be very soft and blend easily with your immersion blender. Be careful not to overblend or it’ll turn into a liquid.
There shouldn’t be too much liquid in your pot after this process, either. However, if you find a lot of juice is still in your pot, continue cooking down your apples for another 5 to 10 hours with the lid vented until it’s the thickness and consistency that you want.
Alternatively, if your apple butter is too dry, you can add water or apple juice until it’s the thickness and consistency that you want.
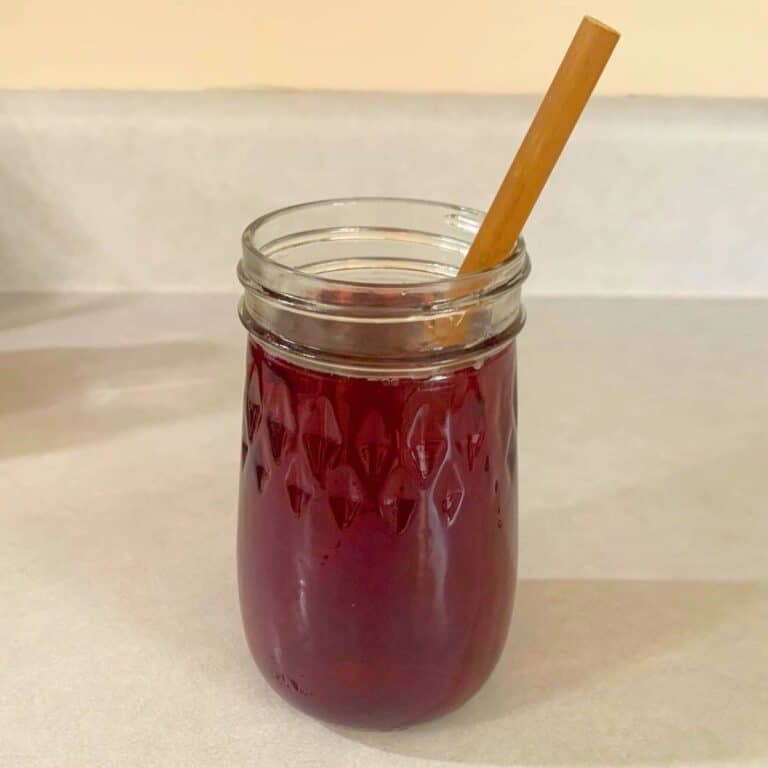
Taste your finished apple butter and add more spices and sugar, if necessary. And that’s it!
And just FYI, this is exactly the same way I make apple sauce! Only…without the extra spices.
Tips
- You can change the flavor of your apple butter by using maple syrup instead of sugar. You can also add more or less of the spices depending on what your family prefers. Apple pie spice is also a great addition.
- The type of apples you choose will change the flavor slightly but don’t be too concerned. It’ll all come out right in the end. This is a great recipe for using bruised apples that you might be able to purchase at discount prices!
- Make sure your canning jars are free of nicks or cracks that would cause a seal failure during the canning process. And make sure you use a new canning lid.
Recipe FAQs
Yes, slow cooker apple butter is made the same way as it is in the Instant Pot in this recipe. I used this exact recipe even before I had an Instant Pot and made a big batch of apple butter using a large crock pot. Use what you have.
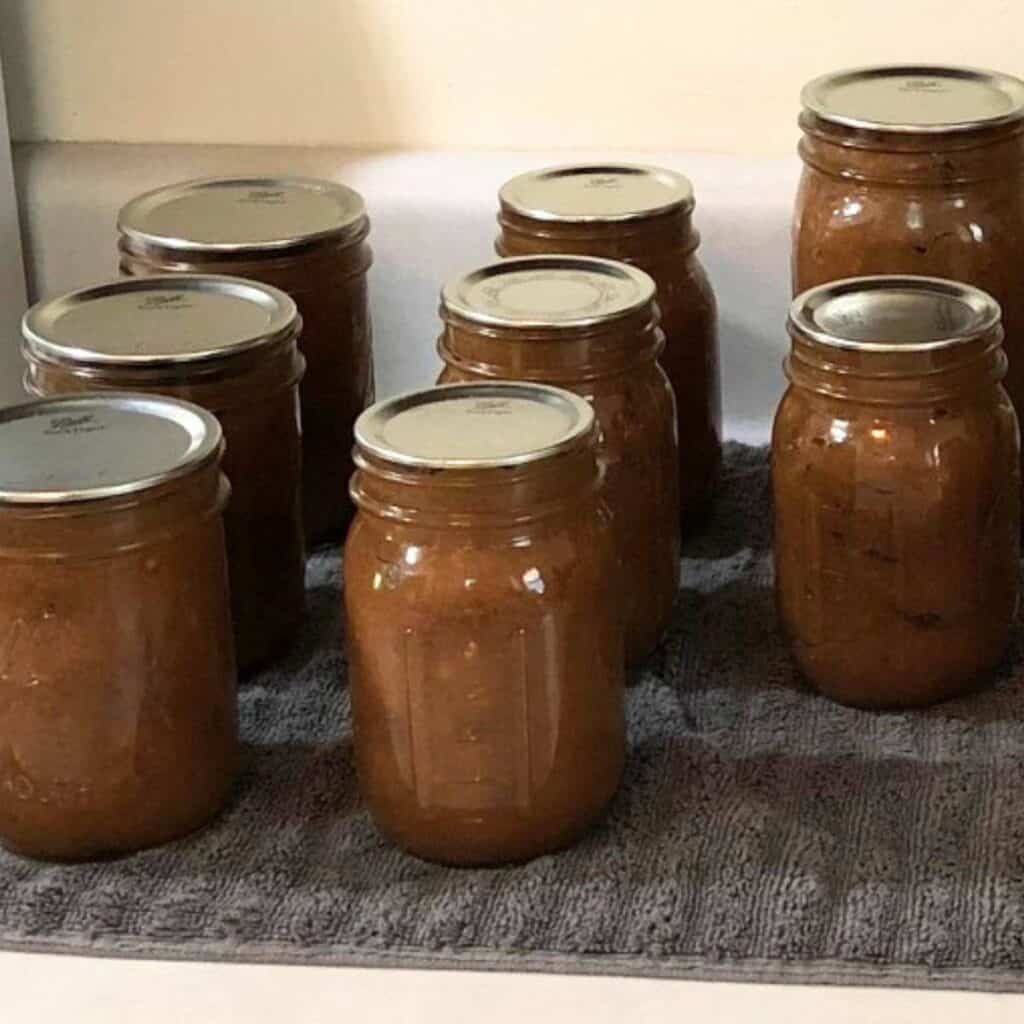
Assuming you have water bath canned your apple butter properly, your unopened jars will last at least 12 to 18 months if you store them in a cool, dry, dark place. Be sure the little jars are out of direct sunlight and away from high heat. For best results, home canned products should be stored at room temperature.
Recipe Card for Apple Butter
If you try this recipe and love it, I would love if you gave it 5 stars! Also, tag me on Instagram @rivers.family.farm.
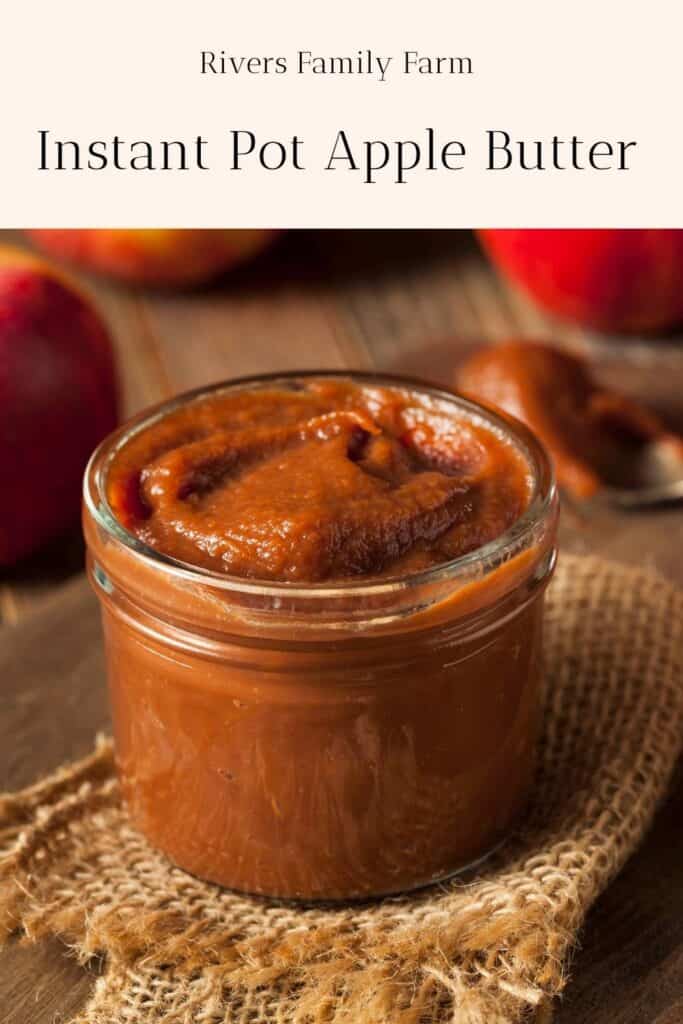
Apple Butter
Equipment
- Instant Pot or Crock Pot
- immersion blender
- measuring cup
- measuring spoons
- wooden spoon
Ingredients
- 30 apples, cored and chopped
- 2 cups sugar
- 3 tbsp ground cinnamon
- 2 tsp ground cloves
- 2 tsp ground allspice
Instructions
- Wash, core, and chop enough apples to fill your instant pot. Add 2 cups of sugar, 2 tablespoons of cinnamon, 1 teaspoon of ground allspice, and 1 teaspoon of ground cloves. Mix with the apples. Add your lid, set the timer for 10 hours, select the "slow cook" or "crock pot" function, set your lid to "vent" mode, and select "low" heat and the "keep warm" option.
- After 10 hours, take your lid off and stir your apples. Add more washed, cored, and chopped apples (or apple pulp leftover from making apple juice and apple jelly) to fill your pot back up again. Add another 1 tablespoon of cinnamon, 1 teaspoon of ground allspice, and 1 teaspoon of ground cloves.
- After another 10 hours (20 hours into the process), take your lid off and stir your apples. Add more washed, cored, and chopped apples to fill your pot back up again. Add more spices to taste. Set your lid back on and set the timer for another 10 hours on "low."
- After yet another 10 hours (30 hours into the process), take your lid off and stir your apples. Use your immersion blender to blend your apple butter to the consistency and texture that you want. Be careful not to blend so much that you liquefy your apple butter, though. If your apple butter still has too much juice in it, continue cooking on low heat for another 5 to 10 hours until it's the consistency that you want. Alternatively, if it's too dry, add water or apple juice.
- Taste your finished apple butter and add more spices to taste.
Canning Your Apple Butter
- Prepare your water bath canner, jars, lids, and bands by heating up your canner with the jars submerged in water. Use new lids and make sure lids and bands are clean.
- Ladle hot apple butter into hot jars, leaving 1/4 inch headspace. Remove air bubbles and adjust headspace, if necessary, by adding more apple butter. Wipe the rims of your jars with hot water, center the lid on your jar, and screw the band down until it's fingertip-tight.
- Place jars in your hot canner using a jar lifter. Make sure jars are covered by at least 2 inches of water. Bring to a boil and process jars for 10 minutes. Remove the lid and wait 5 more minutes. Then carefully remove your jars and cool for at least 12 hours.
- After 12 hours, remove the bands and ensure that the lids have sealed properly. Then label and store your apple butter.
Water Bath Canning Apple Butter

When your apple butter tastes the way you want it, and is the texture and consistency that you desire, it’s time to get your water bath canner ready.
Most apples are acidic enough to be canned without added acid. However, if you’re worried that your apples were not acidic enough, add some lemon juice or citric acid to your apple butter and mix well.
Note: For what it’s worth, the Ball Complete Book of Home Preserving, written by safe-canning experts, has a traditional apple butter canning recipe that does not add any extra acid and just uses apples, sugar, and spices. Apples are considered acidic.
Prepare your water bath canner, jars, lids, and bands by heating up your canner with your jars submerged in water. Use new canning lids and make sure the lids and bands are clean.
Ladle hot apple butter into hot jars leaving 1/4 inch headspace. Then wipe the rims of the jars clean using a clean rag dipped in hot water. (I usually use hot canning water.) Center the lid on your jars and screw the bands down just until they are fingertip-tight.
Place jars in your hot canner using a jar lifter. Make sure the jars are covered by at least 2 inches of water. Bring to a boil and process jars for 10 minutes if your elevation is 1,000 feet or less. See below for processing times for different elevations.
After the jars have processed for the requisite amount of time, turn off the heat, remove the lid, and wait 5 more minutes. Then carefully remove your jars and cool for at least 12 hours.
After 12 hours, remove the bands and ensure that the lids have sealed properly. Then label and store your apple butter.
Processing Time for Different Elevations
Since water boils at different temperatures depending on elevation, you may need to adjust your processing time. The Ball Complete Book of Home Preserving has the following chart for high-acid foods such as this apple butter, that is processed in a boiling-water canner.
| Elevation (Feet) | Elevation (Meters) | Processing Time |
| Sea Level (1,000 feet or less) | 305 meters or less | 10 minutes |
| 1,001 to 3,000 | 306 to 915 | 15 minutes |
| 3,001 to 6,000 | 916 to 1,830 | 20 minutes |
| 6,001 to 8,000 | 1,831 to 2,440 | 25 minutes |
| 8,001 to 10,000 | 2,441 to 3,050 | 30 minutes |
Using Apple Butter in Recipes

One of the ways I love to use apple butter is in banana bread recipes. Learn how to make moist chocolate banana bread in this post!
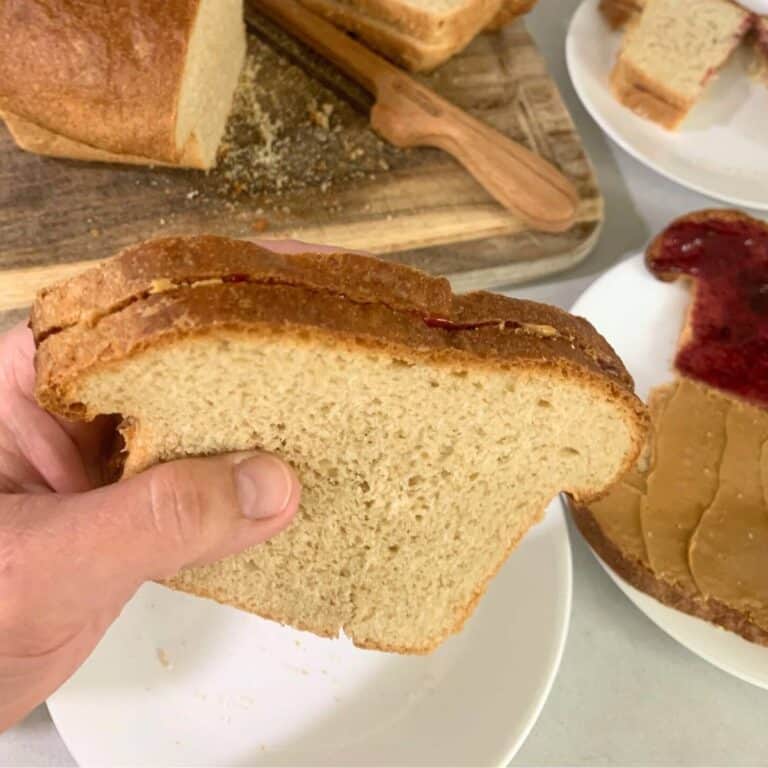
Apple butter is also a great spread on sandwiches, biscuits, toast, and English muffins. To make soft and fluffy sandwich bread, check out this post! You can also add this delicious spread on French toast and even over ice cream.
Another way to use this fruit butter is to add it to your oatmeal for an instant fall-flavored breakfast. It’s simply delightful! Learn how to make oatmeal on the stove and overnight oats in this post where I compare eggs and oatmeal.
More Food Storage Posts
- How Long Does Sliced Turkey Breast Last in the Fridge?
- How Long Can You Freeze Vegetable Soup? Plus, Easy Recipe
- How Long Does Homemade Lard Last in the Fridge?