Reduced Sugar Apple Jelly and Canning Recipe
This reduced sugar apple jelly and canning recipe will turn your apple scraps into something delicious and healthy while saving you money at the same time!
Fall is almost here! I love the changing weather and the pretty colors that the leaves turn. I really love when the pretty leaves fall to the ground and create a beautiful carpet along our lawn and driveway. It’s just so charming and cozy to me!
This time of year also means that my family’s favorite fruit is ready to harvest…apples! We love having apple slices as a snack, and I save all the apple cores in a freezer bag for turning into apple jelly or apple vinegar later.
This homemade, reduced-sugar apple jelly is delicious, healthy, and a welcome change on sandwiches and biscuits.
This post contains affiliate links, which means I make a small commission at no extra cost to you. Read my full disclosure here. Thanks for your support!
Save money by turning apple scraps into apple jelly.
Is there anything more gratifying than turning scraps into something useful? What a wonderful goal to have…especially when you need to save money on food!
I want to encourage you to save your fruit scraps and turn them into something delicious and useful, too. Here I’ll show you how to turn your apple scraps into apple juice and then on to apple jelly!
First, make apple juice using apple scraps.
You can make fruit juice from any fruit scraps you have on hand. The scraps can either be fresh or frozen and it can consist of a single type of fruit or combinations of different fruit. But we are going to turn apple scraps into apple juice here so that we can make apple jelly.
Put your apple scraps into a pot and add an equal amount of water. I had about 3 quart-size freezer bags full of apple cores, so I added about 3 quarts of water.
I leave the stems and blossom ends on my organic apple cores. Don’t worry. It’ll all come out right in the end.
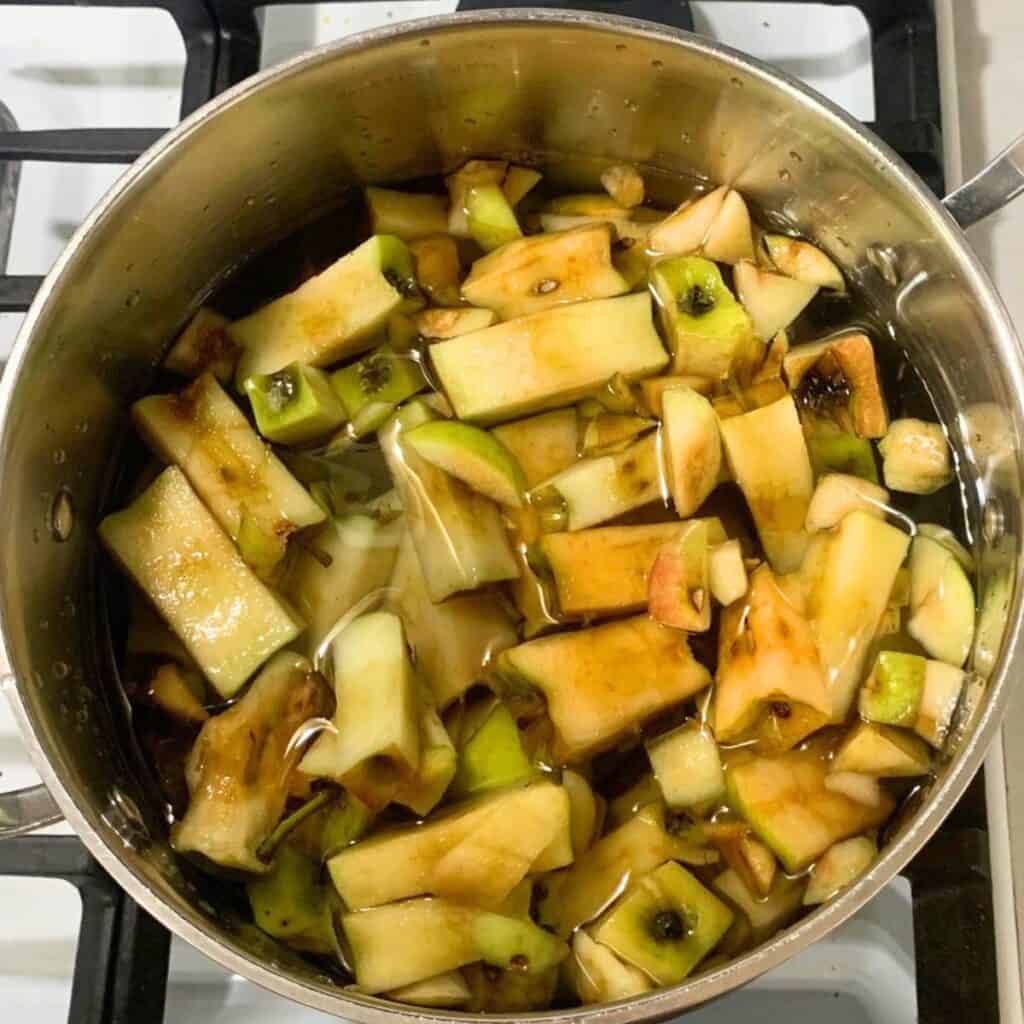
Bring the water to a boil over high heat and then turn it down to simmer for 20 minutes, stirring occasionally. After 20 minutes, take the pot off the heat and set it aside to cool down. If you can mash your apples a little bit, all the better.
When your apples and juice have cooled down sufficiently, it’s time to strain the apple juice out. Cover a large bowl with a dampened flour sack towel or butter muslin making sure to push the towel down into the bowl while also being sure to drape the edges outside of the bowl.
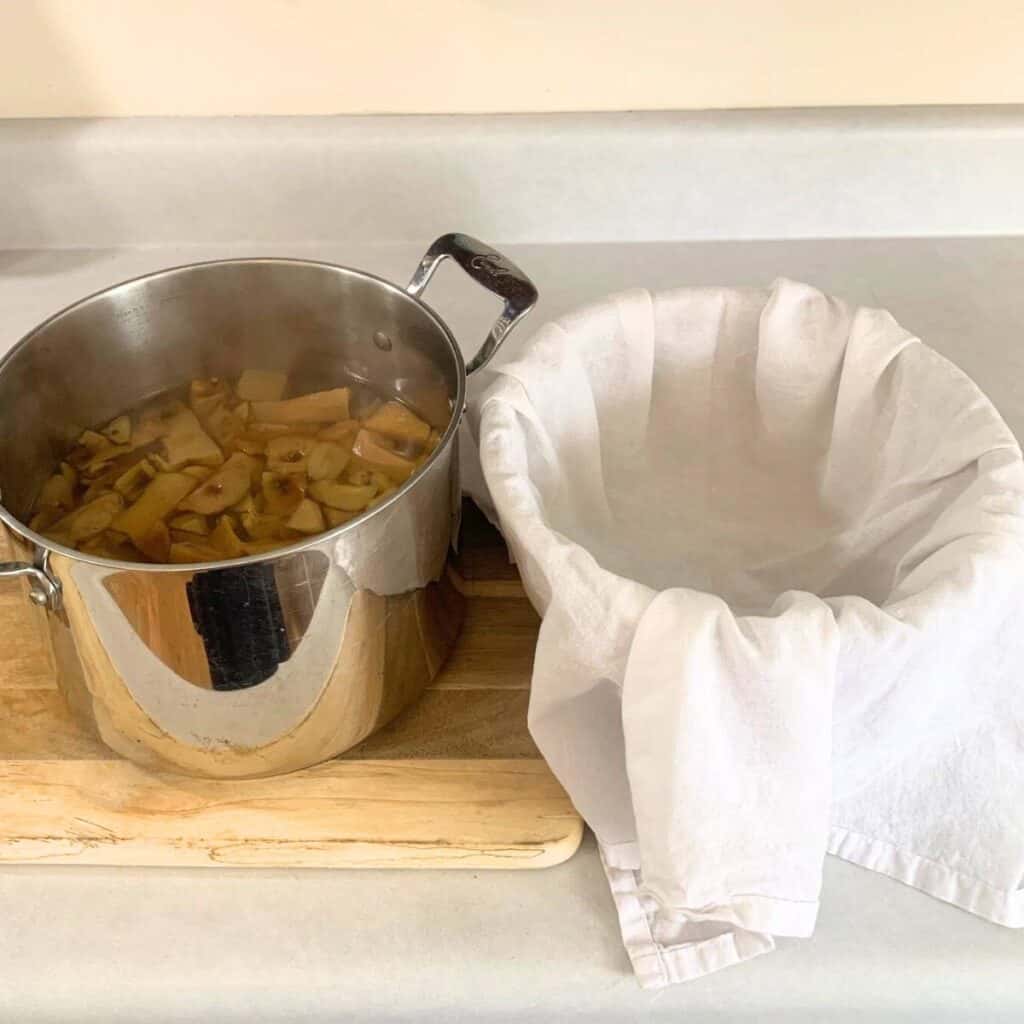
Slowly and carefully pour the apples and juice into the bowl so that you don’t burn yourself.
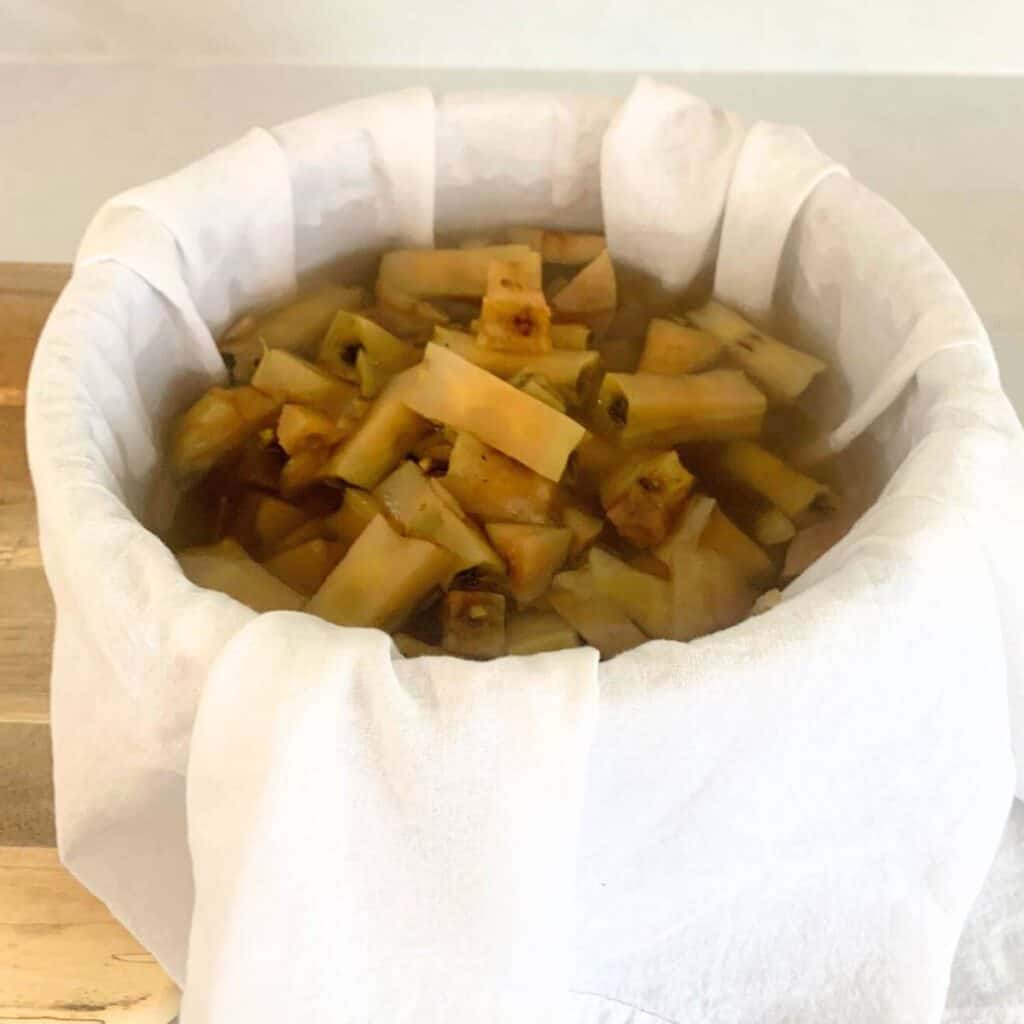
Get some kitchen string ready and start to tie it in a slip knot.
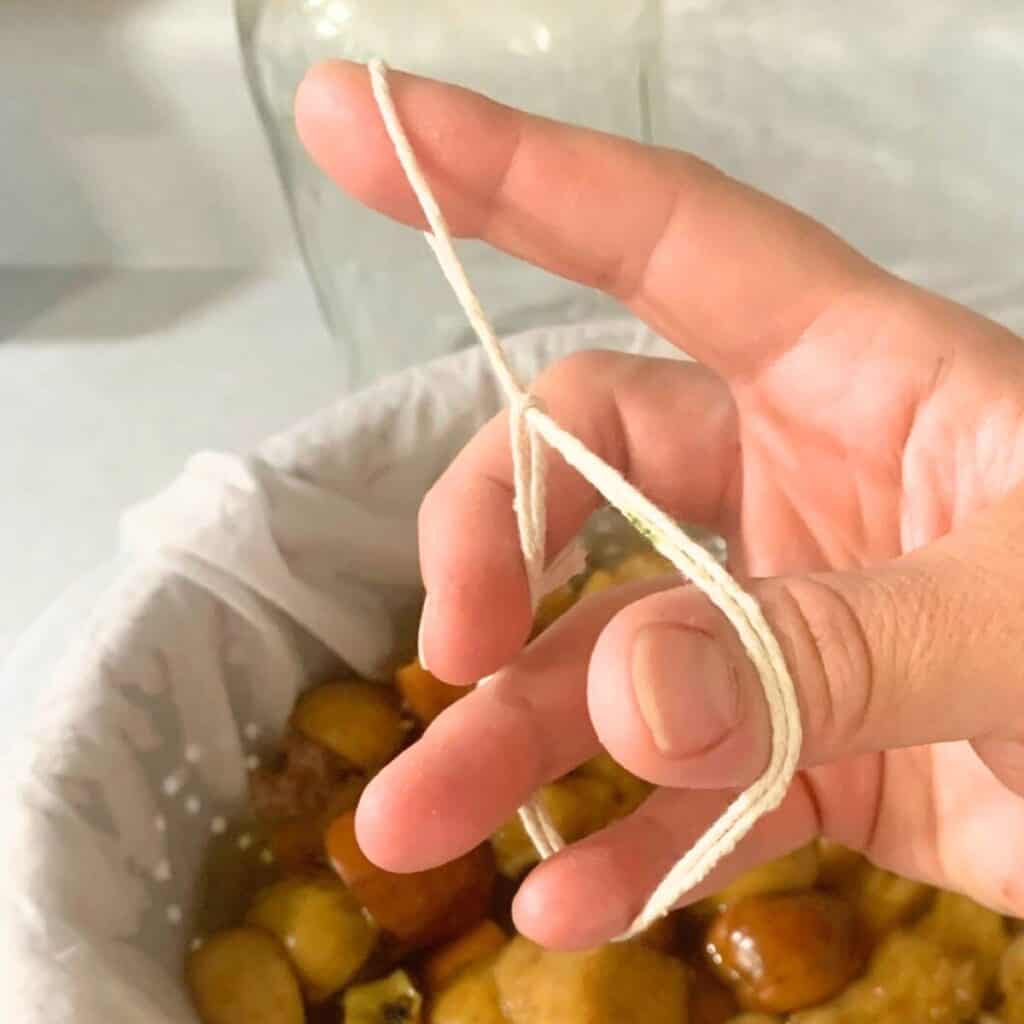
Gather the edges of your flour sack towel up and pull the top of the towel through your slip knot. Then hang up your “bag” and let the apple juice drip for a minimum of 2 hours until the juice stops dripping.
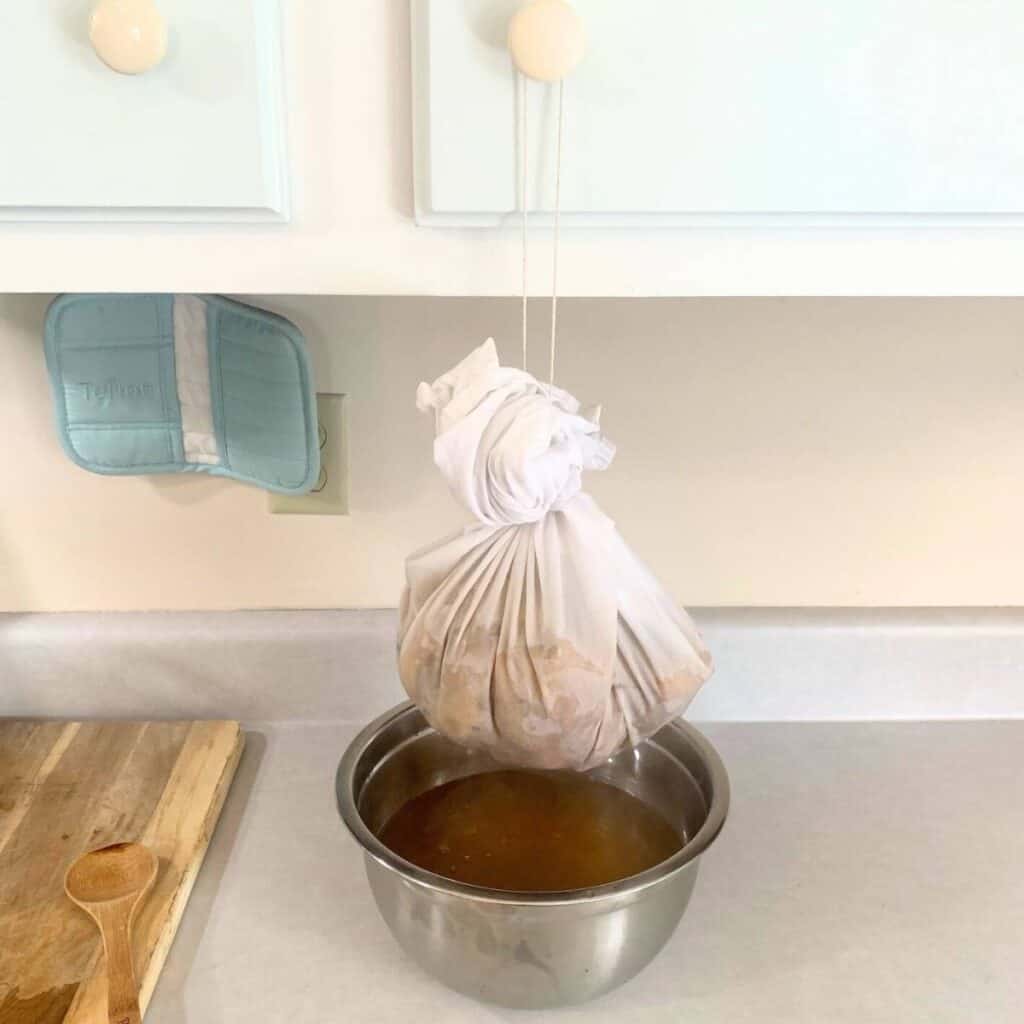
My kitchen cabinet knobs come in handy for this job because I use them to hang my filled flour sack towel bags and the juice drips into a bowl underneath. If you have a lot of apple scraps to use up, you can split up the work and make apple juice one day and then apple jelly the next day. The juice stores well in the refrigerator.
After 2 hours, take the bag of your apple scraps outside and feed them to the chickens or put them in your compost pile. Since you started with apple cores and other scraps, they can’t really be turned into anything else. Trust me…cores and seeds don’t break down entirely if you try to turn the scraps into applesauce or apple butter!
Turn the apple juice into apple jelly.
A lot of jam and jelly recipes call for more sugar than I’d prefer, so I made the switch to using Pomona’s Pectin last year because it doesn’t require as much sugar in order to jell properly. I love their cookbook, too. Note: I haven’t tried Ball’s low- or no-sugar pectin. I would imagine it works well, too.
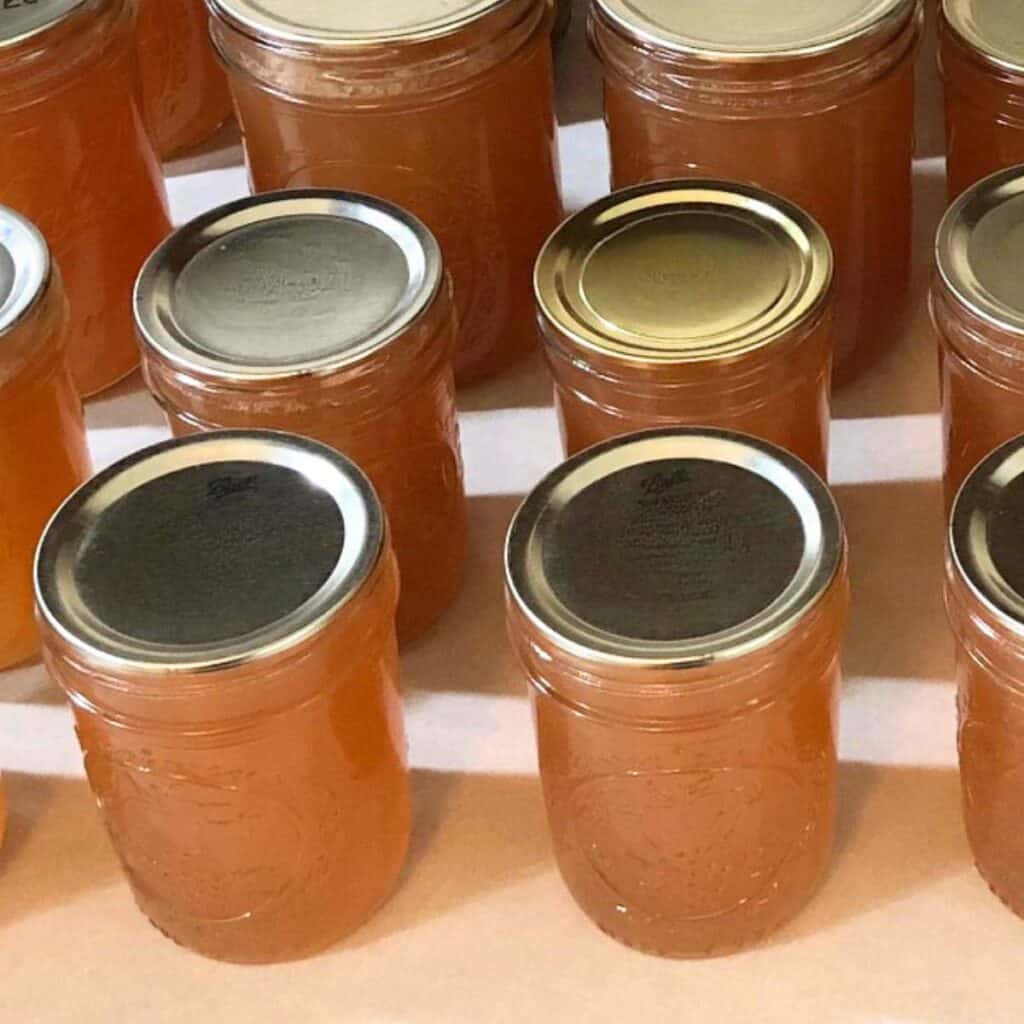
This recipe makes a little more than 4 half-pint jars of apple jelly. Any extra jelly can be stored in a small jar in your refrigerator for immediate use.
Or you can make a second batch of apple jelly while the first batch is processing and add jelly to fill up your half-pint.
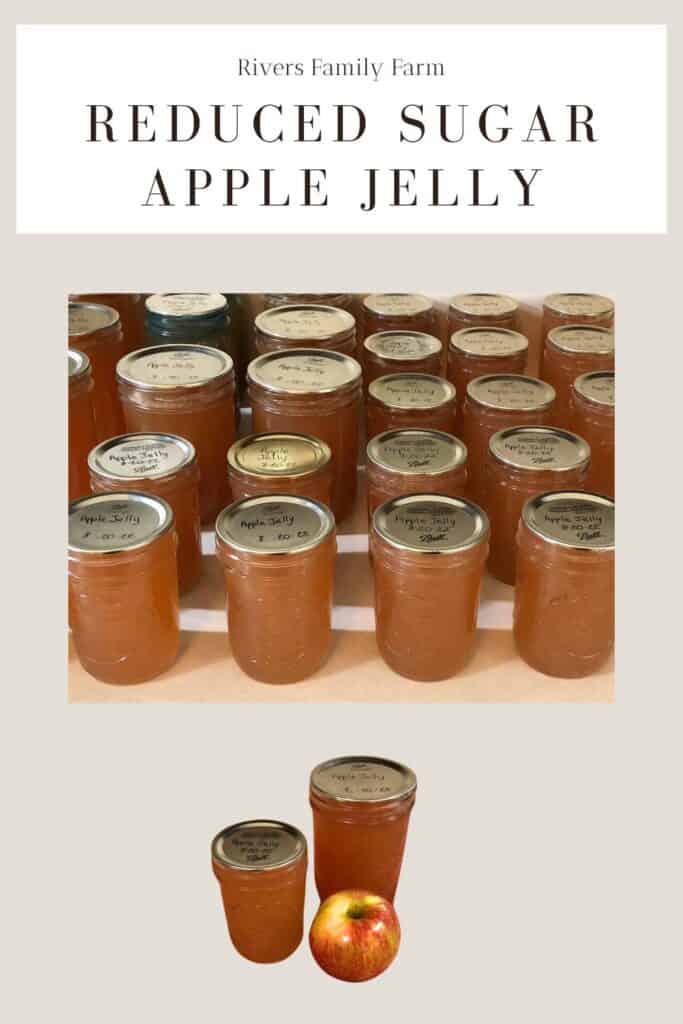
Making and processing small batches of apple jelly is how I made all of our jars. I don’t know if doubling the recipe will result in the same quality of apple jelly.
That’s a lesson I learned years ago when I tried making peach preserves. The small batch turned out perfectly lovely and was a light yellow color.
When I doubled the recipe, it had to cook so long that the resulting preserves were brown. It still tasted great, but just wasn’t as beautiful.
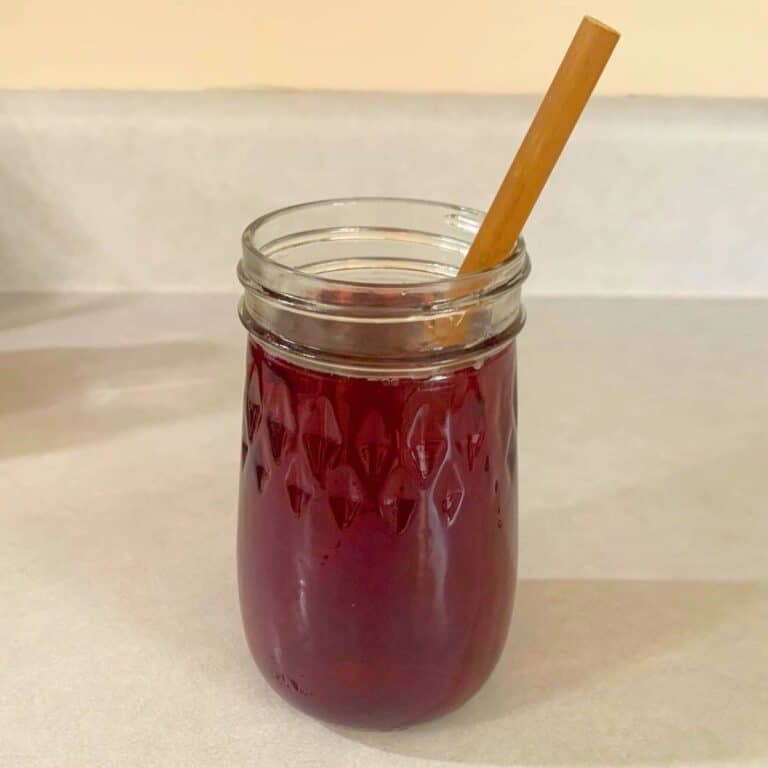
Since this recipe uses apple juice, I’m guessing it could double easily but I didn’t want to risk it. I’m pleased with the resulting pale pink apple jelly.
Ingredients
For this recipe, you’ll need 1 cup of sugar, 4 cups of apple juice, 1/4 cup of lemon juice, and a box of Pomona’s Pectin (which includes pectin and calcium powder).
Instructions for making reduced-sugar apple jelly
If you’re new to making jelly, this is a classic recipe to start with.
1. Prepare your canner, jars, lids, and rings.
First, get out your water bath canner, jars, lids, and rings. The Preserving with Pomona’s Pectin cookbook says to sterilize your jars first, so I’ll leave that in this recipe. To sterilize your empty jars, submerge them in your canner and boil them for 10 minutes.
I usually turn the heat off the canner at that point and leave my jars in the canner until I’m ready to fill them. It is worth noting that the Ball Complete Book of Home Preserving does not require sterilizing jars for jams, jellies, and preserves since all recipes are boiled in the water bath canner for at least 10 minutes, and sterilization is achieved that way.
2. Make your reduced-sugar apple jelly.
To make your jelly, prepare your Pomona’s calcium water.
In a small half-pint or similar glass jar, mix 1/2 teaspoon of calcium powder with 1/2 cup of water. Store your extra calcium water in the refrigerator for several months and use it up as needed to make jams and jellies.
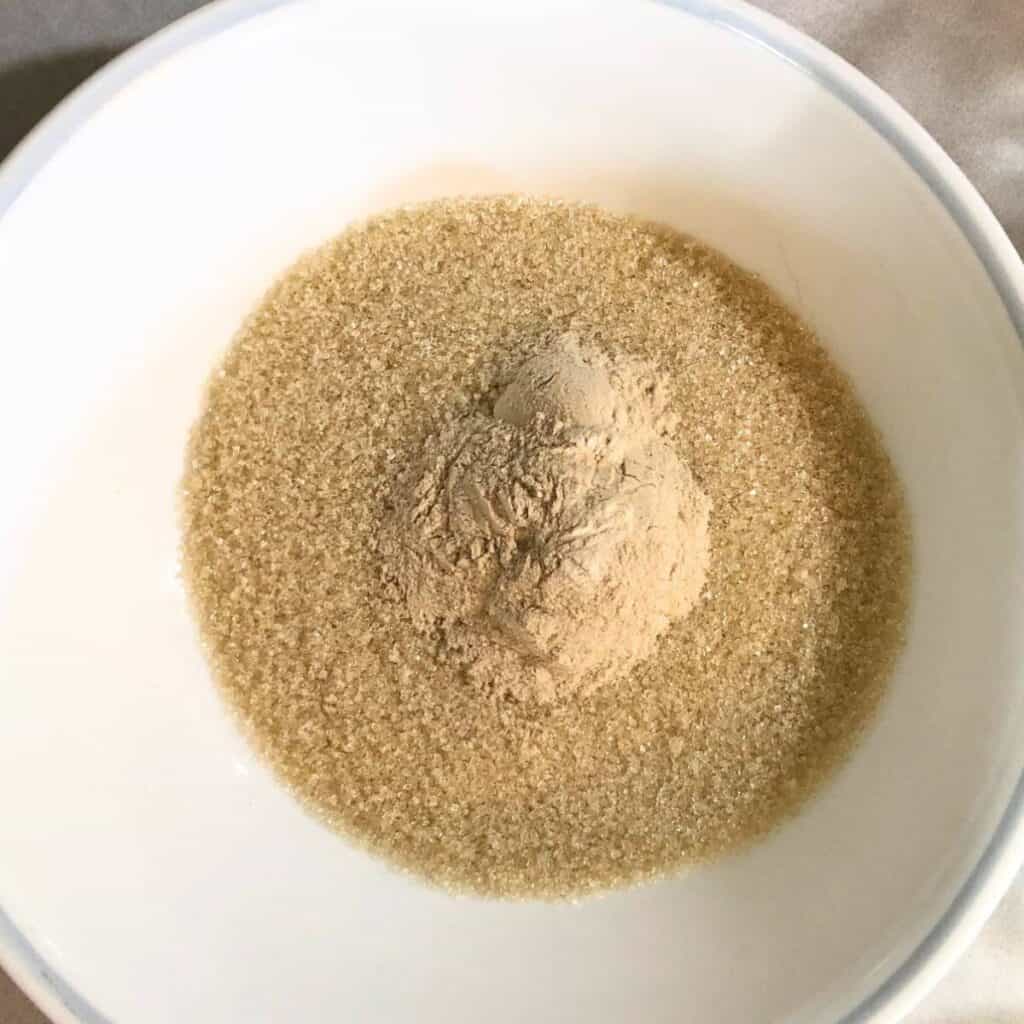
In a separate bowl, mix 1 cup of sugar with 4 teaspoons of Pomona’s pectin powder and set aside. I like to use organic cane sugar but use what you have.
Next, fill a medium saucepan with 4 cups of apple juice, 1/4 cup of lemon juice, and 4 teaspoons of calcium water. Mix well and bring to a boil over high heat.
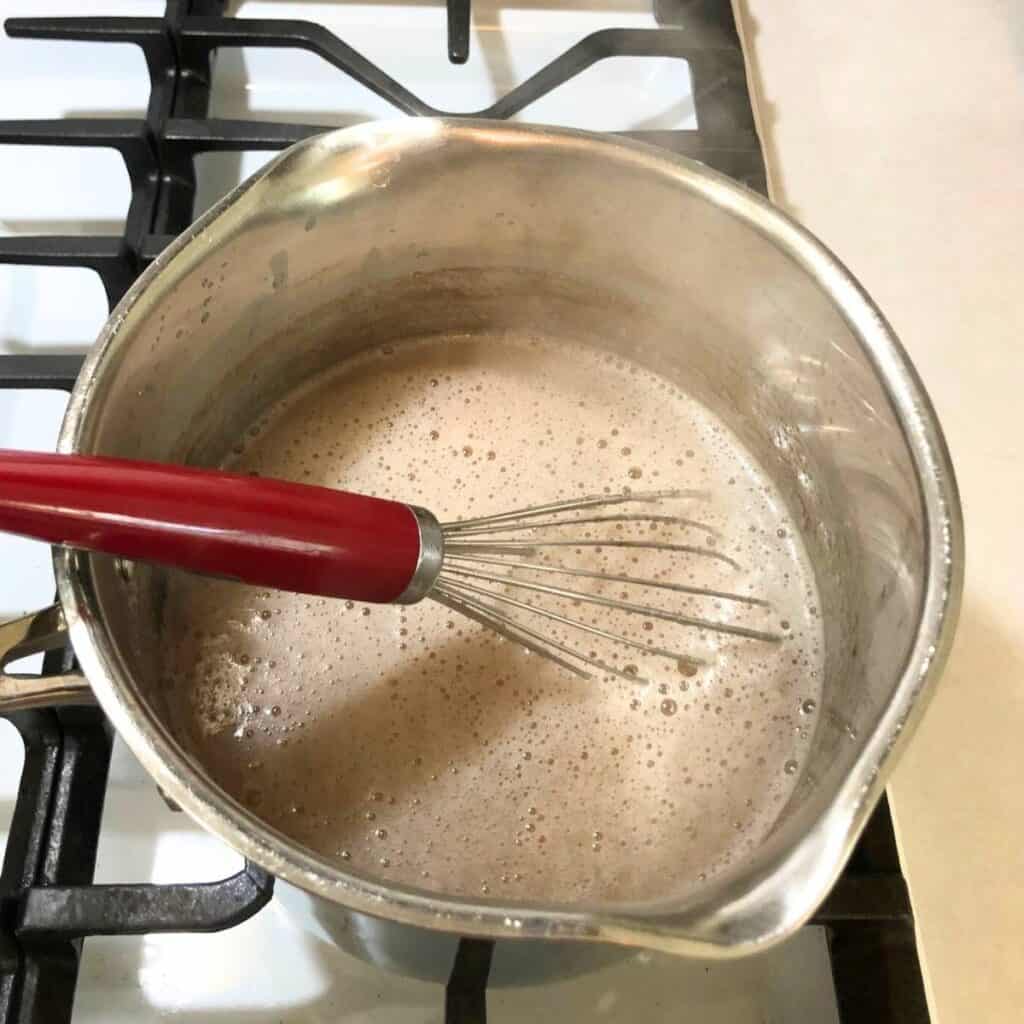
Then slowly whisk in the sugar and pectin mixture, stirring constantly and vigorously for 2 minutes to dissolve the sugar and pectin. And I do mean vigorously! Your arms will get a workout.
Once the jelly returns to a full boil, take it off the heat and stir to make sure the pectin and sugar have dissolved.
3. Can your apple jelly.
Remove your hot jars from your canner and put them on a kitchen towel.
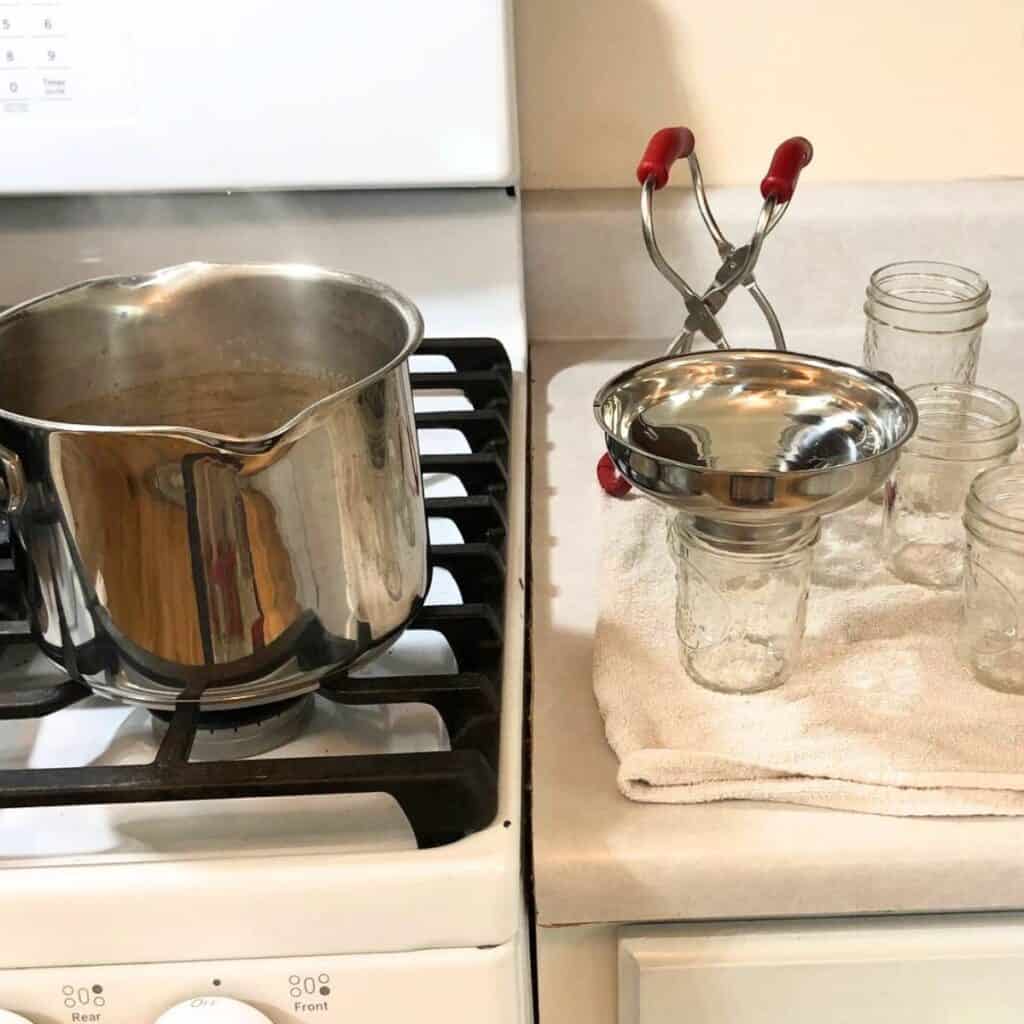
Ladle the hot jelly into your hot jars and leave 1/4 inch of headspace. Then remove any air bubbles and wipe the rims clean with a damp cloth to remove any jelly. I usually use the hot water from the canner to wipe the rims.
Next, place your lids on your jars and then screw your bands on until they are fingertip tight. This means you screw your bands on until it just meets resistance and then tighten a little bit more. Don’t screw the bands on so tight that the trapped air can’t escape or your jars will explode!
4. Process your jars.
Lower your hot jars into your hot canner. Use caution and a jar lifter. The water should cover your jars by at least 2 inches.
Add the lid to your canner and bring the water to a rolling boil. Then set your timer for 10 minutes if your elevation is less than 1,000 feet above sea level. Since water boils at lower temperatures the higher your elevation, add an extra 1 minute of processing time for every 1,000 feet in elevation you are above sea level.
After boiling for the correct amount of time, turn off the heat and remove the lid. Let the jars rest for 5 minutes inside the canner. Then take your jars out carefully with your jar lifter and set them on a kitchen towel to cool off for 12 to 24 hours.
After the jars have cooled, take the bands off and check to be sure that the lids are sealed properly. Then label and store your apple jelly with the bands off. They can safely be stored for 18 months before the nutrition and possibly color starts to change, but as long as the lids are still sealed and you followed the recipe and added the acid, it’ll still be safe to eat.
Do apple cores with seeds contain cyanide?
The European Journal of Nutrition and Food Safety did a study and found that apple seeds contain amygdalin (cyanogenic glycosides), and when juiced, release low levels of total cyanide. However, that’s for raw apple juice. When you cook it, the cyanide is greatly reduced. For more information, read this study by Food Research International.
Variations to Recipe
Honey vs Sugar
If you want to try something new, you can substitute honey for the sugar in this recipe. The sugar isn’t needed for safety or to jell this apple jelly, so don’t be afraid.
You can try using 1/2 cup of honey first (since honey has a strong flavor) while it’s boiling in the saucepan. If you don’t think it’s sweet enough after a taste-test, add the other 1/2 cup of honey.
If you want to try using honey, you’ll revise the recipe steps slightly. Put your honey into a measuring cup, add the Pomona’s pectin powder to the honey, and stir well. You’ll add the sweetener/pectin mixture to your boiling fruit juice and follow the rest of the steps as normal.
Add Cranberries
Additionally, try making this cranapple jelly by adding 12 ounces of cranberries to your apples when you boil them. You may need to add a little more sugar (up to 1/2 cup more) in the end but it’s a beautiful flavor and color. The rest of the recipe remains the same as the reduced-sugar apple jelly.
Recipe Card
Are you ready to give this apple jelly recipe a try? Print out this handy recipe card!
If you try this recipe and love it, I would love if you gave it 5 stars! Also, tag me on Instagram @rivers.family.farm.
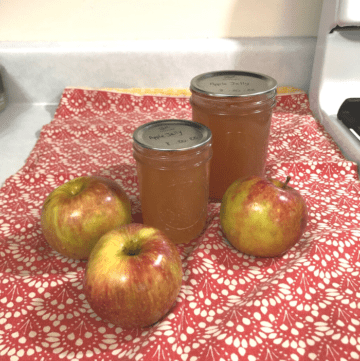
Making and Canning Reduced-Sugar Apple Jelly
Equipment
- half-pint mason jars, lids, and screw bands
- jar lifter
- funnel
- ladle
- nonmetallic spatula or chopstick (or anything else to remove air bubbles)
- boiling-water canner and rack
- medium bowl
- medium saucepan
- whisk
- measuring cups
- measuring spoons
Ingredients
- 1 box Pomona's Universal Pectin (which includes pectin and calcium powder)
- 4 pounds apples
- 4 cups water
- 1/4 cup lemon juice
- 1 cup sugar
Instructions
- Core and chop the apples and put them in a saucepan with 4 cups of water. Bring to a boil over high heat, then reduce heat, cover, and simmer for 15 minutes stirring occasionally.
- Remove from heat and mash the apples. Transfer mashed apples to a dampened jelly bag or flour sack towel. Hang up and let it drip into bowls for at least 2 hours or until it stops dripping.
- Prepare the calcium water by mixing 1/2 cup of water with 1/2 teaspoon of Pomona's calcium powder. Set aside for later and refrigerate leftover calcium water for future use.
- Sterilize the mason jars by boiling them in the water canner for 10 minutes. Then take off the heat.
- In a separate bowl, mix 1 cup of sugar with 4 teaspoons of Pomona's pectin.
- After 2 hours of dripping, mix 4 cups of apple juice, 1/4 cup lemon juice, and 4 teaspoons of calcium water in a medium saucepan.
- Bring juice to a boil over high heat and then very slowly whisk in the sugar and pectin mixture. Stir constantly and vigorously for 1 to 2 minutes until all the pectin and sugar is dissolved. Once the jelly returns to a full boil, remove it from the heat.
- Remove your jars from the canner and ladle hot jelly into the hot jars leaving 1/4 inch of headspace at the top. Add the lids and screw the bands on until fingertip tight.
- Lower the filled jars carefully into the canner. Add the cover and bring the water to a rolling boil and process for 10 minutes (adjusting for altitude). Turn off the heat, remove the cover, and sit for an additional 5 minutes.
- Remove the jars carefully and let them cool for 12 to 24 hours. Then check that the lids have sealed, label the jars, and store.
Shop This Post
Preserving with Pomona’s Pectin, Updated Edition
Ball Complete Book of Home Preserving
Pomona’s Universal Pectin, 1.1 Ounce Box (Pack of 6)
Pin It for Later!
Related Posts
Easy Instant Pot Apple Butter and Canning Recipe

