Roast Chicken with the Neck and Feet
There are many ways to roast a chicken but I want to share how and why I roast chicken with the neck and feet! Chicken is a staple in our house and my large family eats anywhere from 75 to 100 chickens each year. Since we raise and process our own meat birds, we have the opportunity to save and use some much-overlooked parts of the bird. Let me show you how and more importantly why I cook these extra parts.
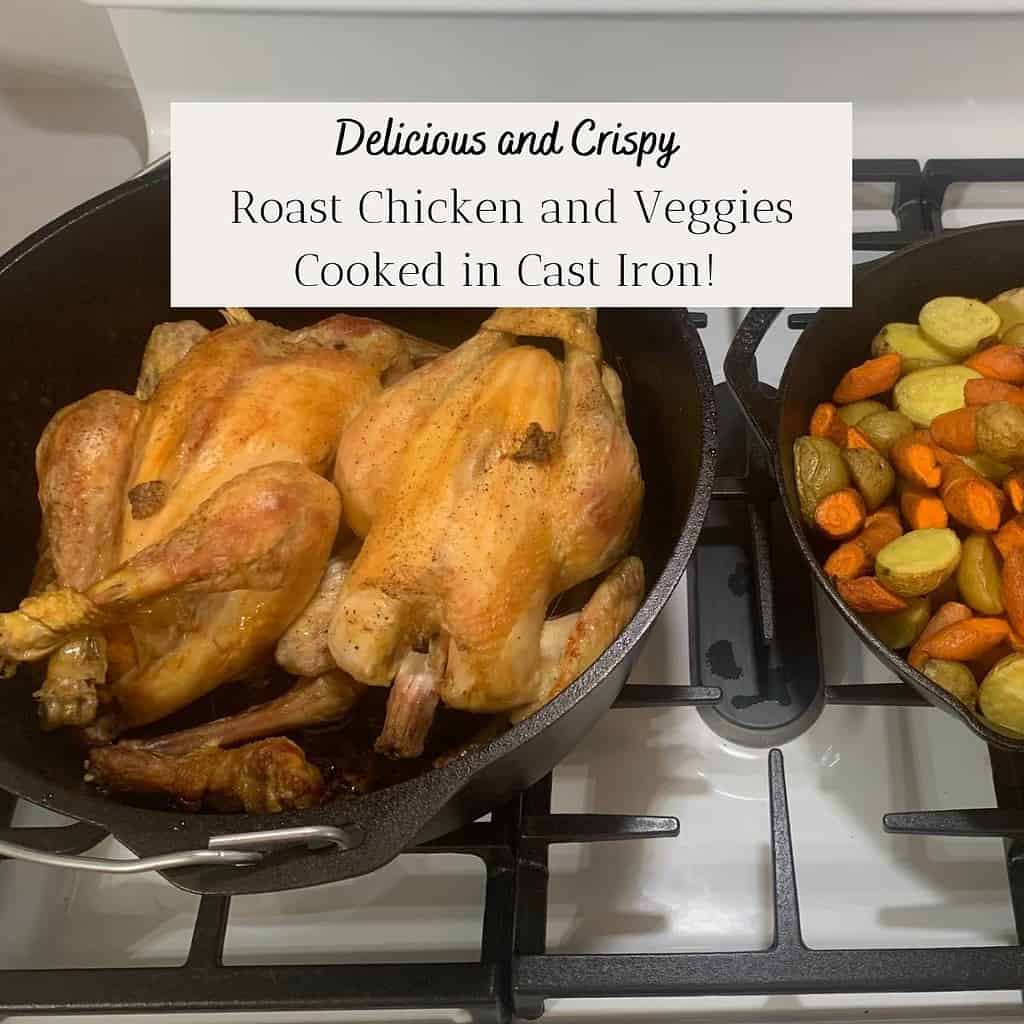
Update! I’ve started roasting our chickens in cast iron and the skin comes out even more crispy and delicious than with other roasting pans! I’ve also added some delicious side options. I usually keep it simple and make rustic roasted potatoes and carrots along with a big batch of biscuits.
This post contains affiliate links. As an Amazon Associate I earn from qualifying purchases. That means I make a small commission at no cost to you if you place a qualifying purchase through any of the links. Read my full disclosure here. Thanks for your support!
Hot, juicy, crispy roast chicken is good for lunch or dinner. But it’s also delicious when it’s served cold to make chicken sandwiches and chicken salad. However you like to eat your chicken, roasting improves the flavor.
Roasting your chicken gives the skin a crispy texture. And you can stuff the inside cavity of your chicken with other ingredients to add additional flavor. Think of how you roast your turkey for Thanksgiving…it’s the same with roasting a chicken.
Why We Save and Roast the Chicken Feet and Neck
We raise and harvest our own meat chickens every year. That’s why we have the opportunity to save the chicken feet and necks. I believe it’s important to honor the animal and use any usable parts so that almost nothing goes to waste. But if you don’t raise and harvest your own meat birds, you might be able to find a local chicken farmer who can sell it to you.
You’ve probably heard about adding chicken feet to make collagen-rich, gelatinous bone broth. It started gaining popularity about 10 years ago. And it’s true. Traditional cultures would use the chicken heads and chicken feet to make rich, healthy chicken bone broth.
Reason 1: Adding chicken feet and necks makes gelatinous chicken bone broth.
In 2021, when we harvested meat birds for the first time, I saved all the chicken necks and feet in separate gallon freezer bags. But then when I pulled out a whole chicken to start defrosting, the neck and feet weren’t there. They were imprisoned in a solid frozen mass with dozens of other chicken necks and feet in my freezer! I tried only once to take out a portion of chicken feet and necks from the freezer bags. I failed to release any necks and feet from their frozen prison and I never tried again.
When I make chicken bone broth, I use the roasted chicken bones AND the chicken necks and feet. But in 2021 the chicken feet and necks were raw when I put them in my large stock pot to boil and simmer away.
While the flavor of the broth was still amazing, I feel like roasting the chicken necks and feet improves the flavor. I could have defrosted the whole mass and roasted them separately, but really didn’t see the point since it wouldn’t result in anything to eat for dinner. Sometimes you’ve got to pick your battles.
Reason 2: Roast chicken necks and feet improve the flavor of chicken bone broth.
But there’s also another reason to save the chicken necks and feet. It’s so that I can set the whole chicken on top of the chicken neck and feet so that the bottom/back roasts evenly and so the skin will get crispy on the bottom instead of being soggy!
We don’t like soggy roast chicken skin. (The meat is still delicious, though.) So to increase the eating pleasure, I roast the whole chicken on top of the chicken neck and feet. It raises the bird up off the roasting pan so that the heat can circulate under and around it. That’s the key to getting crispy skin.
Of course, if you don’t have access to chicken feet and necks but you still want to roast your chicken using my recipe below, simply roast your chicken on top of a trivet.
Reason 3: Setting a whole chicken on top of chicken necks and feet will make crispy skin on the bottom.
Starting in 2022, I saved the chicken necks and feet during the harvesting and put each chicken’s neck and feet inside the cavity before I shrink wrapped the whole chicken. That way all the parts stay together in convenient, usable portions. I’m pleased with the result.
How We Roast Chicken with the Neck and Feet
I will usually roast two chickens at a time for my large family. That way we have some leftovers that are ready for other recipes! However, the recipe below is for one chicken. Cook however many you need for your family. Here’s what you’ll need:
Ingredients
You’ll want a whole chicken (4 to 5 pounds) including a neck and two feet, a lemon, a bulb of garlic, Redmond Real salt, and pepper.

If you’ve read my lemonade post, you know I like to buy organic lemons in bulk in winter, freeze the zest, and then quarter and store some of the lemons in freezer bags for future use. Frozen, quartered lemons defrost perfectly and are great for stuffing inside my chickens.
Tools
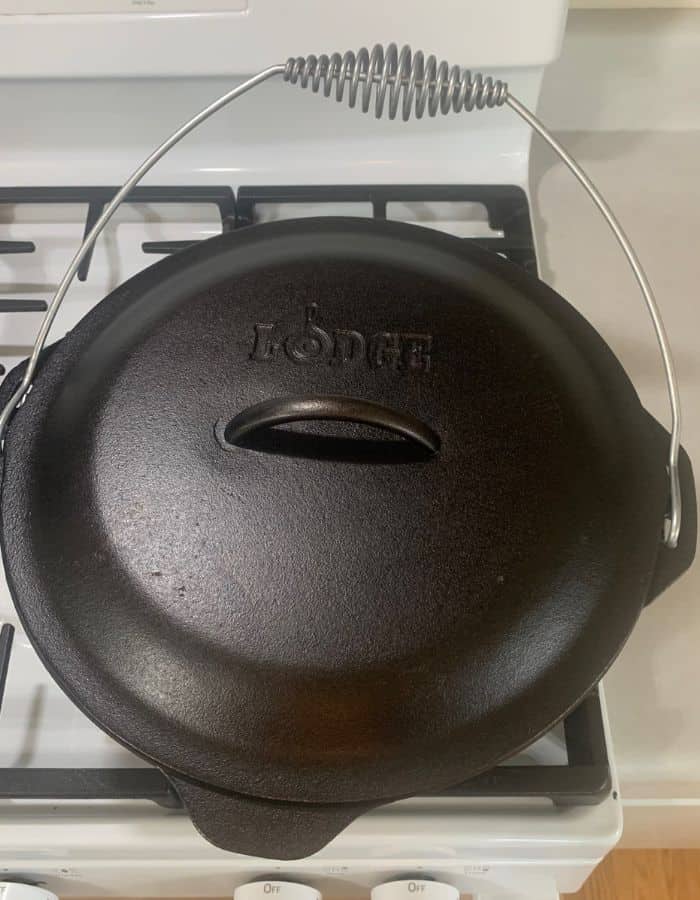
You’ll need something to roast your chicken in, a cutting board, and a sharp knife. I like to use a large Lodge cast iron Dutch oven that can fit two chickens inside. Lodge is my favorite cast iron brand because it’s so heavy duty and lasts for decades with heavy use.
Preheat Your Oven
Preheat your oven to 425°F (218°C).
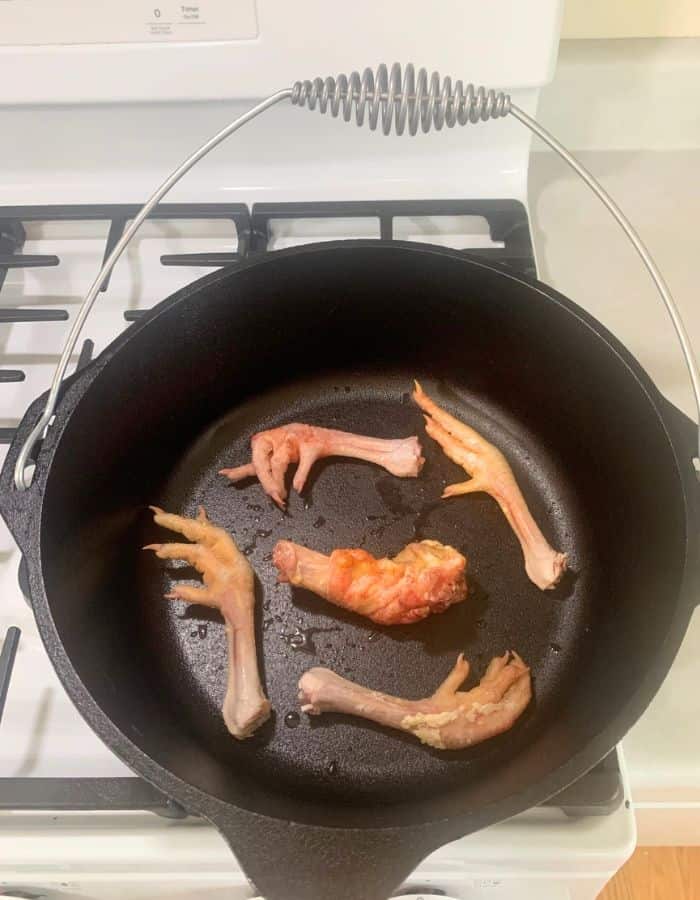
Put your chicken neck and feet in the bottom of your roasting pan and set your whole chicken on top so that it’s raised off the roasting pan.
Stuff the cavity of the chicken with the quartered lemon and the bulb of garlic that is cut in half. You don’t need to remove the lemon peel or the garlic paper.
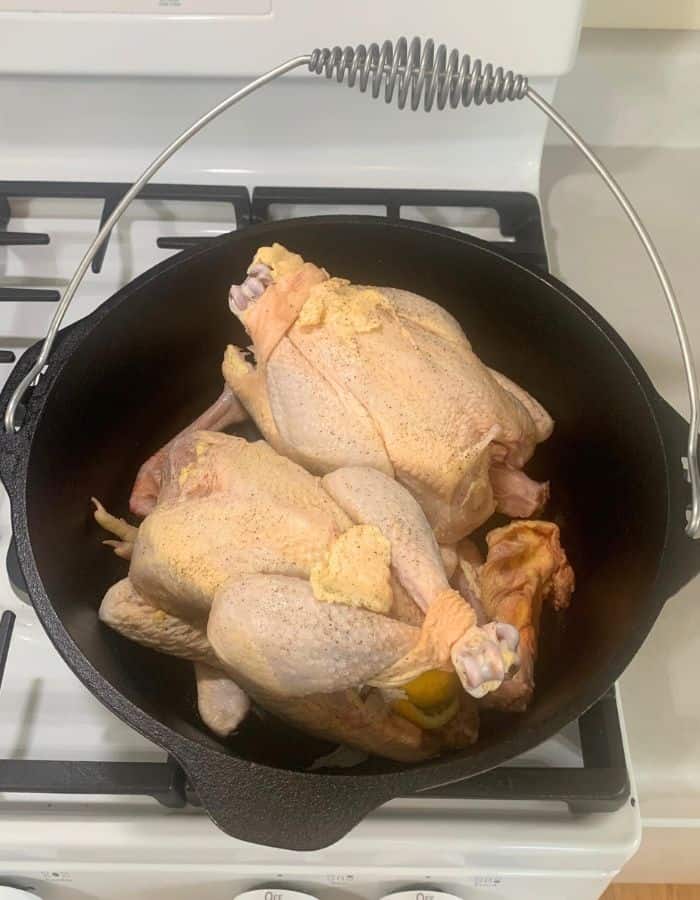
Sprinkle salt and pepper liberally on the outside of the chicken. (Coarse salt adds a nice touch.)
If you have extra chicken fat around the cavity, cut it off and put it on top of your chicken. It’ll melt and make the skin delicious and crispy! Our free-range chickens have the richest fat that is yellow to orange. It’s so much better than conventionally raised chickens that have flavorless, white fat. Go organic and free-range if you can.
I don’t have to use any of my homemade butter for roasting our chickens because I pull the chicken fat off and put it on top. If you’re going to live a homesteading lifestyle, it’s good to know where you can save ingredients that take a lot of effort to make (like homemade butter!).
If you’re concerned that there’s not enough fat in the skin or around the cavity of your chicken to produce a crispy, delicious skin, feel free to add about a half stick of butter or other oil on the outside of your chicken before adding the salt and pepper.
Cook Your Chicken
Roast your chicken(s) uncovered in the oven at 425°F (218°C) for approximately 1 hour and 40 minutes or until it’s thoroughly cooked and golden brown. If you’re cooking two chickens, add an extra 15 minutes until they are cooked all the way through.

When the timer goes off, check that the chicken is thoroughly cooked by piercing the leg and seeing if the juices run clear. If the juices are clear, set your lid on your roasting pan or cover it with foil and let it all rest for 10 to 15 minutes so that the juices can be reabsorbed into the meat.
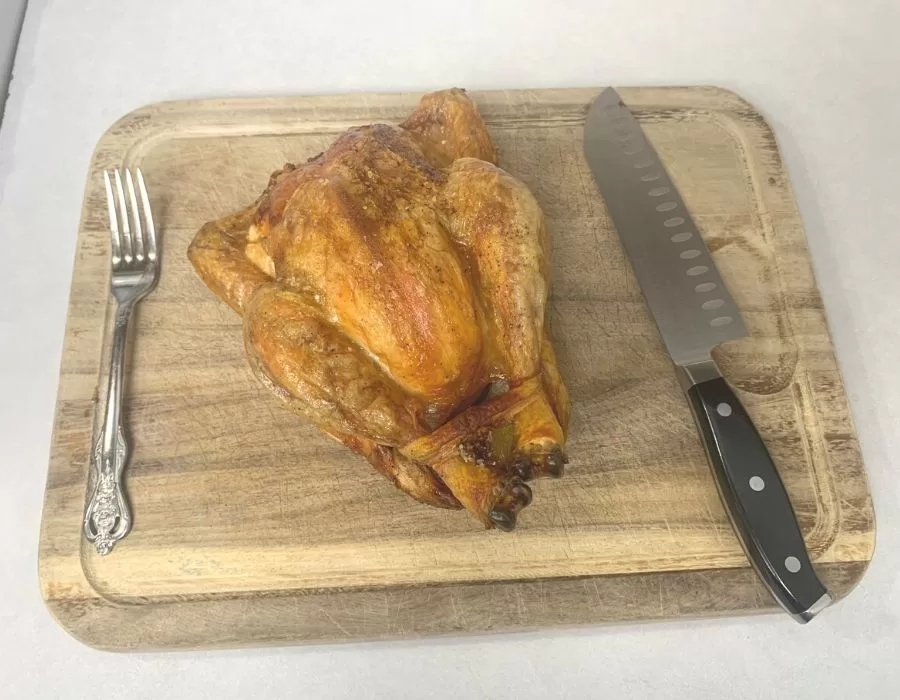
This delicious roast chicken has crispy skin with tender, juicy meat!

All that’s left is to get your roast chicken to a cutting board and start carving it for dinner!
Roasted Potatoes, Carrots, and Biscuits Go Well With Roast Chicken
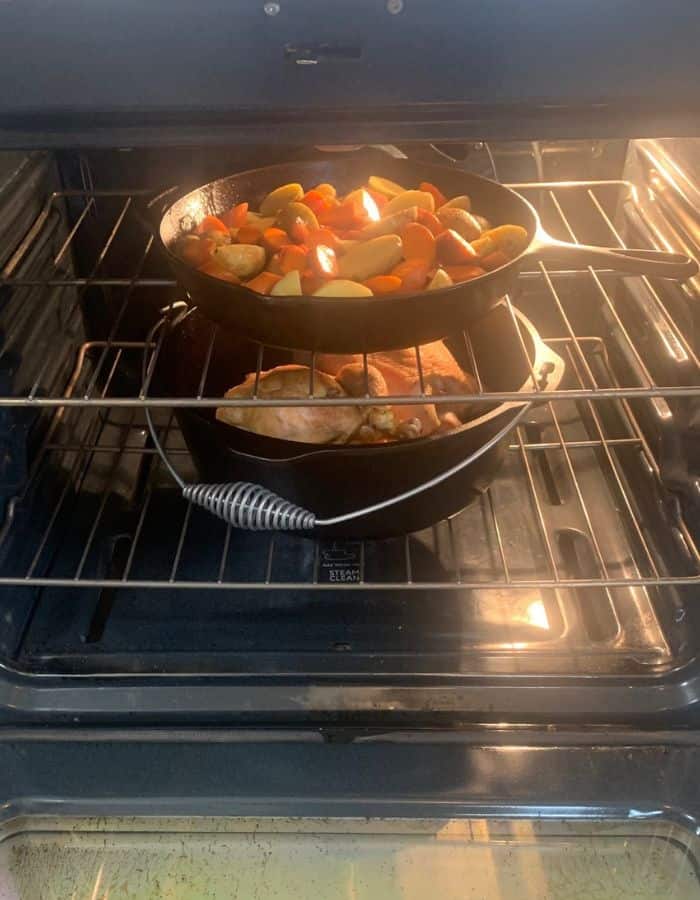
I like to keep it simple and serve roast chicken with some rustic roasted potatoes, carrots, and biscuits.
After my chicken goes into the oven, I’ll cut up some potatoes and carrots in large, rustic chunks and put them in my Lodge cast iron skillet. I drizzle some olive oil on them and sprinkle salt and pepper on top. Then I will slide the skillet into the oven as soon as I’m done and the roasted veggies come out delicious and crispy when the chicken is done!
This meal also goes great with some homemade biscuits!!

Recipe Card
Roast Chicken with Neck and Feet
Equipment
- roasting dish
- cutting board
- knife
Ingredients
- 1 whole chicken, 4 to 5 pounds (including neck and feet)
- 1 lemon
- 1 bulb of garlic
- salt, to taste
- pepper, to taste
Instructions
- Preheat your oven to 425°F (218°C). Put your chicken feet and neck in the bottom of your roasting pan. Set your whole chicken on top, making sure that the legs are bound tightly against the breast. The whole chicken should be lifted off the roasting pan by the neck and feet.
- Quarter a lemon and cut a bulb of garlic in half. Stuff them inside the cavity of the chicken. Put a liberal amount of salt and pepper on the outside of the chicken.
- Roast your chicken in the oven for 1 hour and 40 minutes or until golden brown and thoroughly cooked. Then cover it and let it rest on top of the stove for 10-15 minutes.
Don’t forget to save all the chicken scraps to make healthy and nutritious chicken bone broth! By this, I really do mean to save EVERYTHING. Pull all the meat off the bones and store it in your fridge for other meals. Then put the roasted neck, feet, all the bones, lemon, garlic, and even all the flavorful juices into a large freezer bag to store in your freezer until you make your next batch of chicken bone broth. Nothing should go to waste.
And that’s how we roast chicken here on the farm!
Shop This Post!
Classic Razor-Sharp 8-inch Chef’s Knife, German
Other Posts You May Enjoy
Southern Black Eyed Peas and Collard Greens
Stovetop Chicken Bone Broth for a Thrifty Kitchen
Homestead Chicken Harvest Day! (Part 1)
Homestead Chicken Harvest Day! (Part 2)
Healthy Honey Lemonade for Hot Summer Days
Pin It For Later!



This looks great! We don’t have our own chickens yet, but I have found chicken feet at Walmart of all places! Asian food stores are also good places to find them – and they do make great bone broth. I’ve bought feet before to get the healthy bone broth but never thought to simply cook them with the chicken.
I didn’t know Walmart carried them but that’s great for people who want to jump into the traditional foods arena! How exciting!!
I love the idea of utilizing the whole chicken!!!
I agree! I try not to waste anything that can be useful.
Ooo I like the idea of Roasting those with the whole chicken! Usually. I see them roasted separately before making a broth but this totally saves time and energy!
Absolutely! Time and energy are just as valuable as money in my book.
I never heard of roasting a whole chicken with neck and feet before. But a great idea for making broth later.
Thanks! And roasting really improves the flavor of your broth.
I love this idea! I use the neck and feet when I make broth but I’ve never used it when roasting the whole chicken. I’ll have to give it a try.
This is a great idea! It can be overwhelming to make a ton of broth at once.
Thanks! I agree.