Pumpkin Plant Stages (Growing From Seed to Harvest)
If you’re looking for information on the different pumpkin plant stages, you’ve come to the right place! I’ll show the entire process of growing pumpkins in our garden from seed to harvest. If you can find some space to grow your own pumpkins, they are definitely a lot of fun to grow. And they also make fantastic fall decor!

I had dreamed of having my own pumpkin patch for years prior to moving to our farm. I daydreamed of idyllic green pastures, big barns, perfect vegetable gardens where weeds would never grow, and lush, productive pumpkin patches.
Fast forward a few growing seasons and farming is a lot harder than what I imagined. But having a lush, productive pumpkin patch is relatively easy in hot and humid central Alabama where we live.
If you want to dive into your own pumpkin patch but you aren’t sure how to get from seed to harvest, look no farther! I’ll walk you through all the pumpkin plant stages and helpful tips so that you can be a successful pumpkin grower.
Brief profile of pumpkins.
Pumpkins (Cucurbita pepo) are warm weather annuals in the cucumber family (Cucurbitaceae) along with melons, summer squash, other winter squash, and gourds.
Pumpkins are native to Central and South America, where they have been grown for thousands of years.
When cured and stored properly, pumpkins can last several months in storage. This makes them staples for winter meals, which is why they are called winter squash.
Every part of the pumpkin plant is edible including the outer rind and stem; the inside flesh, pulp, and seeds; and even the flowers and leaves!
This post contains affiliate links, which means I make a small commission at no cost to you. See my full disclosure here.
What is the pumpkin life cycle?
There are seven pumpkin plant stages.
- The first pumpkin plant stage is the pumpkin seed.
- The second pumpkin plant stage is seed germination, sprouting, and growing “seed leaves.”
- The third pumpkin plant stage is when the plant grows its first true leaves.
- The fourth pumpkin plant stage is when the pumpkin vines start to grow.
- The fifth pumpkin plant stage is when the flowers develop.
- The sixth pumpkin plant stage is when pumpkins start to grow.
- The seventh pumpkin plant stage is harvesting the pumpkins.
The first stage in the life cycle of a pumpkin is the pumpkin seed.
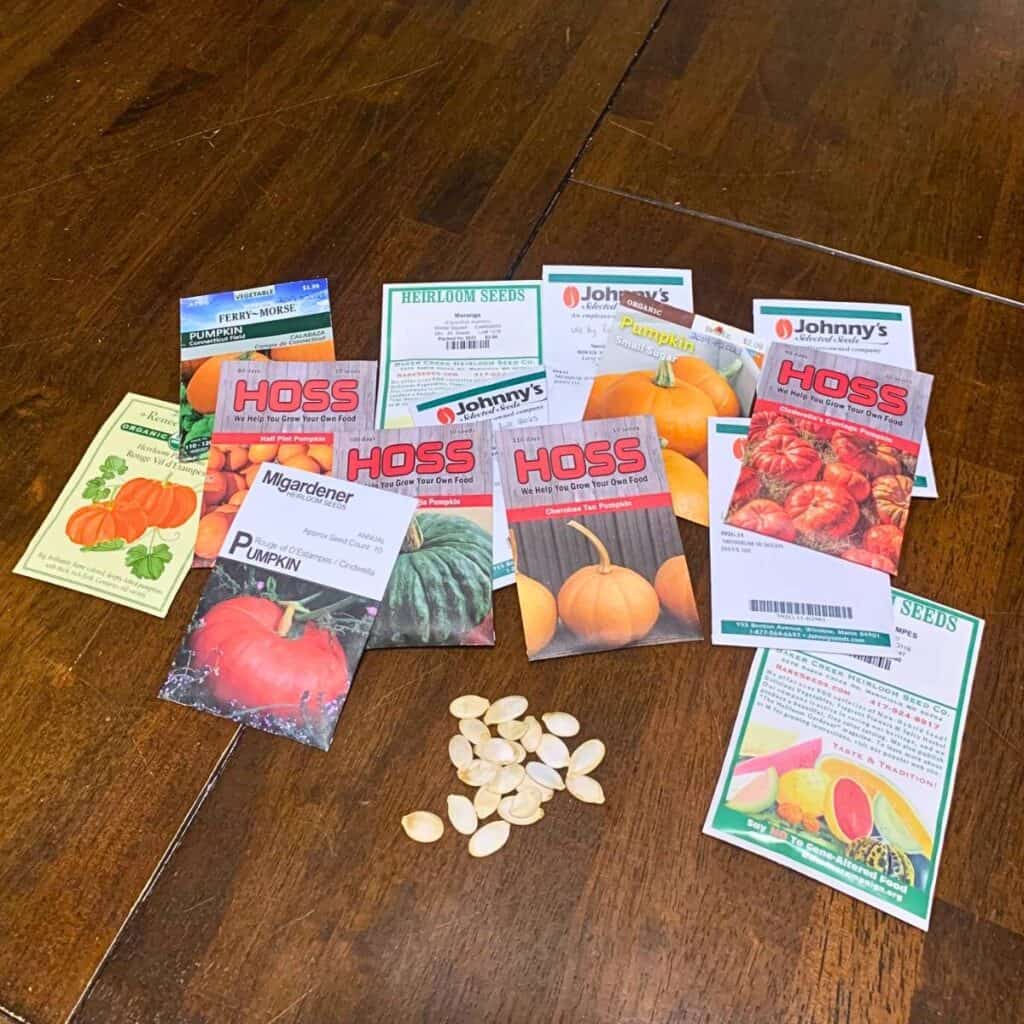
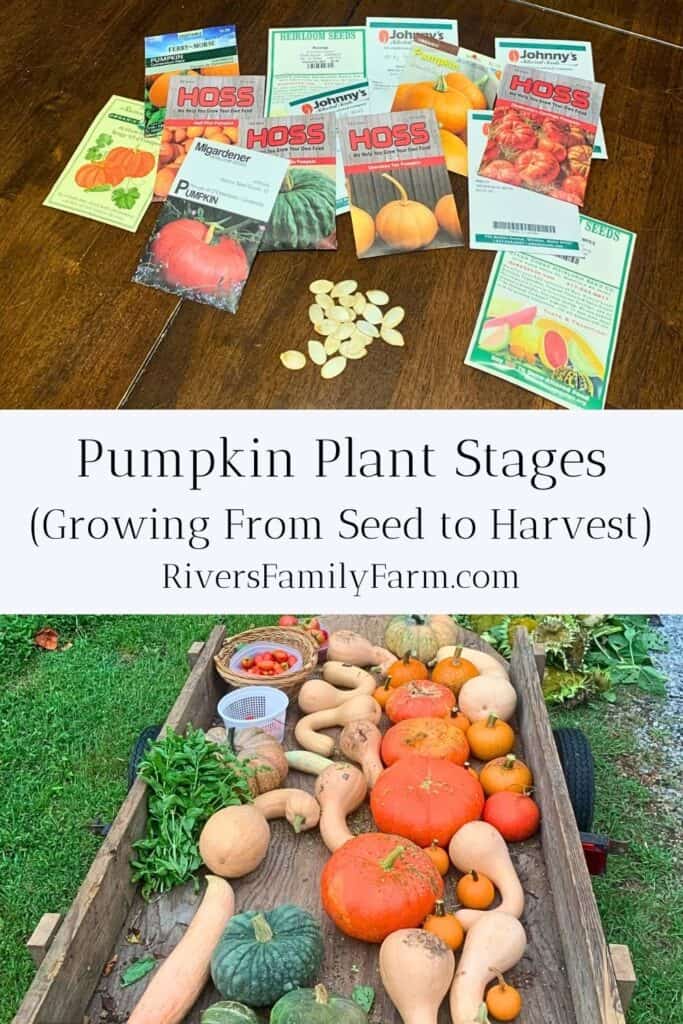
Pumpkin plants begin with a single seed. Pumpkin seeds are flat, oval-shaped, and white to off-white in color.
Everything you need to grow a healthy, productive pumpkin plant and multiple pumpkin fruits is within that seed.
How to sow your pumpkin seeds.
If you have a long, hot growing season, you may wish to sow your seeds directly outdoors into your vegetable garden when the soil temperature warms up enough in spring. However, if you have a short growing season, you will need to start your seeds indoors. That way you can add a couple weeks to your growing season.
Even though we have long, hot summers that are perfect for growing pumpkins, I still like to start some pumpkin plants indoors.

I prefer to start most of my plants indoors for a couple of reasons.
One reason I enjoy starting seeds indoors is to get a jump start on the growing season. I like to garden when the temperatures outside are too cold for hot-weather plants.
The second reason I like to start seeds indoors is because older plants can withstand pests better than brand new seedlings outside. Early spring is our heaviest pest season. If I sow seeds directly outdoors, the young plants that spring up will likely not survive our pests. But when I plant out pumpkin plants that are already a couple weeks old, they seem to hold up just fine against the garden pests.
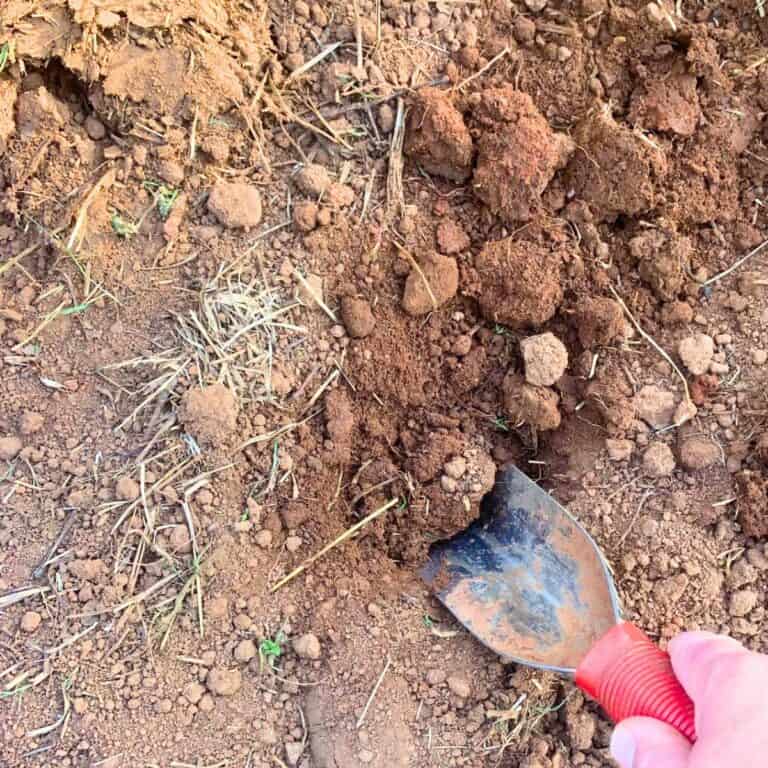
No matter which method you choose to start your seeds, you’ll want to sow the seed about 1/2 to 1 inch deep into your soil. I wrote a post on how to improve seedling health by adding vermicompost, if you’re interested in learning more.
If you want pumpkins in time for Halloween, plant them by early June and no later than July 4.
The second pumpkin plant stage is germination and growing “seed leaves.”

If you’ve sown your pumpkin seeds at the correct soil depth, keep the soil moist and warm, and give them lots of sunlight or artificial light, your seeds will germinate and sprout. During seed germination, the small seed starts to grow a root system.
The first leaves that grow are called “seed leaves” or “cotyledons.” These thick leaves will most often have a bit of seed coating attached to their tip. Avoid the temptation to pull off the seed coating. If you pull it off, you risk ripping the young leaf.
If you need to transplant your pumpkin seedling outdoors, avoid handling the seedling by the stem. You don’t want to risk damaging the plant stem, which may kill your young plant. Handling the seed leaves is perfectly fine, though.
Additionally, if you started seeds indoors, pumpkins and other winter squash don’t like to have their roots disturbed. Avoid letting your plants become root-bound and transplant them outside when the temperature is warm enough.
The third pumpkin plant stage is when the plant grows its first true leaves.
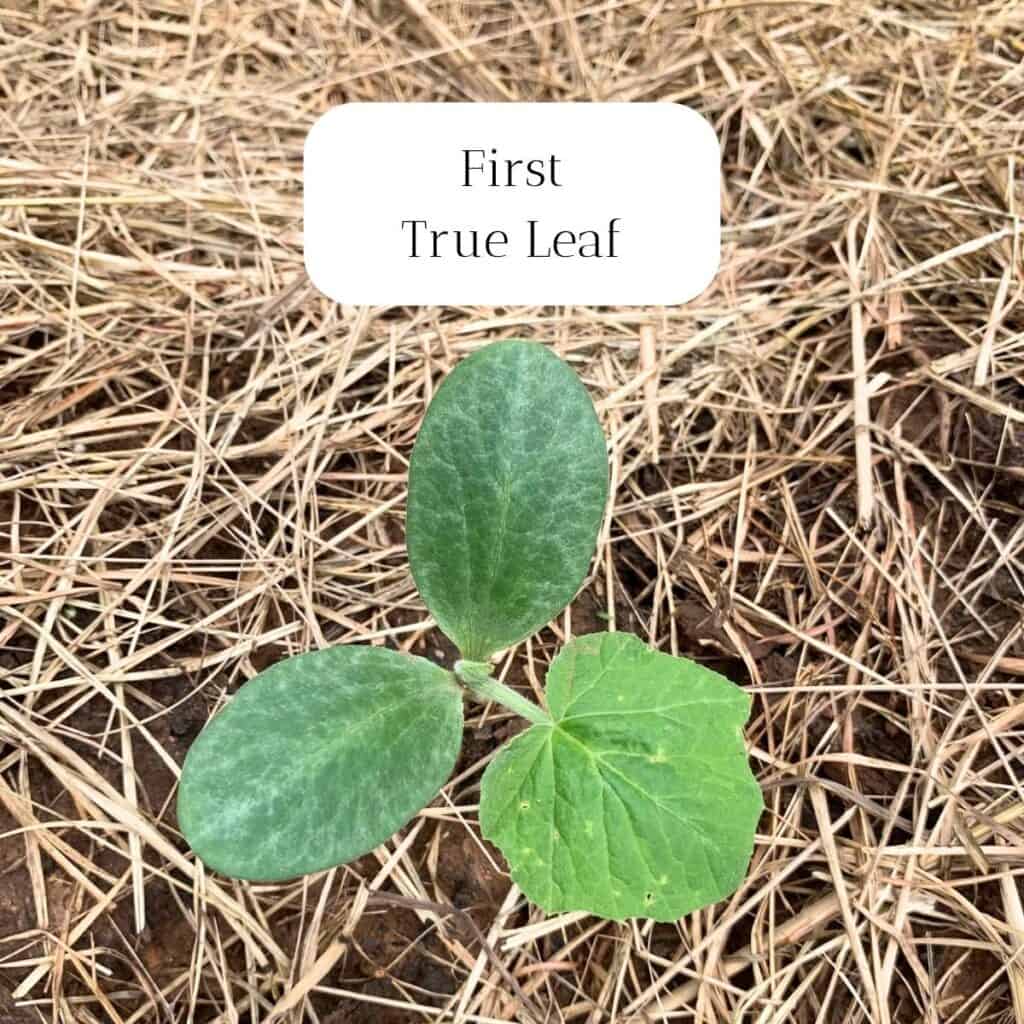
After the seed leaves grow, the true leaves follow. True pumpkin leaves are capable of photosynthesis, which is how the plant converts sunlight, water, carbon dioxide, and soil nutrients into energy for the plant to grow.
You’ll notice that the pumpkin’s new leaves look completely different from the seed leaves. This is normal.
Pumpkin leaves come in different sizes and shapes, but they are most often dark green with jagged edges. Prickly hairs grow on the top and bottom as the leaves mature.
Keep a close watch on the pumpkin leaves for signs of downy mildew, powdery mildew, fusarium wilt, phytophthora, and other viruses. Plant disease-resistant pumpkin cultivars if you can. Your agricultural extension office can help you know which varieties grow best in your area.
The fourth pumpkin plant stage is when the pumpkin vines start to grow.

Pumpkin vines seem to have a mind of their own. Now is the time when you will either sigh in relief for spacing your pumpkin plants out sufficiently, or you will start to get concerned.
The vines will creep through and over all your other crops and fences as they grow. They start small but eventually get huge around. That’s why it’s best to place your pumpkin patch at the perimeter of your garden or outside your garden altogether.
Make sure to keep your pumpkin patch watered well. The plants are growing a lot every day and they’re thirsty in the hot summer!
The fifth pumpkin plant stage is when the flowers develop.

Just like other winter squashes, pumpkins develop a showy, yellow flower when it’s mature enough to start producing its fruit.
The first several flowers will likely be male flowers. That means they will never turn into a pumpkin even if you pollinate them by hand. So if you see your bright yellow flowers shriveling up with no bud of a pumpkin forming, it’s not because you’ve done anything wrong.
The female pumpkin flowers will eventually come on the scene. You can tell the difference between male flowers and female flowers by the bulb at the base of the flower.
If there’s a round ball or bulb at the base of the flower where the flower meets the stem, then that flower is female. If a bee pollinates it, the fertility will travel down the stem and a pumpkin will begin to grow.
Every part of the pumpkin plant is edible including the flowers and leaves! Feel free to harvest male flowers until you start seeing female blossoms form, and then be sure to leave a few male flowers around. You can rinse the flowers off and add them to salads, or you can stuff them, coat them with batter, and fry them.
You could also harvest some of the leaves at this time. I go into greater depth at the bottom of this post, but you want to be sure to only harvest every other leaf so that the pumpkin plants still get plenty of photosynthesis action!
The sixth pumpkin plant stage is when pumpkins grow.

Sometimes it’s hard to see the pumpkins as they grow in your garden. Our pumpkin leaves were so large and tall this year that we could hardly see the baby pumpkins underneath as we walked through our garden!
If you want to add a special touch to your pumpkins, try adding children’s initials or symbols to the soft rind.
While the pumpkins are still young and the rind is soft, lightly scratch into the surface of the rind. As the pumpkin grows, so will whatever you scratched into the rind.
If you would also like to grow a square pumpkin like Spookley, put your young pumpkin into a square wood mold or milk crate! As the pumpkin grows, it will fill up the space inside the crate!! Then simply unpin the wooden mold hinges or cut the crate off. Voila! A square pumpkin!!
The seventh pumpkin plant stage is harvesting the pumpkins.
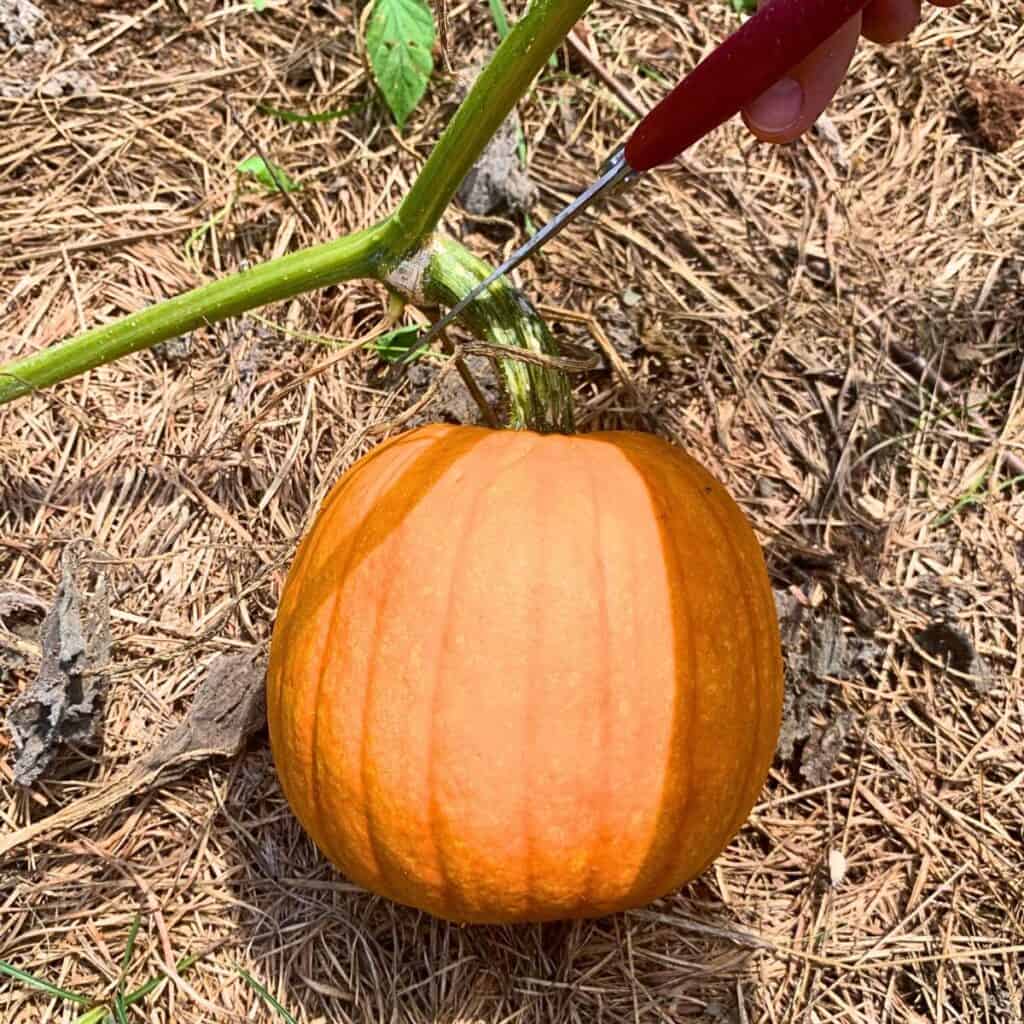
When the long growing season has finished and your pumpkins have grown the requisite number of days (anywhere from 95 to 150 days), be on the lookout for mature pumpkins to harvest! This is an exciting time.
Keep track of when you plant your pumpkins so that you can be expecting the harvest at the best time. Additionally, don’t plant your pumpkins until you check that the harvest schedule will fit in with your schedule!
Here’s how to tell if a pumpkin is ready to harvest.
If your calendar says the pumpkins have been growing the length of time needed to reach maturity, inspect your pumpkins.
When a pumpkin is fully mature, the tendril on the vine closest to the pumpkin will start to dry out, wilt, and turn brown. When that happens, there’s a good chance the pumpkin is fully mature.

After you see that the nearest tendril is withering, check the rind of the pumpkin. It should be hard and your fingernail shouldn’t be able to leave an indentation when you press into it. The pumpkin should also have a hollow sound when you tap on it lightly.
Also check the seed packet description to ensure that the pumpkin has reached the final color described on the seed packet.
When you determine that your pumpkin is ready for harvest, use a sharp knife or pruning shears to cut the stem about 2 inches from the pumpkin. More stem is fine but you don’t want less than 1 inch of stem. If you don’t have enough stem on the pumpkin, it won’t cure properly.
Never pick up a pumpkin by the stem as you would a handle! If the stem breaks, your pumpkin will no longer preserve well and you’ll have to use it before it spoils. But most winter squashes need several weeks after curing for the flavors to reach their potential!
It’s a good idea to wear gardening gloves to harvest pumpkins because the long vines and leaves are very prickly. The small, sharp hairs can work their way into your skin pores and feel like splinters. I speak from personal experience! But if that happens, just wash your hands in cool water and soap and gently massage your skin. The pokey hairs will work their way out of your skin within a couple minutes.
If there’s no rain in your forecast for the next 10 days, you can leave your pumpkins in the garden to cure in the sun. Sunshine is the best at curing winter squash rinds and drying out the stems. However, you can also use a covered front porch, barn, or other outbuilding to cure your pumpkins.
Don’t let your pumpkins get wet.
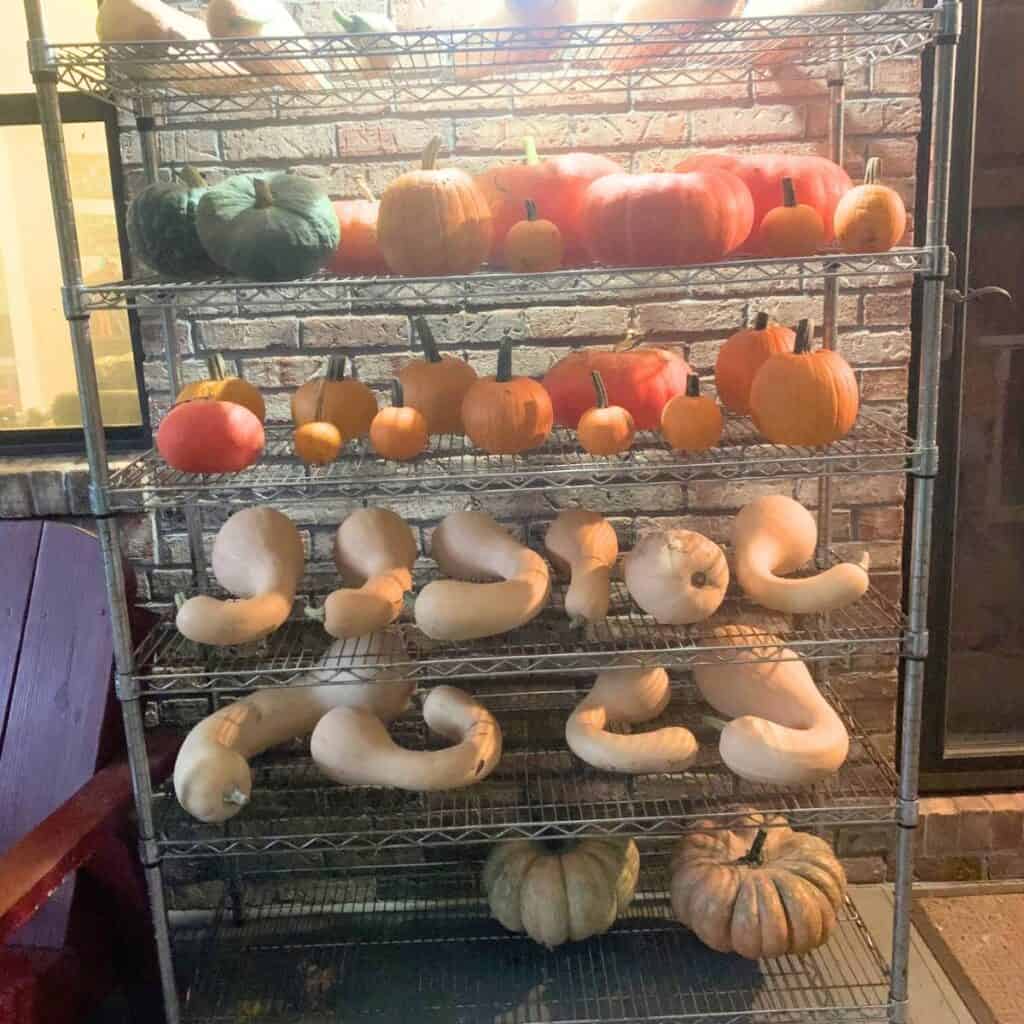
After curing, pumpkins should be stored around 50°F (30°C). They should also have ample air circulation and relative humidity of 60% to 70%.
If you don’t have a root cellar, keep your pumpkins in the lowest level of your house.
Here are some additional tips to help you succeed and get the most out of your pumpkin crop!
How far apart should you plant pumpkins?
Plant pumpkins far enough apart within a row and between rows so that mature pumpkin plants won’t grow over top of them or crowd them out. Pumpkin vine lengths vary between different cultivars.
Pumpkins should be planted with different spacing depending on the cultivar and growth habit they have. The following table can help you plant pumpkins properly:
| Pumpkin Vine Growth Category | Spacing Between Plants (within a row) | Spacing Between Rows |
| bush | 2-3 feet apart | 5-6 feet apart |
| semi-vine | 2-4 feet apart | 6-8 feet apart |
| vine | 4-5 feet apart | 8-10 feet apart |
Pumpkin leaves are edible! Eat the leaves for health and vitality.
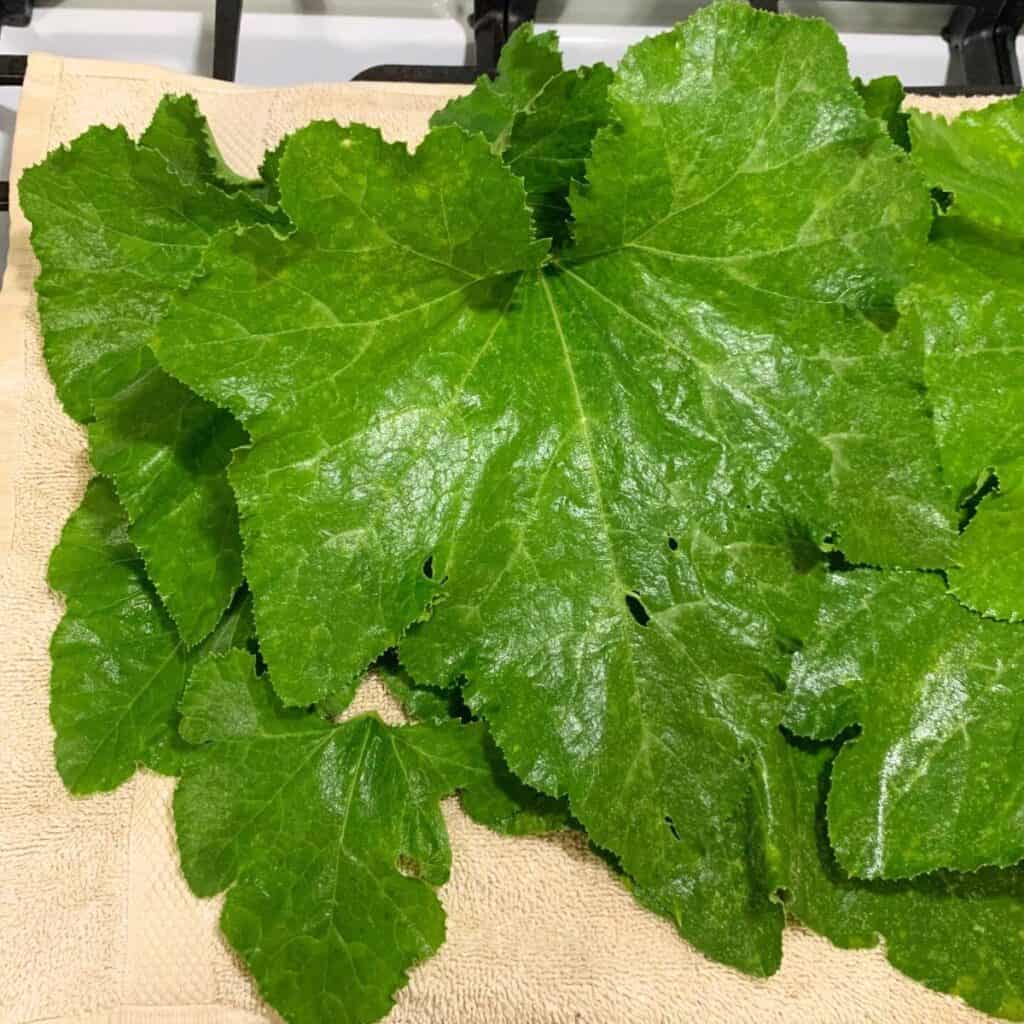
Pumpkin leaves (also known as “pumpkin greens”) are full of antioxidants like beta-carotene (which converts into vitamin A and is good for vision and eye health as well as for a strong immune system), flavonoids, and vitamin C.
The leaves are also rich in essential minerals like potassium, which is needed for muscle contractions, chemical signaling between neurons (nerve cells), and fluid balance. Potassium also helps the kidneys, digestive system, and heart to function properly.
Eating fresh pumpkin leaves is best. But personally, I have trouble eating the hairy leaves. It’s a texture thing. But the flavor is bright and similar to eating snap peas, although they’re not as juicy or sweet as eating a sugar snap pea, for example.
So when eating fresh leaves is out and you want to save your freezer space for other foods, blanching pumpkin leaves and dehydrating them is a great alternative!
Since I don’t like eating fresh pumpkin leaves because of the hairy texture, I will wash, blanch, and dehydrate them. Then I’ll powder them up so that I can use them during the winter in smoothies or soups.
Drying pumpkin leaves is a popular preservation technique used in Sub-Saharan Africa and Asia. In fact, a study published in March 2021 from Frontiers in Nutrition found that steam blanching pumpkin leaves before drying them led to the highest retention of total phenolic content. The study concluded that it is safe to consume pumpkin leaves frequently.
Nutrition of pumpkin leaves vs spinach leaves.
| 1 cup portion | Pumpkin Leaves, raw (39 g) | Spinach, raw (25 g) |
| energy | 7.41 kcal | 5.75 kcal |
| protein | 1.23 g | 0.715 g |
| fiber | not tested | 0.55 g |
| calcium | 15.2 mg | 24.8 mg |
| magnesium | 14.8 mg | 19.8 mg |
| potassium | 170 mg | 140 mg |
| phosphorus | 40.6 mg | 12.2 mg |
| iron | 0.866 mg | 0.677 mg |
| zinc | 0.078 mg | 0.133 mg |
| copper | 0.052 mg | 0.033 mg |
| folate | 14 μg | 48.5 μg |
| beta carotene | not tested | 1,410 µg |
| vitamin A, RAE | 37.8 µg | 117 µg |
| vitamin C | 4.29 mg | 7.02 mg |
How to harvest pumpkin leaves for eating.
Harvest organically-grown leaves that haven’t been sprayed with anything. It’s best to harvest young and tender leaves for fresh eating. If you will be blanching and drying the leaves, older ones are fine.
To harvest pumpkin leaves, use scissors to cut every other leaf so that the vine continues to grow. You can also fold the leaf in half so that you’re touching the soft underside versus the prickly side, and pull it off the vine. Be careful because the leaf and vine hairs are sharp! So wear gloves.
What should you do to grow the best pumpkin plants?
When it comes to the garden, there are some things you can do to ensure you have a great crop of pumpkins.
To grow the best pumpkin plants, you should start by making sure that you have nutrient-rich soil that is the correct pH for what you want to grow. Then, start the right pumpkin seeds for your growing area at the right time. Make sure there’s no danger of frost. You can find the pumpkin cultivars that grow best in your area from your local county agricultural extension office.
Next, space out and plant your pumpkin plants according to seed packet recommendations with access to at least 8-12 hours of full sun each day. Finally, control the weeds, water the garden, use organic pest control methods, and give your pumpkin vines tons of space to grow.
Tip: Be sure to locate your pumpkin patch in a well-draining area. Pumpkins should not be planted in a low spot that is susceptible to flooding.
I wrote a detailed post on how to take a soil sample (along with other helpful resources for home gardeners). It’s important to know what your soil has too much of or too little of before you start planting in your garden. Pumpkins especially need a lot of nitrogen since they have a lot of growing to do in the season.
I hope this post encourages you to start your own pumpkin patch!
Happy gardening!!
Shop This Post!
square nursery pot, case of 60 (reusable)
non-GMO, heirloom variety pack of pumpkin seeds (5-pack)
Other Related Posts
Soil Lab Tests and Resources for Gardeners
Signs of Acidic Soil (Low pH) and How to Make it Alkaline
How to Get Rid of Tiny Black Bugs on Tomato Plants
Pin It For Later!

This was incredibly informative! Thank you. I’m definitely going to try scratching in the initials next year. I had no idea you could do that. That’ll be so fun for the kids!!
You’re very welcome! I’m glad you found this post helpful.
This was so informative! I love pumpkins, to eat and to decorate with!
Me too!
Wow, this is a great and very informative post!!! I love pumpkins!!! Thank you for sharing!!!.
You are most welcome!
As someone who’s just started gardening, your detailed explanation of each growth stage was incredibly helpful. I particularly appreciated your tips on starting seeds indoors and the proper spacing for planting. I didn’t know that pumpkin leaves could be edible, which was a fun fact to learn.
Hi Robin, I’m so glad you found some helpful tips here!
Love, Rebekah
Thank you for the post. Lots of really good info included. I have two questions. I have been fighting squash bugs all season. I do not use chemicals in my garden for the sake of the pollinators I encourage. Also, I believe it is downy mildew. I have tried everything to get rid of it, but that stuff is resilient!
Any suggestions?
Hi Cheryl, I’m glad you found this information helpful! FIRST: For squash bug issues, if you have chickens or ducks I highly recommend putting them into your garden about 1 hour before sunset if you can. They will pick off squash bugs like ice cream and not destroy your produce! I’ve had good success with that in the past for tomato hornworm and squash bugs. Second: If you don’t keep poultry, you can try to remove the squash bugs manually by putting some flat cardboard, wood boards, or flat rocks on the soil at the base of your infected plants. Squash bugs will seek refuge under them during the night. Then, first thing in the morning, go out and flip over the cardboard or rocks and put the squash bugs you find in a bucket of soapy water. Additionally, you can remove the clusters of eggs on the underside of squash leaves by using a butterknife or something similar. Put the eggs in your bucket of soapy water, too. Eggs hatch around every 10 days, so a weekly check is best if that’s the route you choose. Squash bugs overwinter in your garden, so be sure to remove all plant debris at the end of the season. Then, next year you have a few options to proactively battle these bugs. 1) You can wait to plant out your squash plants until the beneficial insects are around, which is a few weeks after squash bugs hatch from the soil. I haven’t had many infestations after figuring out that tip. 2) You can use floating row cover if you can’t push back your planting date. 3) You can grow your squash plants in a separate area that hasn’t had any squash grown in the last few years. If you have any other questions, I’m happy to help any way I can!
Love, Rebekah