Easy Homemade Butter: How to Make and Store It
I’m sharing how we make and store our homemade butter so that it lasts a long time. The recipe only needs ONE ingredient plus a stand mixer!

This post may contain affiliate links. As an Amazon Associate I earn from qualifying purchases. That means I make a small commission at no cost to you if you place a qualifying purchase through any of the links. Read my full disclosure here. Thanks for your support!
I’ve mentioned this in prior posts, but my annual goal is to put up at least 40 pounds of butter for the year for my family. When we are “drowning in milk” after weaning the calf off Belle, it usually takes about 6-8 weeks to get a year’s supply of butter, mozzarella, and other cheeses we like to have.
How To Make Easy Homemade Butter
The best way to make butter is to churn heavy cream in a stand mixer with a whisk attachment until it turns into whipped cream, and then continue whisking at a moderately high speed until the whipped cream “breaks” into butter and buttermilk. Then, pour off the buttermilk, and press and shape the butter.
But there are other methods of making butter and details that you’ll need to know in order to prepare butter the right way so that it will last a long time.
How To Store Homemade Butter
Store homemade butter in a covered butter dish or butter crock if you want it to be room temperature and plan on using it within a few days. For short-term storage, keep your butter in a covered butter dish with an airtight lid in the refrigerator. For long-term storage, wrap up your butter, store it in a freezer bag, and keep it in your freezer.
Why should you make homemade butter?

Few foods are more delicious than homemade butter. We love to eat fresh, homemade butter. Real butter is a treasure in the kitchen that makes certain dishes really stand out and shine.
Store-bought butter pales (sometimes literally) in comparison to your own butter. Especially if you have a dairy animal or have easy access to raw cream. The best part about having a dairy cow is all the milk and cream that we can turn into other delicious dairy products. Raw cream butter tastes so much different than store-bought butter.
Making homemade butter from cream in a stand mixer is a fast kitchen chore that yields delicious results. It can also save you a lot of money!
How We Make Butter Seasonally
We do like to use other fats like organic coconut oil and home-rendered lard, tallow, and schmaltz, but butter is something that we cherish. If you’d like to know how to make and store schmaltz by rendering chicken fat, check out this post that I wrote.
What works for my family may not work for your family, but here’s the easiest way I’ve found to make butter. I skim the cream off our raw milk on a regular basis after it sits in the fridge for at least 1 day.
I try to skim milk every couple of days so that I collect enough cream to make a batch of butter. And then once a week, I’ll make butter in small batches along with a bulk batch of mozzarella cheese and various other dairy products with the cream and leftover milk that we didn’t get around to drinking that week.
The bottom line is that I try to make a year’s worth of butter and cheese for our family when we wean the calf off of our dairy cow, Belle. It’s a seasonal chore for me. I talk about drowning in milk and weaning the calf more in my cream cheese post if you’re interested in learning more.
What ingredients do you need to make butter?

The only ingredient you need to have to make butter is cream. The heavier, the better. Butter is a dairy product that consists of the fat and protein portion of churned cream. It’s semi-solid at room temperature.
You can use heavy cream or heavy whipping cream from the grocery store, but if you have access to raw milk, the raw cream will have more vitamins, minerals, and enzymes.
I wrote a post on how we skim the cream from our raw milk so that we get the purest cream for making the best butter if you want to learn more.
An alternative way to make butter is by using whole milk, half and half, or other fatty dairy products. Whole milk from the store has around 4% butterfat and when you churn it, the milk solids will eventually churn into butter. However, you’ll have a LOT of buttermilk left over and not a lot of butter.
What are different types of butter?
The basic butter recipe that I’m sharing uses only sweet cream that I skimmed from our raw milk.
By “sweet cream” I mean that I skim the cream off the top of the milk while the milk is still sweet and not after it turns sour.
Our raw milk stays sweet for about 7 days in our refrigerator. After that, it starts to lose its sweetness. It’s still fine for drinking and baking because of the good bacteria present in raw cow’s milk, though.
Churning sweet cream results in sweet cream butter that is unsalted. However, if you prefer to make salted butter, you would simply add salt after churning your cream into butter.
My personal preference is to make a bulk amount of unsalted butter. Unsalted butter can be used in any recipe and I can always add salt later if I want. Plus, skipping the salt when making butter saves me time. It’s a win-win!
If you want to get fancy, you can make compound butter. Compound butter is when you add other ingredients like herbs, spices, or aromatic liquids to the butter to turn it into something special.
You can add fresh, minced garlic to make garlic butter. I often do this for homemade garlic bread.
Add some sour cream and herbs to make a classic compound butter. Sprinkle in some salt for good measure.
You can also add honey to make honey butter. I used to make a lot of honey butter and added chopped almonds. That was always a hit with the family.
How To Make and Store Homemade Butter: The Process
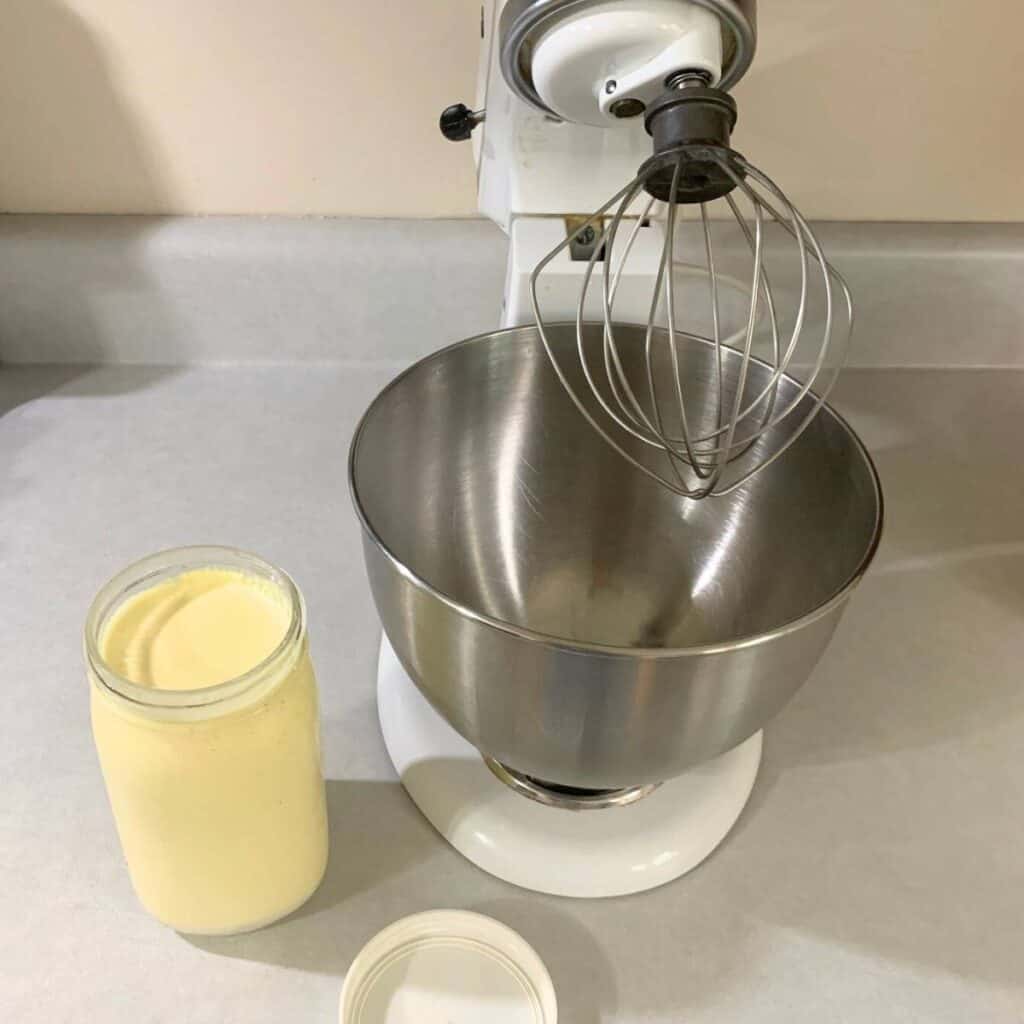
If you don’t have a stand mixer, you can also use a hand mixer, food processor, blender, or even a butter churn if you want to make butter the old-fashioned way.
I like using a stand mixer because I can continue working on other things while the cream is churning into butter, but I have used the other methods successfully, also.
Here are the step-by-step details. The process for making butter is really so simple.
Equipment and Ingredients You Need to Make Homemade Butter
As mentioned above, it’s best to use a stand mixer, bowl, and whisk attachment. You’ll also need a wooden spoon, spatula, fine mesh sieve, and large bowl or liquid measuring cup for your sieve to sit in.
As for ingredients, I use the cream that we skim off our raw milk for making butter.
Cream is more efficient at making butter than some other options. And even though I use cream, the highest fat content dairy I can get my hands on, I still end up with a lot of buttermilk left over. But there’s not as much buttermilk as I would have if I were to use a less fatty dairy product.
For example, a pint of heavy cream will produce about 4 ounces (or one stick) of butter and 4 ounces of buttermilk.
Note: Double Cream has close to 50% fat content versus Heavy Cream that has close to 36% fat content. If you can find the double cream at your store, it would churn into butter more efficiently than heavy whipping cream!
My stand mixer can comfortably churn a quart of cream (four cups of heavy cream) without splashing, so I churn butter in small batches using my stand mixer. One quart of heavy cream makes about a cup of butter (8 to 10 ounces, or two sticks of butter), depending on how full I filled the mason jar with fresh cream when skimming cream off our milk.
Now on to the process details.
Step 1: Churn the cream until it turns into whipped cream.
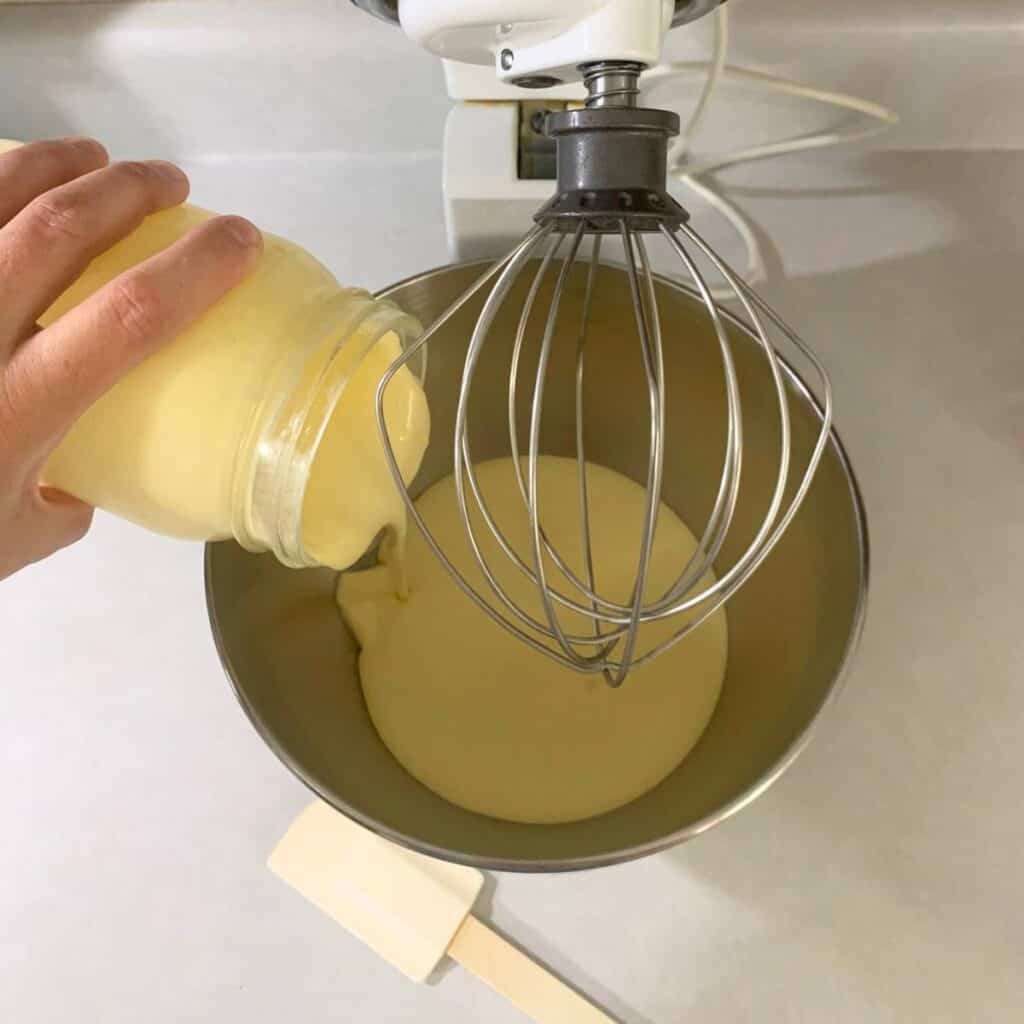
The first step in making butter is to churn the cream (or milk, etc) until it whips into whipped cream. It’s a good idea to start with cold cream straight out of your refrigerator. Cold cream will make your mixing bowl cold and that will keep the butter that forms inside cold.
To do this, pour cream into the bowl of your stand mixer, and then turn it on slow speed at first until the cream starts to thicken. Gradually increase the mixer speed as the cream thickens until you get up to medium-high speed.
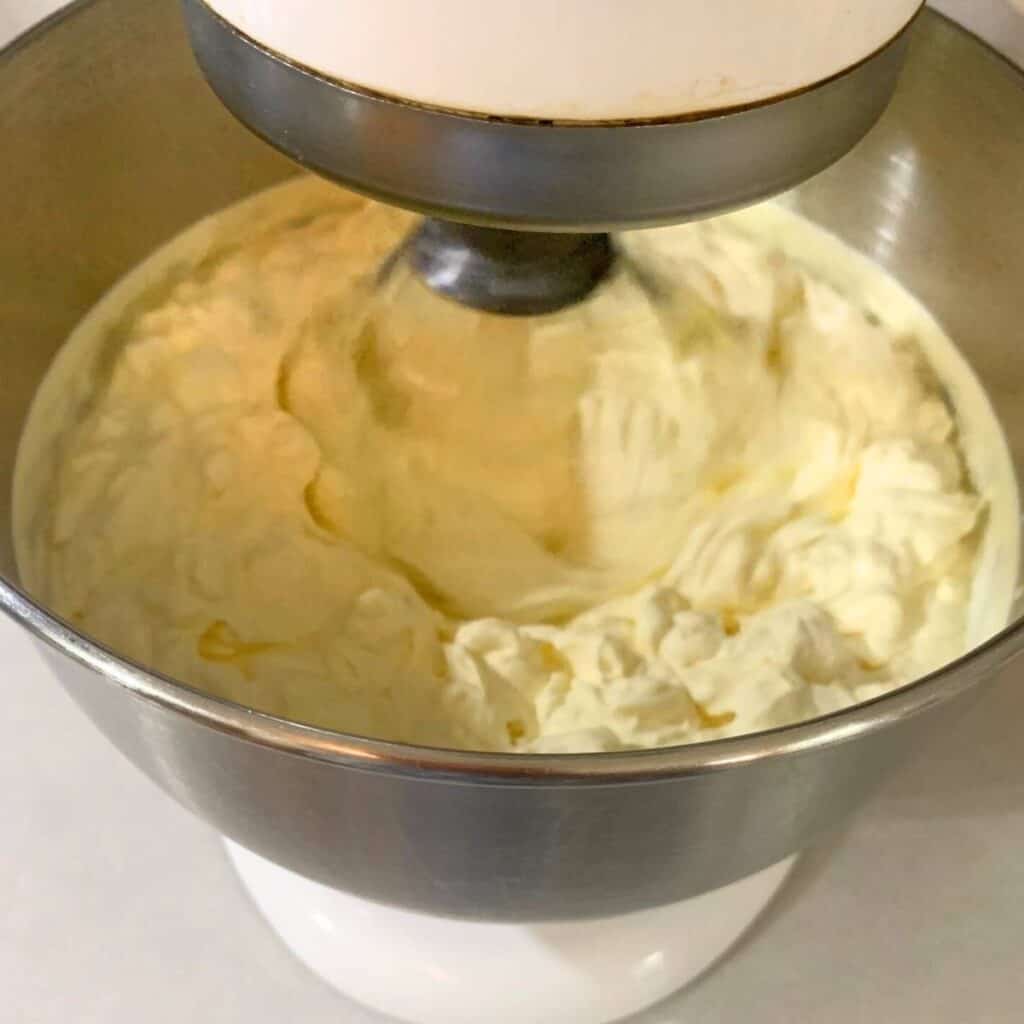
If you have a splash guard for your stand mixer, it comes in handy. My mixer doesn’t have a splash guard, so I just increase the speed incrementally as the cream thickens. Regardless, a kitchen towel may come in handy to clean up the splashes.
Continue whisking the cream until stiff peaks form on your whipped cream. At this point, I like to stop the mixer and scrape the sides of the bowl with my spatula.
Step 2: Whisk the whipped cream until it “breaks” into butter and buttermilk.

Proceed whisking the whipped cream at medium-high speed until it starts to condense. The fat separates and starts to stick together.
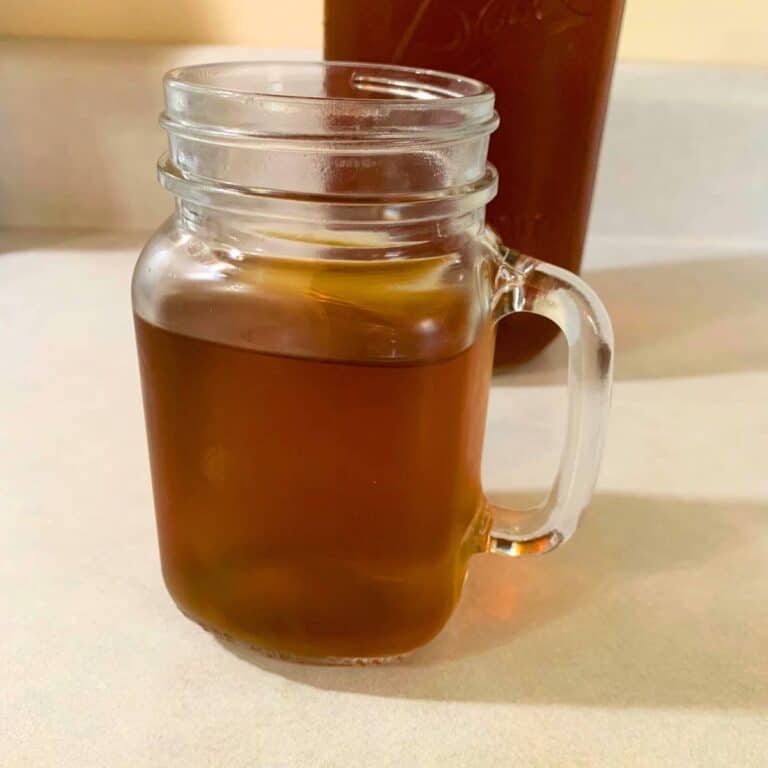
You’ll also notice that liquid is separating from the fat. The liquid is your buttermilk. Unless you’re making cultured butter from cultured cream, you won’t get cultured buttermilk like you’d find at the store. But you can use it just the same in all your baking recipes.
Continue whisking and lower the speed of your mixer as necessary to prevent splashing your countertops. Whisk until the whipped cream “breaks” into butter and buttermilk. If the fat globules are tiny and aren’t sticking together, continue whisking until the butter does come together in large clumps.
Step 3: Pour out the buttermilk.

Get your fine mesh sieve over your large bowl or liquid measuring cup. Then use your wooden spoon to work the butter together inside the mixing bowl.
Hold the butter against the side of the mixing bowl with your wooden spoon or spatula, and pour out the buttermilk for later use. The sieve will catch any butter that happens to fall. If that happens, just turn the sieve upside-down over the mixing bowl to get the butter out.
Step 4: Press the butter and squeeze out the excess buttermilk.

You don’t need any special equipment to press your butter and squeeze out the remaining buttermilk. I just use the back of my wooden spoon and the side of the mixing bowl to press my butter and pour off the excess buttermilk.
It does work out your arms and shoulders, though. So if you have limited mobility, you may want to look into getting a wooden butter paddle.
Some recipes will tell you to wash your butter in cold water or ice water, and mix it until the water runs clear, pouring off the cloudy buttermilk water. I don’t personally like for water to touch my butter. I went into this in my How to Skim Heavy Cream post, but I don’t know how clean even filtered water is, plus I don’t want to dilute the purity of my cream or butter by adding water.
If you make butter in small batches and start with very cold cream, there’s no need to harden the butter by rinsing it in ice water. The stand mixer will get the job done before it warms into soft butter.
Press out as much buttermilk as you can so that you get solid butter.
Note: This is the right place to add in your salt content to make salted butter. Just add a pinch of salt if you started with a pint of cream. If you started with a quart of cream, add 1/4 teaspoon of good quality, fine sea salt. (I like to use Redmond Real Salt.) Press the butter and salt together until the salt is mixed in well.
Step 5: Weigh and shape your butter.
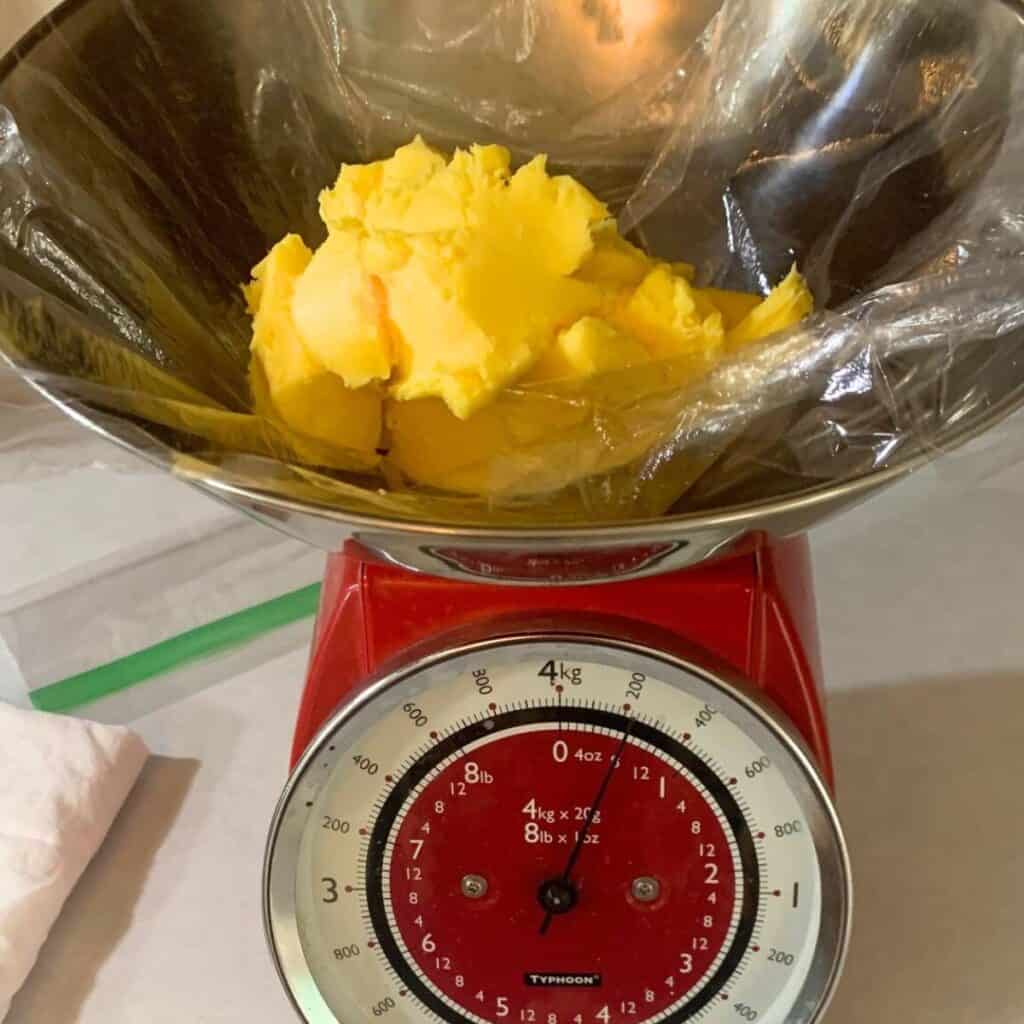
I don’t waste time in the kitchen by shaping butter into little flowers or hearts or any other cute shapes. When I make butter, it’s substance over form, and I need to get the job done as quickly as possible.
That said, no judgement if you want to make pretty butter. You can buy silicone butter molds to shape butter into normal sticks; decorative silicone butter molds to shape butter into flowers, hearts, and other shapes; and wooden butter plungers to stamp designs on your butter.
I like to make butter in 8-ounce slabs without special equipment except for a mechanical stainless steel kitchen scale.
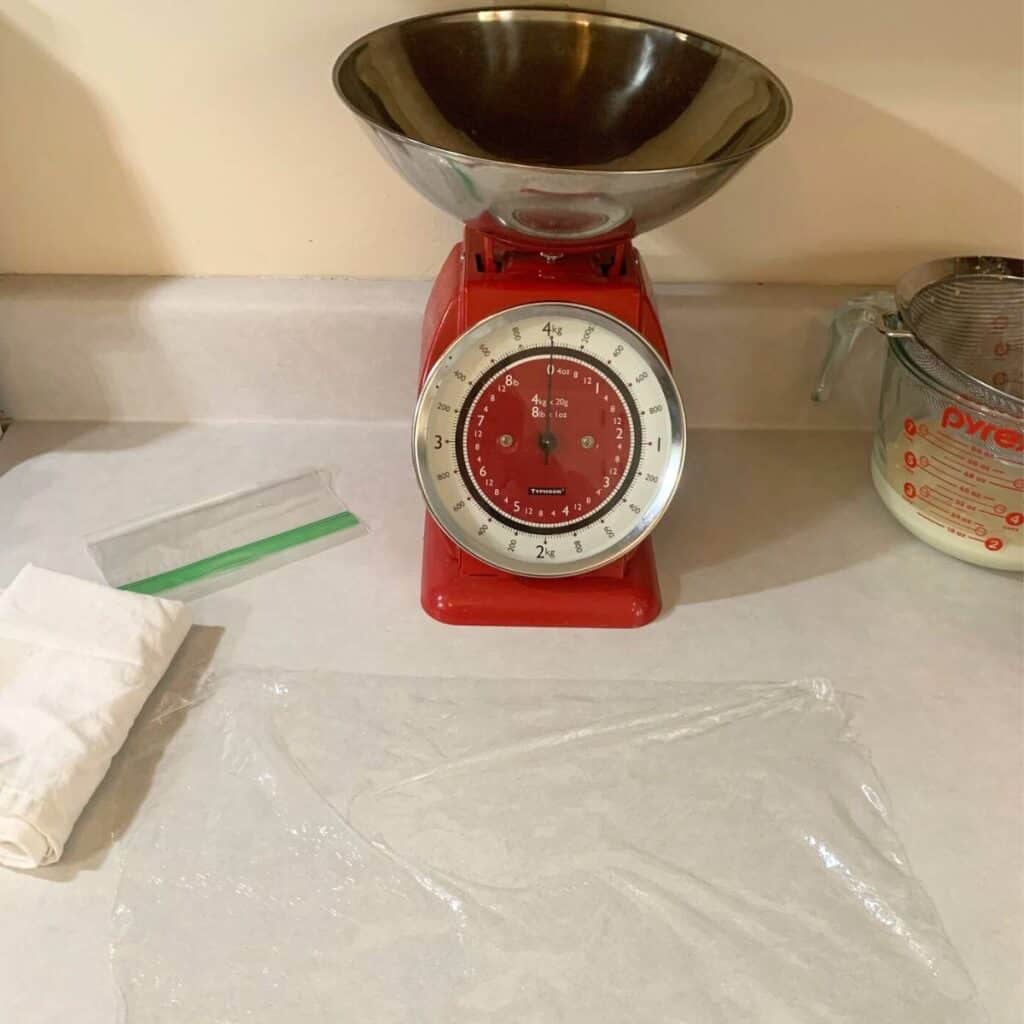
To do this, I cut off some plastic wrap and lay it on the counter. Then I dump the butter into the middle of the plastic wrap.
Note: If you have more cream and need to make more butter, this is the time to pour your next batch of cream into your mixing bowl so you can get started whipping the cream while you finish making your butter.
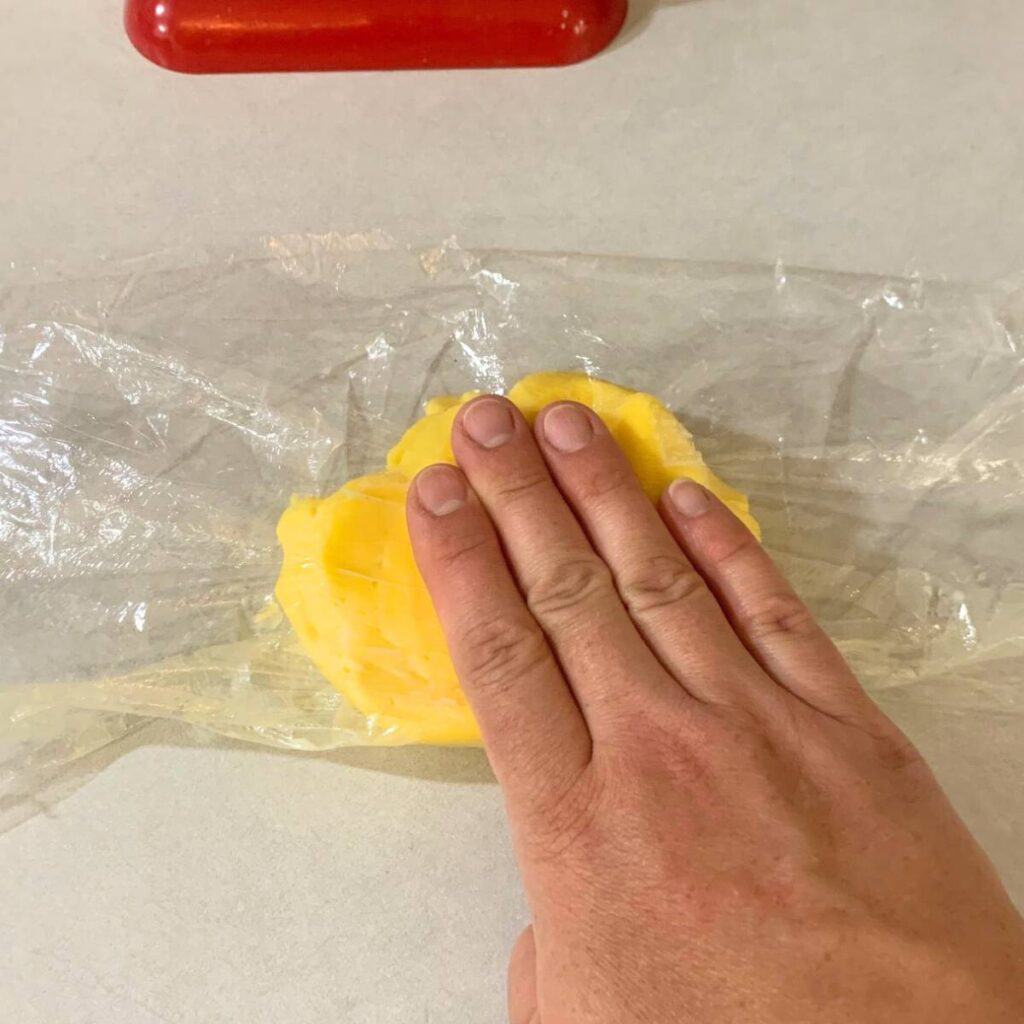
With your butter in the middle of your plastic wrap, fold the plastic wrap over the butter and press down with your hands to flatten the butter. More buttermilk will seep out as you press it.
I like to keep a clean flour sack towel nearby to soak up the buttermilk but you can also use a clean tea towel.
Get out as much buttermilk as you can to increase the shelf life as you shape your butter.
Alternately, if you don’t have plastic wrap, you can use parchment paper or wax paper to press your butter. Stay away from aluminum foil, though. It would be too rigid to work well.
Step 6: Soak up any remaining buttermilk.
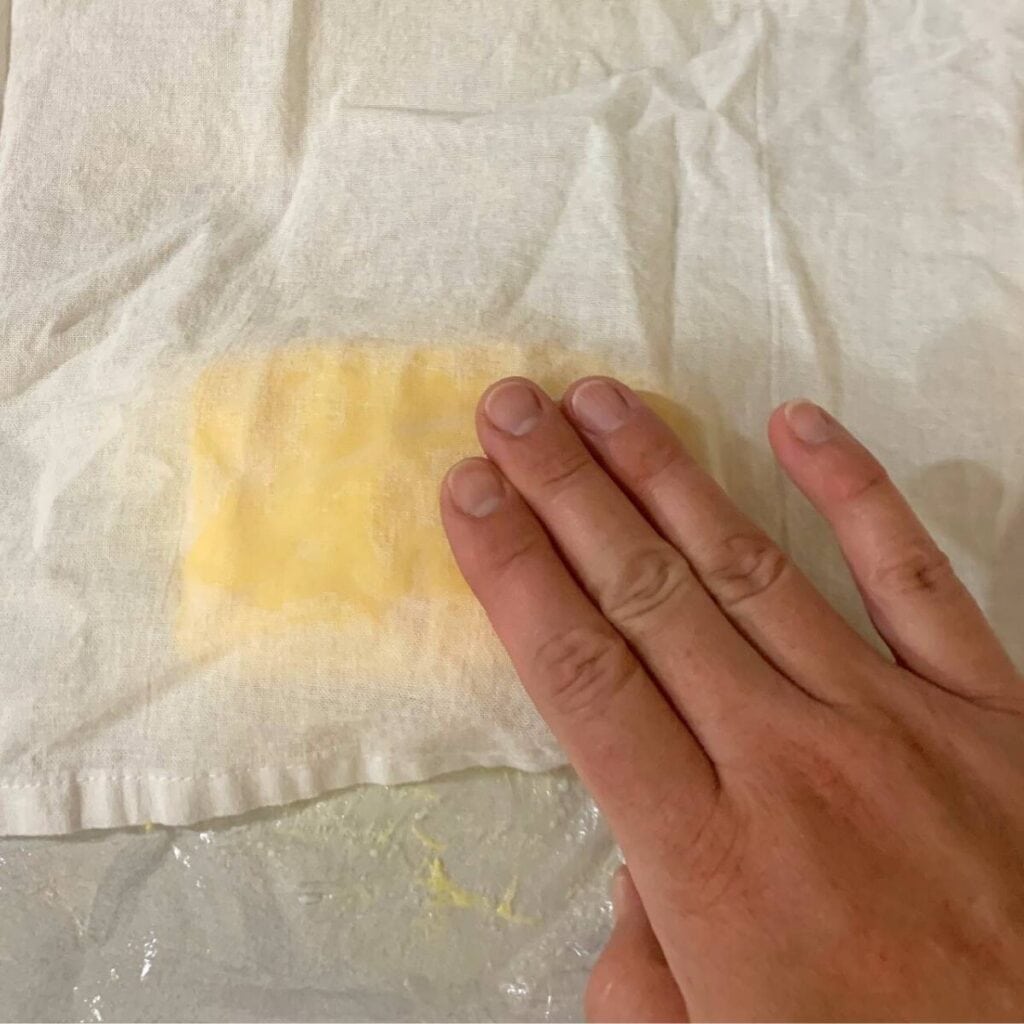
After pressing my butter with the plastic wrap, I will also press the butter with my clean flour sack towel to get more buttermilk. This only works well with cold butter, though.
If your butter is too warm, it will stick to your towel and you’ll lose your butter. If you are making butter by hand and not with a fast stand mixer, you will want to refrigerate your butter to make it hard again before proceeding.
Step 7: Weigh your butter.
Once I am satisfied that I got all the buttermilk out of my butter, I will weigh the butter on my kitchen scale. I aim for 8-ounce blocks, but you can package your butter in any convenient size.
I will often use my wooden spoon to scoop out some of the butter so I can get it down to 8 ounces. Keep your extra butter in a separate plastic wrap that you can add to later or otherwise use up.

Once I have 8 ounces of butter, I will press it one last time with the plastic wrap and shape it into an 8-ounce rectangular block. Then I’ll use the side of my hand to smooth out the sides of the butter inside the wrapping.
Step 8: Store your homemade butter properly.
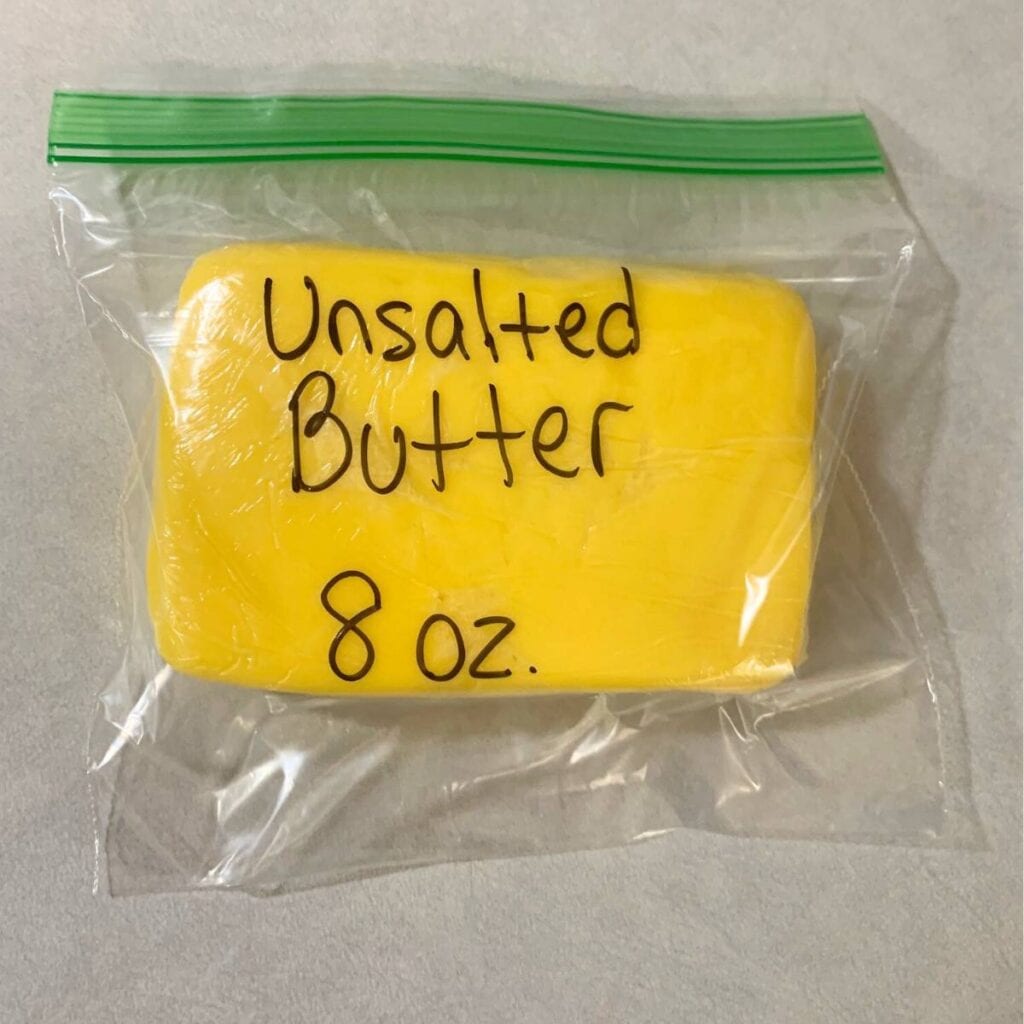
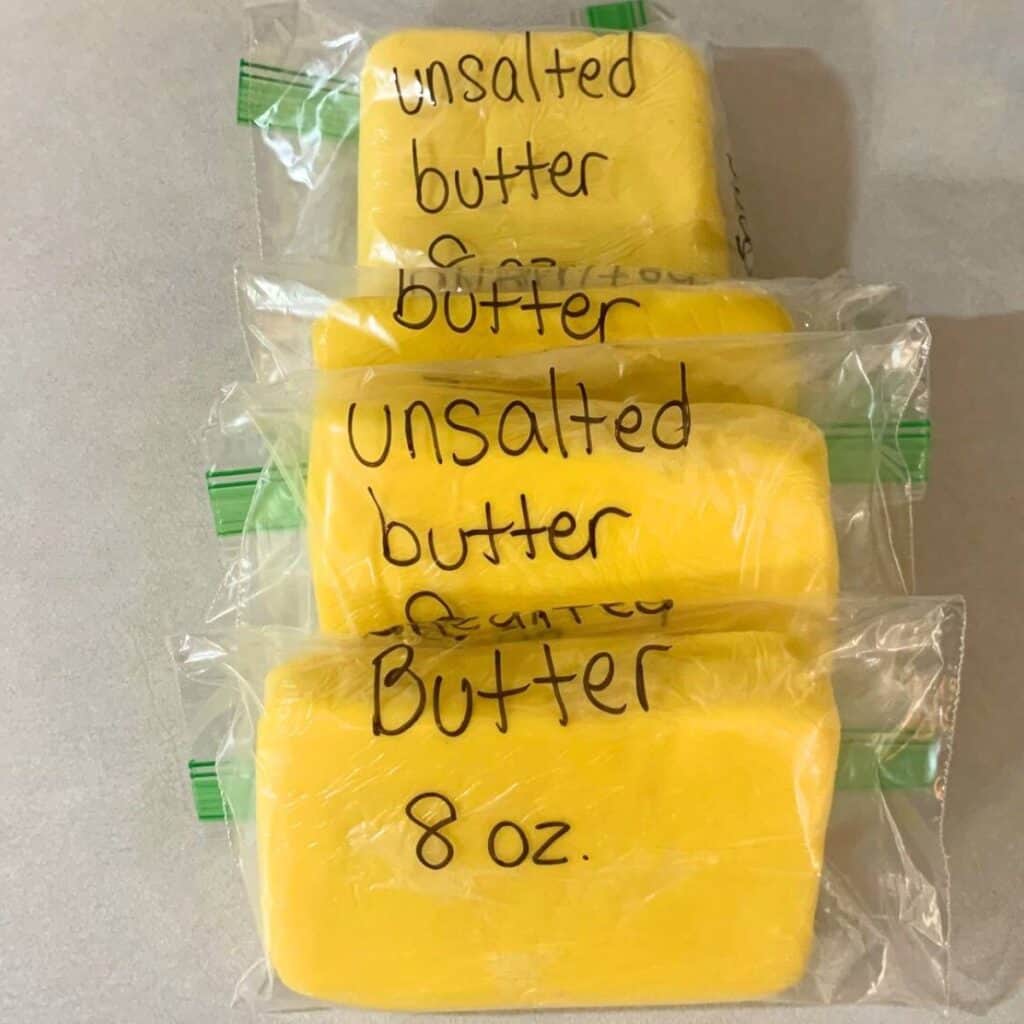
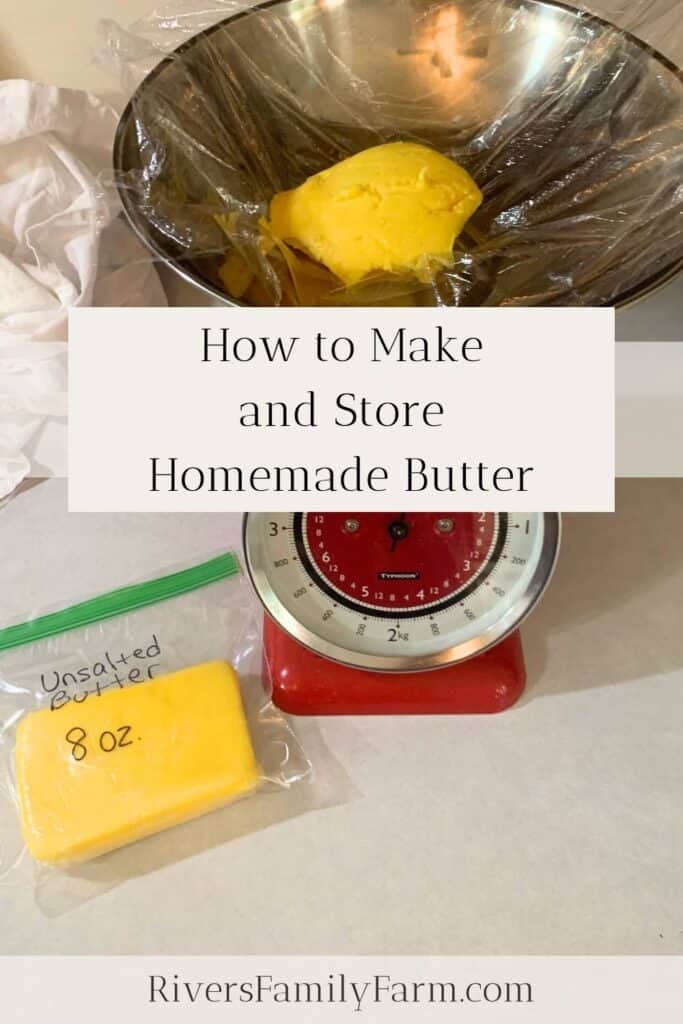
I’ll weigh the butter one last time, and then I’ll put it into a freezer bag labeled “unsalted butter, 8 ounces” along with the date.
Once it’s in the freezer bag, I put it into the refrigerator to harden. The finished product is a pleasant rectangular block that is common for European butter. I just like it because it’s less work on my part.
Then I will continue making butter with the remaining cream I have collected throughout the week.
How Long Does Homemade Butter Last?
The shelf life of homemade butter made from raw cream can last about a week at room temperature, as long as you prepare it properly and keep it in a covered butter dish. If you didn’t press out all of the buttermilk, it will have a shorter shelf life at room temperature, though.
Raw cream butter lasts longer than pasteurized cream butter. If you made butter from pasteurized cream, don’t leave it out for more than 3 days. It’s best to keep this type of butter refrigerated until you need to use it.
If you keep your butter in a covered butter dish in the refrigerator, it will last several months.
If you freeze your butter, it will last over a year and not lose any quality. This is how I can get away with making a year supply of butter in 2 months or less!
How To Store Homemade Butter So It Lasts
The best way to store butter is in a cool place like the refrigerator (for short-term storage) or freezer (for long-term storage). There are different ways to store room-temperature butter and there are butter containers for every kind of butter.
A ceramic butter bell is a European-designed butter crock. Add cold water to the bottom of the crock. Then spread your butter into the “bell” on the underside of the lid. When you put the lid on the crock, the water makes an airtight seal around the butter to keep the flavor and freshness at its peak.
You can also store room-temperature butter in a glass butter dish or in a stainless steel airtight container with a tight-fitting lid.
I like to wrap homemade butter in plastic wrap and then put it into a freezer bag so I can store the butter in our dairy freezer. It takes up very little space, is easy to stack, and is easy to identify.
Well there you have it! That’s how we make and store easy, homemade butter at our farm.
I hope you’ll try to make your own homemade butter!
Happy Homesteading Friends!
Shop This Post!
Stainless Steel Mesh Strainers, 3 Pack
Stainless Steel Funnel for Wide and Regular Mouth Mason Jar
Glass Measuring Cups, 4 Piece Set
Other Posts Related to “How to Make and Store Homemade Butter!”
Cream Cheese vs Butter: Which is Healthier?
How to Skim Heavy Cream from Raw Milk
What are the Health Benefits of Bovine Colostrum?
Pin “How to Make and Store Homemade Butter!”



This is awesome info. Gives me motivation to try my hand at making butter 🙂
I love this! It’s super-easy and fast with an electric mixer or food processor.
Thank you so much for this informative post. I love making butter and you gave me new information I didn’t know. God Bless.
That’s wonderful! You’re welcome and God Bless you, too.
What do with the extra buttermilk
Hi Jillian, I normally only make buttermilk when I am running low. However, I do like to make a lot of buttermilk right before I wean a calf off our dairy cow and dry her off, and I will freeze it by the quart. That way I have plenty of buttermilk in the freezer to pull out as I need it when our milk cow is dry. I hope this helps!
Love, Rebekah
Once you freeze the butter and then later get it out, how long will it last In the fridge once thawed out?
Hi Sidney, I confess that I go through butter pretty quickly at my house, but thawed butter in the fridge that you are regularly dipping into could last at least 2 weeks. Butter made from raw cream will last longer than butter made from pasteurized cream. I would feel safe eating thawed raw cream butter that’s been in the fridge up to 3 months, but I would be careful after a few weeks if it’s butter made from pasteurized cream. Always look at and smell your butter if you’re concerned. If you don’t press out all the buttermilk from your raw cream butter, it will start to develop a sour flavor over time (not harmful), so it’s best to use it within a month if sweet cream butter is what you prefer. It’s also important to use clean utensils every time you need to get some butter out of your dish. That way you don’t introduce any food or bad bacteria to your butter. I hope this helps!
Love, Rebekah
Hi Rebekah, made my first batch of butter today. Followed your instructions to the letter (wonderful practical instructions by the way), so here’s to hoping it’ll keep. Warm regards, Marnie
Hi Marnie, I’m so thrilled and thank you for your compliment! I hope you enjoy your butter as much as we love ours!!
Love, Rebekah
How much salt for salted butter?
Hi Dayna, To make salted butter, first make your butter and pour off the buttermilk and then add a fine sea salt for the best absorption. Fine Redmond Real Salt is my personal preference, but use what you have. If you started with a quart of heavy cream to make your butter, add 1/4 teaspoon of salt. But of course you can salt it to your liking by adding more or less. Once you add in your salt, mix and press the butter to get the salt mixed in the best you can. I hope this helps!
Love, Rebekah
I’d like to make a garlic herb butter using thyme, basil, and garlic. Should I make the butter first then add the herbs? Can it be done the same day?
Hi Kristofer, I love making garlic and herb butter myself! Yes, make the butter first and then add in the herbs. It’s easier to mix the herbs into softened butter, so you may want to let your butter sit out for a bit before adding the rest of the ingredients in. You can do this all in the same day that you make your butter, too. You can also make a bulk batch of herb butter and stick it in your freezer in usable portions! I do this a lot with my yogurt cheese (cream cheese recipe here on the blog) by adding salt and Italian seasonings. I hope this helps!
Love, Rebekah