Southern Black Eyed Peas and Collard Greens Recipe
This Southern black eyed peas and collard greens recipe is as simple to make as it is delicious. There are some comfort foods that really hit the spot. And this is one of my favorites. You may not have been raised in the south but that doesn’t mean you can’t enjoy some traditional southern meals!
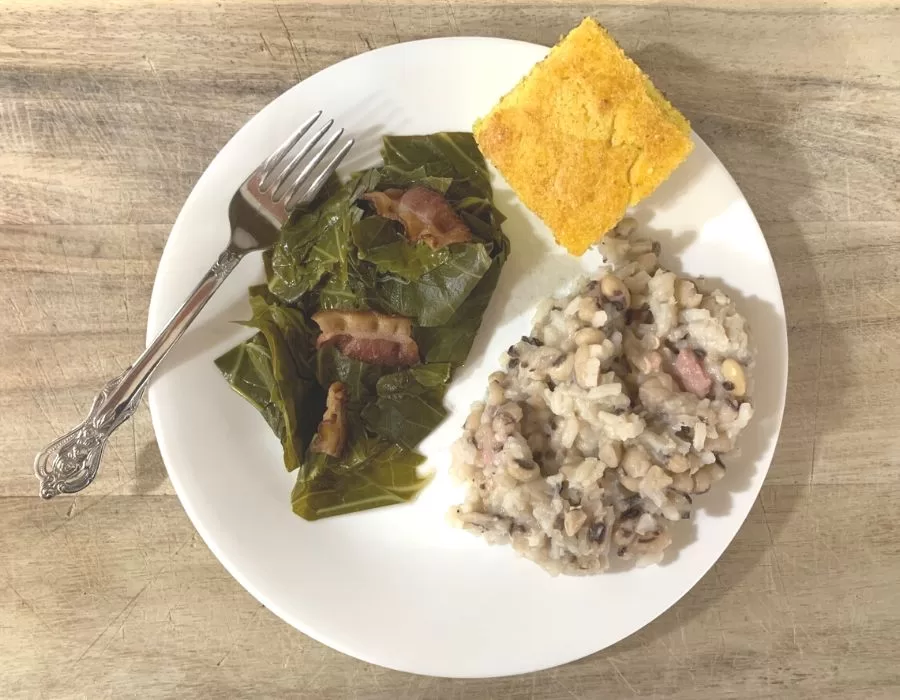
We have a New Year’s Day tradition, being in the American South, of always eating Hoppin’ John. But this past New Year’s Day I wondered why we don’t eat this meal more often.
So now I’m on a mission to cook it at least a few more times before winter turns into spring!
Southern Black Eyed Peas and Collard Greens Recipe
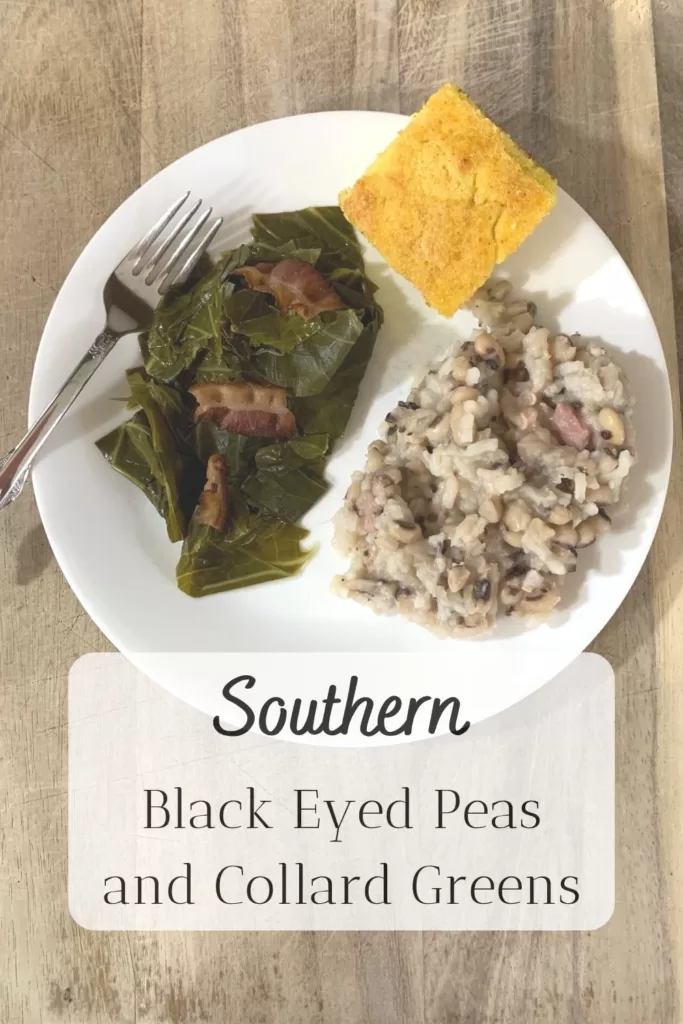
There’s a myth that you’ll have good luck in the coming year and prosperity if you eat black eyed peas, rice, collard greens, and cornbread on New Year’s Day.
The black eyed peas with rice represent pennies and coins. The collard greens represent dollar bills, cash, and big money. The corn bread represents bars of gold.
Superstition aside, it sure is a delicious, healthy Southern tradition. It’s also packed with protein and is a cheap meal to make. Is there any better way to start a happy new year?
How to Cook Collard Greens
My mom came over early on New Year’s Day to cook our traditional southern dish. Meals are so much better with lots of family around!!
Ingredients
You’ll need about two large bunches of fresh collard greens. When you’re shopping, avoid the wilted collard greens and go for the fresh, perky greens. You’ll also need some chicken bone broth, bacon, and salt.
Substitutions: You can also make this delicious recipe using mustard greens or other leafy greens and you can use vegetable broth instead of chicken broth. And if your family doesn’t eat pork products, you can use olive oil as your fat instead.
Tools
Grab a large pot or dutch oven, knife, cutting board, and measuring cup to cook your greens.
Instructions
Grab one of your collard greens bunches and cut the thick stems off the bottom. (Save your root end for your chickens, put them in your compost bin, or set them in a shallow dish of water to get it to root out and start growing fresh baby leaves right on your kitchen counter!)
Then put the leaves into a clean sink or large bowl full of cold water and wash the leaves. Give them a good soaking so that any dirt comes off. Then put them on a kitchen towel.
Drain your sink or bowl and refill with cold water to wash your second bunch of collard greens. Prepare as above.
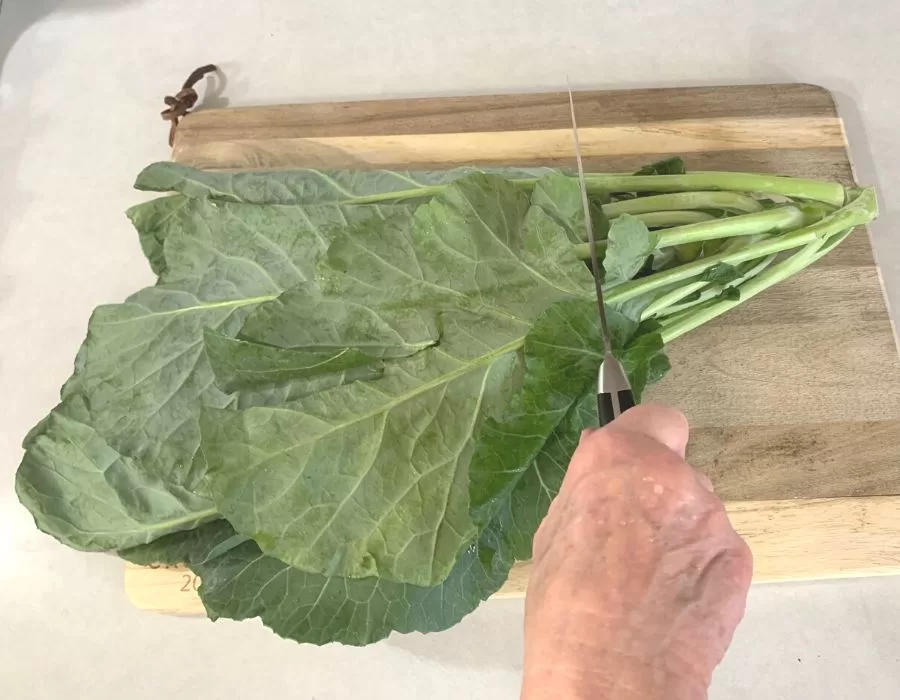
Using your sharp knife, cut the leaves off the stem.
Some people like to include the thick stems in their collard greens but my family prefers the tender leaves. That’s why we don’t buy the bags of chopped collard greens in the grocery store. All the bags where we live include the thick stems!
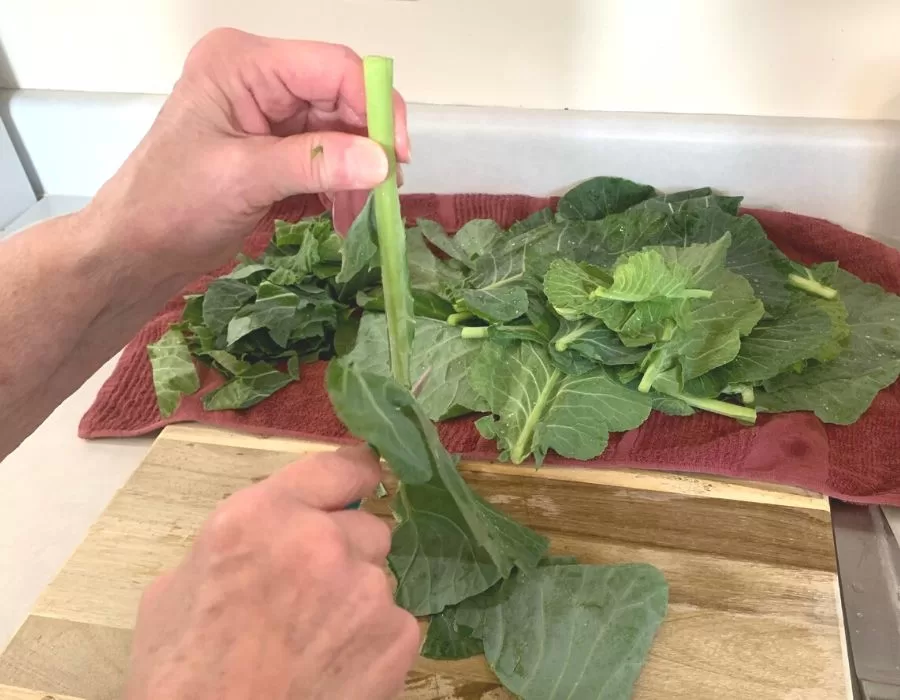
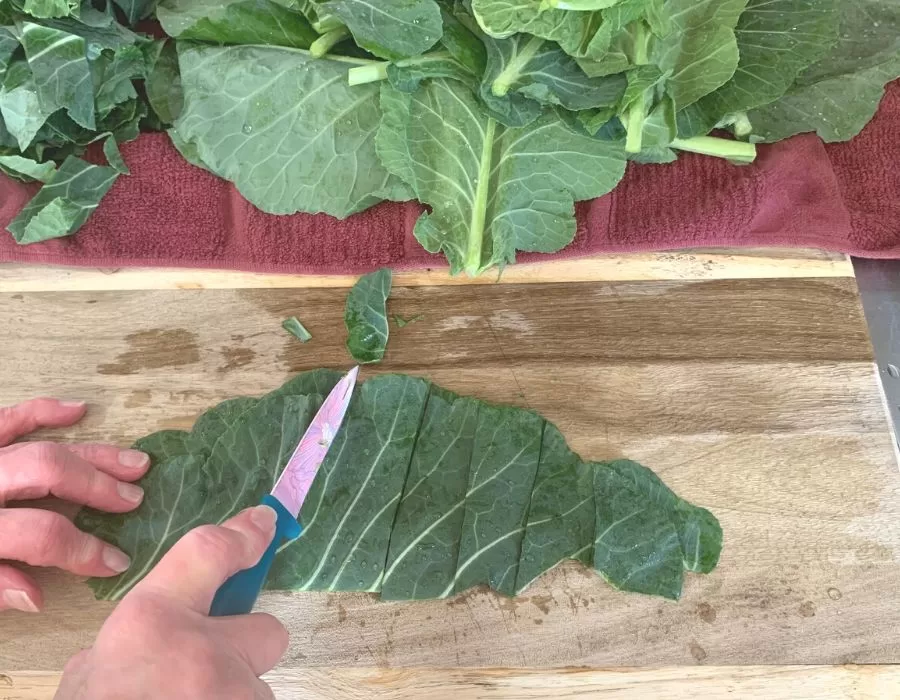
Lay your leaves down on your cutting board, slice them into 1-inch pieces, and then set them aside as you work through all your collard greens.
It’s best to do just a few leaves at a time. Once all your leaves are washed and cut into strips, move on to the next step…BACON!
Cut up a few pieces of bacon and cook it over medium-high heat until done. (If you don’t have bacon, you can substitute a ham hock or a hog jowl.)
Remove the bacon to drain but leave behind the spoonful or so of bacon grease in your pot. You’ll want all that good flavor in your greens.
Alternatively, you can add just a spoonful of rendered bacon fat to the bottom of your pot. I think the crunchy red bacon on top of the tender greens gives it a nice variation and makes it look pretty, though.
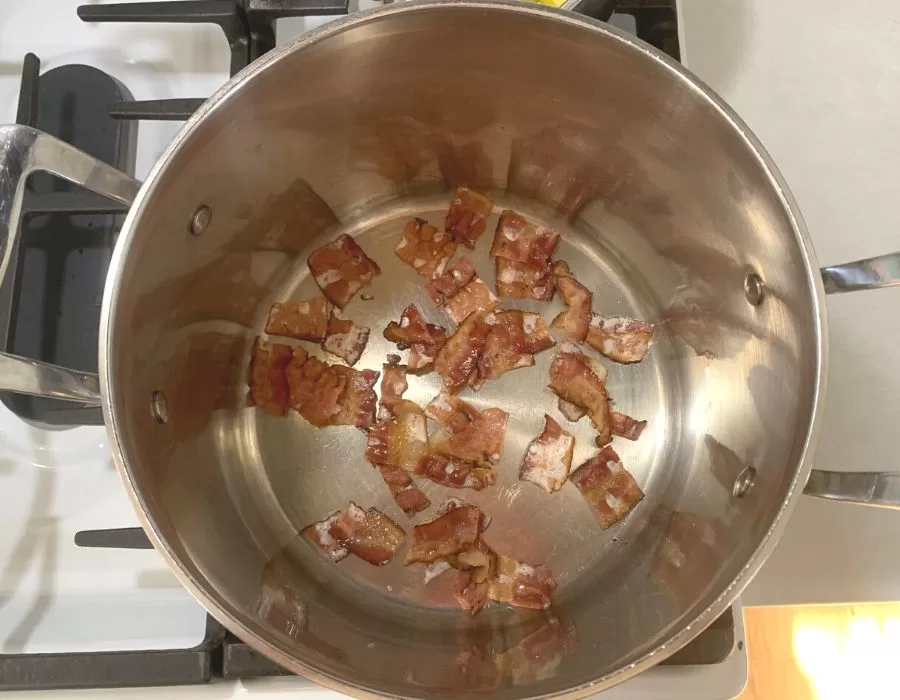
Next, fill up your pot with your strips of collard greens.
Then pour about one quart of hot water, ham bone broth, or vegetable broth over the greens. Your stove burner should still be set to medium-high heat.
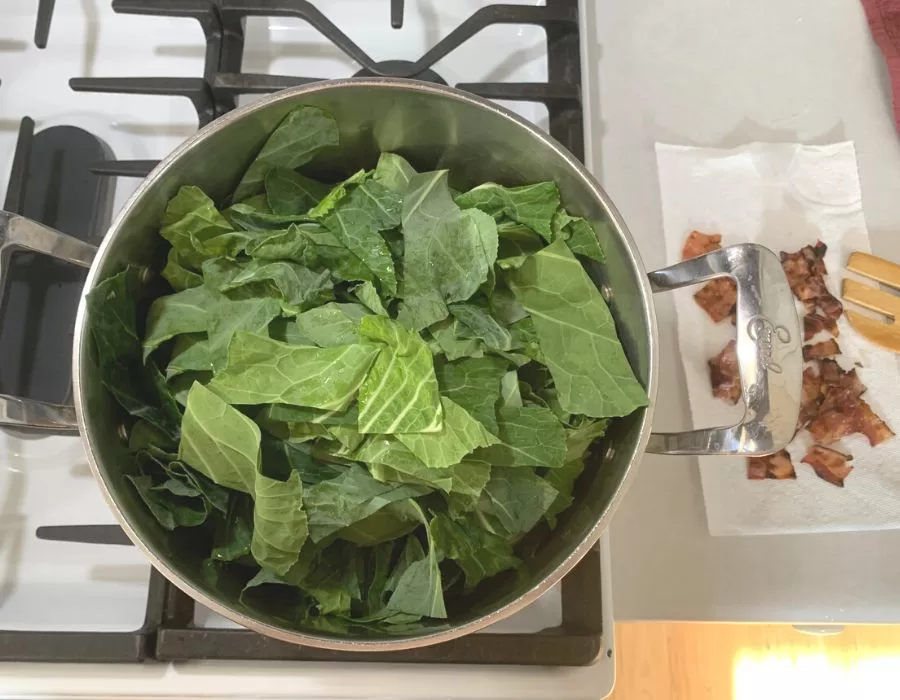
As the greens wilt down, add the rest of your collard greens.
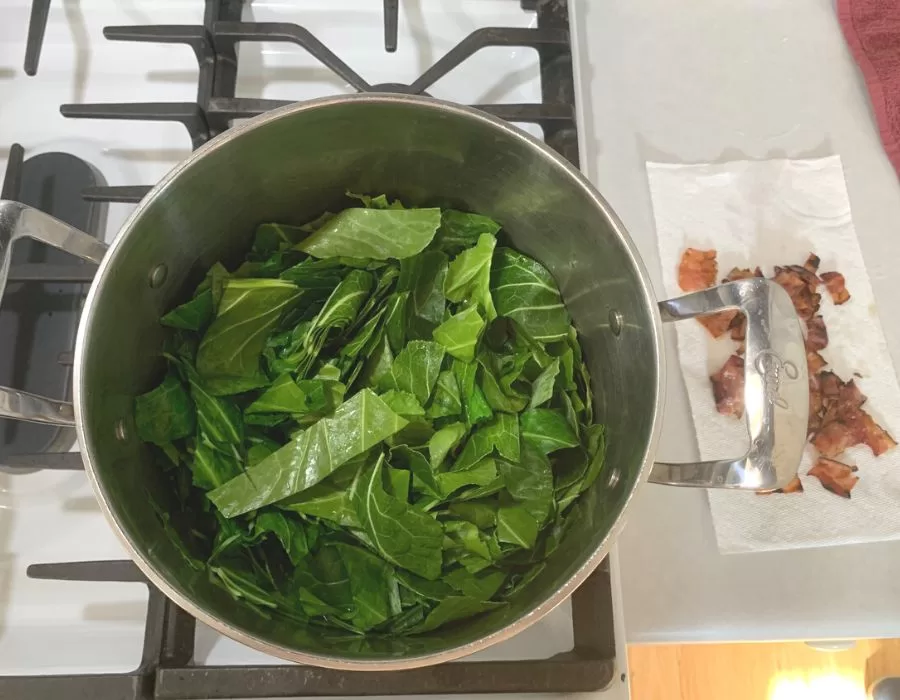
When all the greens are added, bring the temperature up to a boil, then turn the burner down to low and let the greens simmer for anywhere from 45 minutes to 2 hours.
The amount of time you simmer depends on how tender you want your greens to be. My family favors cooking the greens for about 1 hour. That makes the greens nice and tender but not mushy.
What is Pot Liquor?
In the south, you may already be familiar with the term “pot liquor.” That’s the delicious liquid that’s left behind after cooking greens.
It has a very pleasant taste as long as you don’t add too much salty broth to your greens. I highly recommend giving it a try if you’ve never had it before!
Black-Eyed Peas Recipe
Ingredients
You’ll need a 16-oz bag of dried black eyed peas, water, chicken bone broth, a ham steak, rice, and salt and pepper.
Tools
You will need a couple of large pots or dutch ovens (one big pot for the peas and one for the rice), along with a colander, knife, cutting board, and measuring cup.
Instructions
Pour the dry peas into a large pot and cover with enough water so that it’s covered by about two inches.
Bring to a boil over high heat, then turn off the heat and let the peas soak for 1 hour.
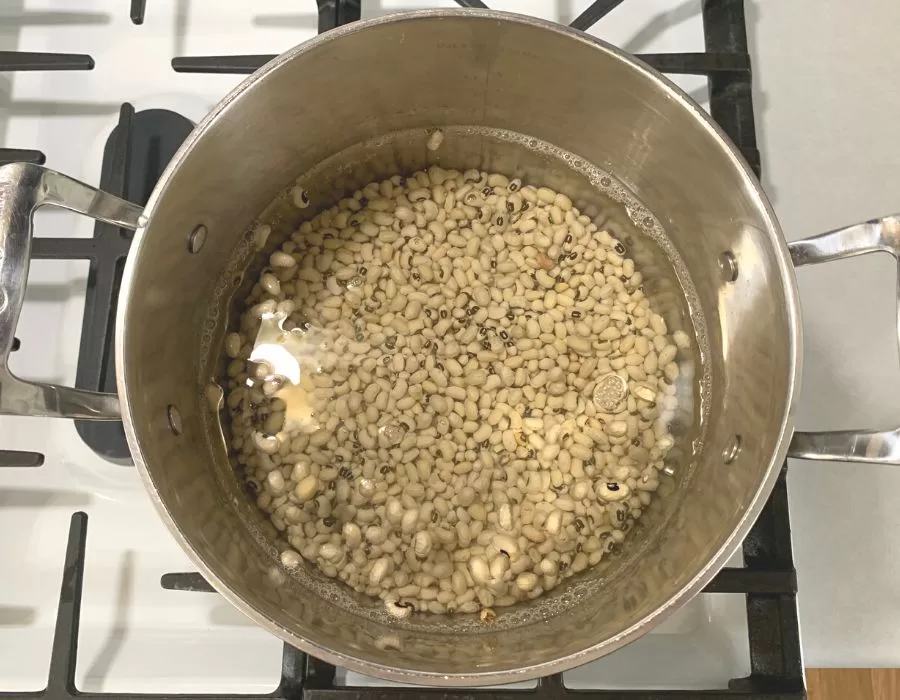
During the soaking time, get out a ham steak and cut the extra fat and ham bone out.
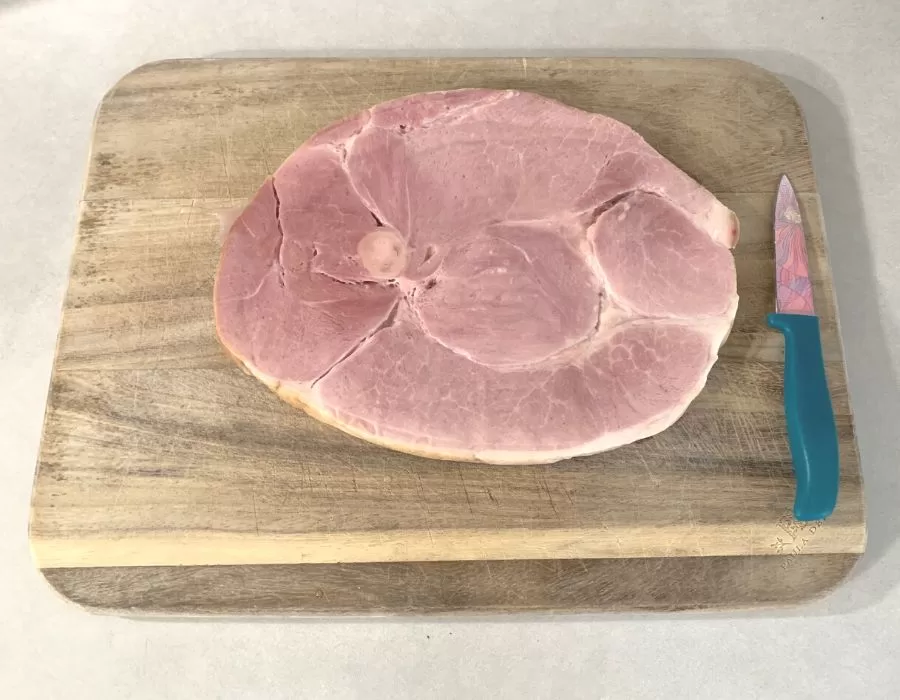
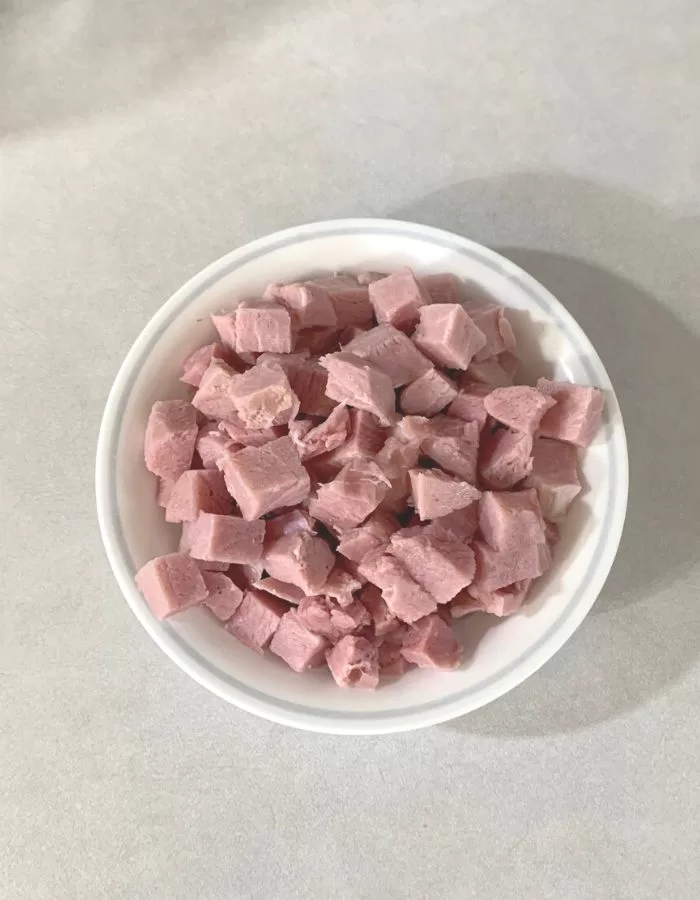
Cut your ham steak into small chunks and set aside.
After 1 hour, pour your peas into a colander, and drain all the cooking water out.
Then add enough chicken broth or water to cover the peas by about half an inch. Add your cubed ham into the pot and stir to combine. You can also add a bay leaf for some additional flavor.
Bring to a boil over medium heat, then turn the temperature down to low and let the ham and peas simmer for 11/2 to 2 hours with a lid tilted. Stir occasionally.
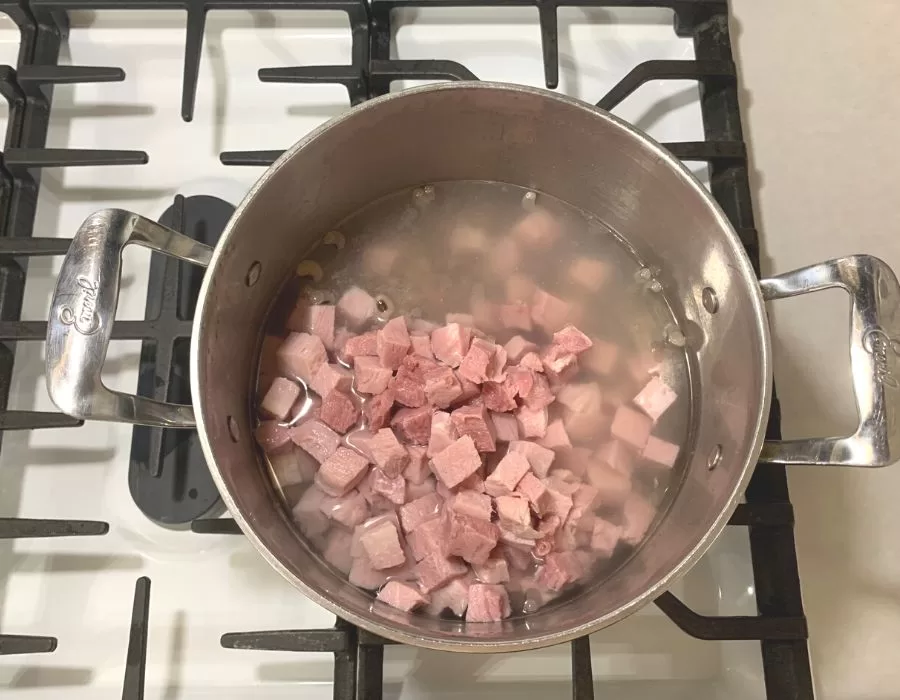
While the black eyed peas and ham are simmering, get started on cooking your rice.
Ingredients
You’ll need 11/2 cups of rice, 3 cups of chicken bone broth or water, and salt and pepper to taste.
I like to use organic brown rice but use what you have on hand.
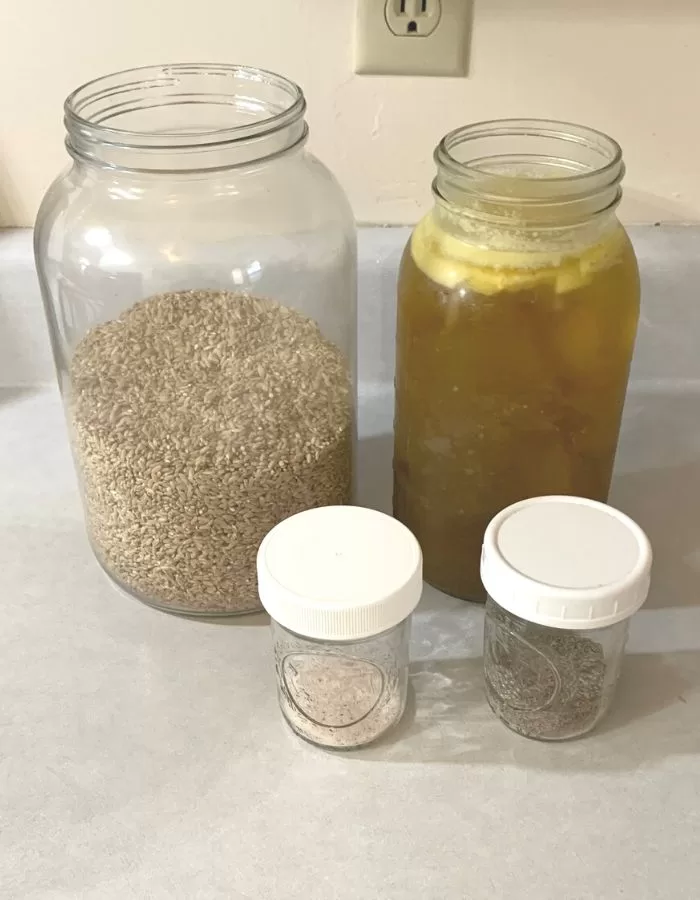
I like to cook my rice on the stove but it’s quicker if you use an instant pot.
Instructions for Cooking Rice on the Stove
Add your rice and your liquid to your pot along with some salt and pepper. Bring to a boil and then reduce heat to simmer for 40 minutes. Stir occasionally.
Instructions for Cooking Rice in an Instant Pot
Add your rice and your liquid to your instant pot along with some salt and pepper. Then screw your lid on, set it to “seal,” and push the rice button on your instant pot. If you don’t have a button for rice, set your pressure cooker timer for 12 minutes.
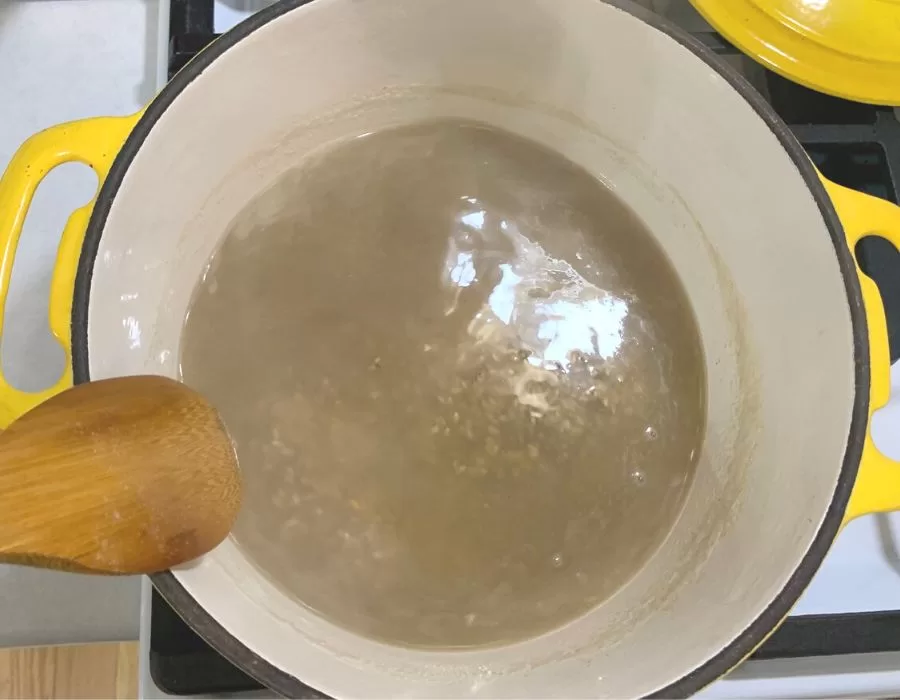
Your rice will absorb all the liquid and it should be soft and tender when it’s done.
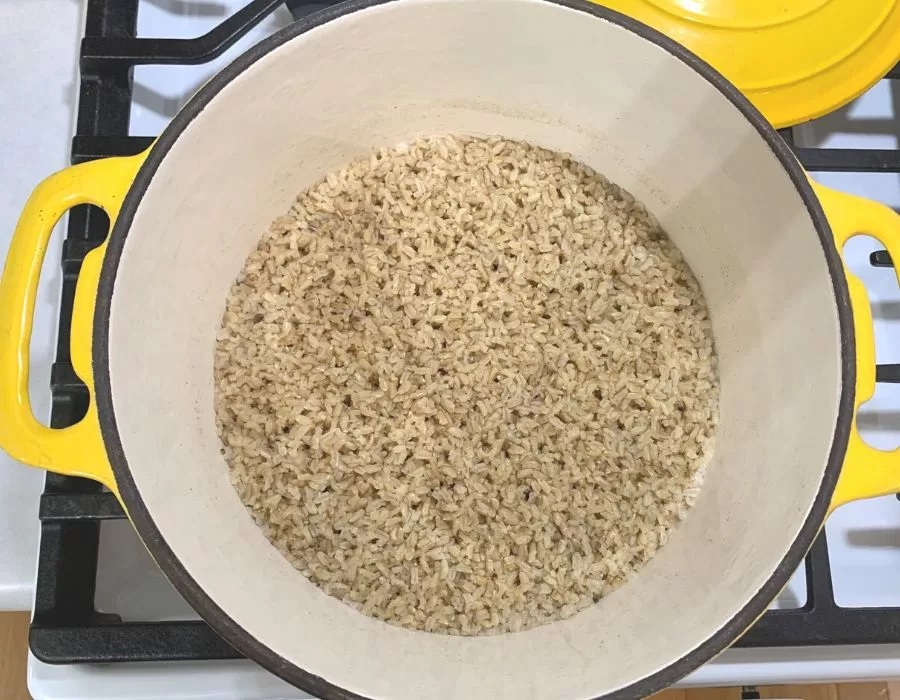
Then add your cooked rice to your finished peas with ham.
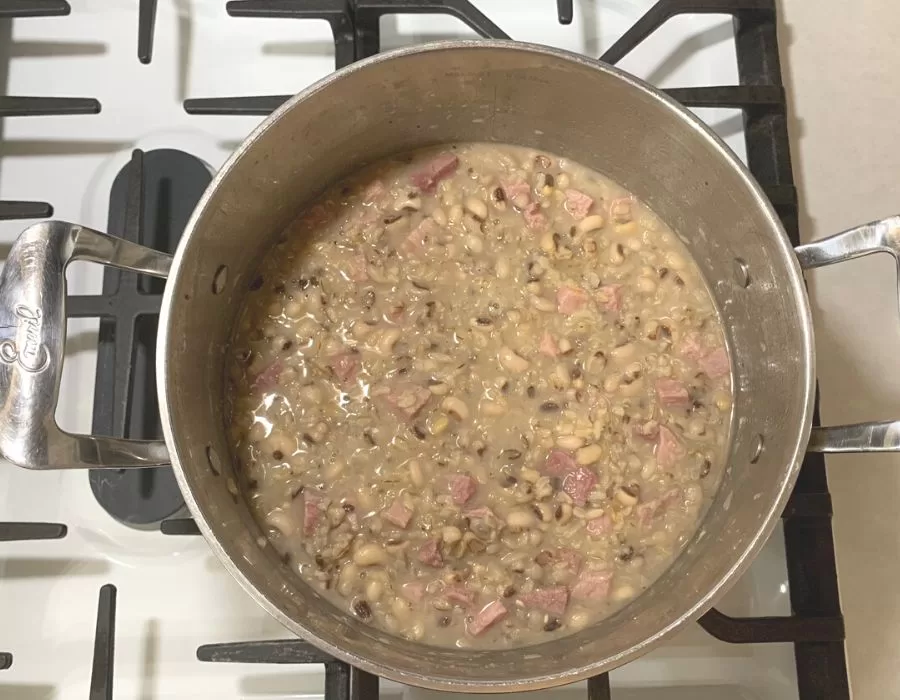
The final step of making Hoppin’ John is to taste it and adjust the seasonings.
I used my unsalted homemade chicken bone broth and a ham steak from the grocery store. For this large pot, I added one teaspoon of salt and a half teaspoon of black pepper.
If you use salty country ham, or salted broth, you’ll have to adjust your seasonings accordingly. Add enough salt and pepper so that it tastes good to you.
Then serve it up to your family with the collard greens and enjoy a delicious southern meal! It’s great when paired with warm cornbread. And only REAL butter on cornbread will do. If you’re going to go southern…do it all the way!
How long will Southern black eyed peas and collard greens last?
Store your collard greens and bacon in one airtight container, and store your black eyed peas and rice in a separate airtight container in your refrigerator for up to 3 days.
I wouldn’t freeze your collard greens because it will change the texture of the greens. However, you can freeze your black eyed peas with bacon in an airtight container for up to 6 months if you made too much of it.
Other Posts You May Enjoy
How to Cook Beef Stew on the Stove
Roast Chicken with the Neck and Feet
Stovetop Chicken Bone Broth for a Thrifty Kitchen
Pin It For Later!



I’ve never actually made black eyed peas even though I live in the south 😬 these actually look delicious!
You know… I have lived in Alabama for at least five years and I still haven’t had either black eyed peas or collard greens! I suppose I better get to it! Thank you for the southern inspiration!
Oh.. black eyed peas and collard greens! Yum! Wow, looks so delicious. 💕 I honestly don’t think I’ve had either, but now you have sparked my curiosity!
Yum. This looks delicious and so simple to make. Thanks for the great idea and recipe! I’m always needing fast meal ideas.