How to Pasteurize Raw Milk in an Instant Pot
This is a tutorial on how to pasteurize raw milk in an Instant Pot (or any other pot, really). Do you have access to raw milk that you want to turn into yogurt, buttermilk, or other cultured dairy? If you answered yes, read on to find out why and how to pasteurize your raw milk before you add your starter culture!

Why pasteurize raw milk?
If you have access to raw milk and want some cultured dairy, it’s best to pasteurize your raw milk first so the culture you are adding doesn’t have to compete with any other cultures naturally present in the raw milk.
Not everyone pasteurizes raw milk before turning it into cultured dairy but they run the risk of the cultured product turning into something different than what they wanted.
What is pasteurization?
Pasteurization is when you heat something to a certain temperature for a certain length of time to kill microorganisms.
Not all microorganisms are bad which is why I rarely pasteurize our raw milk…it’s full of good microorganisms. However, to make cultured dairy products, we want to start with pasteurized milk so that we can add the microorganisms that we want to get our desired product.
To make cultured dairy, we will be using the low-temperature pasteurization method. That means we will heat our milk to 161°F (72°C) for 15 seconds.
This post contains affiliate links, which means I make a small commission at no cost to you. See my full disclosure here.
Instructions for How to Pasteurize Raw Milk
To pasteurize raw milk, simply heat raw milk to 161°F (72°C) for 15 seconds to kill off microorganisms.
First you need to filter your raw milk (if you haven’t done so previously) to make sure you get any foreign particles out.
Tools you may need
Instant Pot or Large Stainless Steel Pot
Long Stainless Steel Spoon
Fork
If you’re using an Instant Pot to pasteurize raw milk
When I know I’m going to make cultured dairy, I usually use the morning milk after I filter it. Then I pasteurize enough to make all the yogurt and buttermilk we need for the week.
The milk is still warm from milking and it takes less time to bring it up to the correct temperature in the Instant Pot.
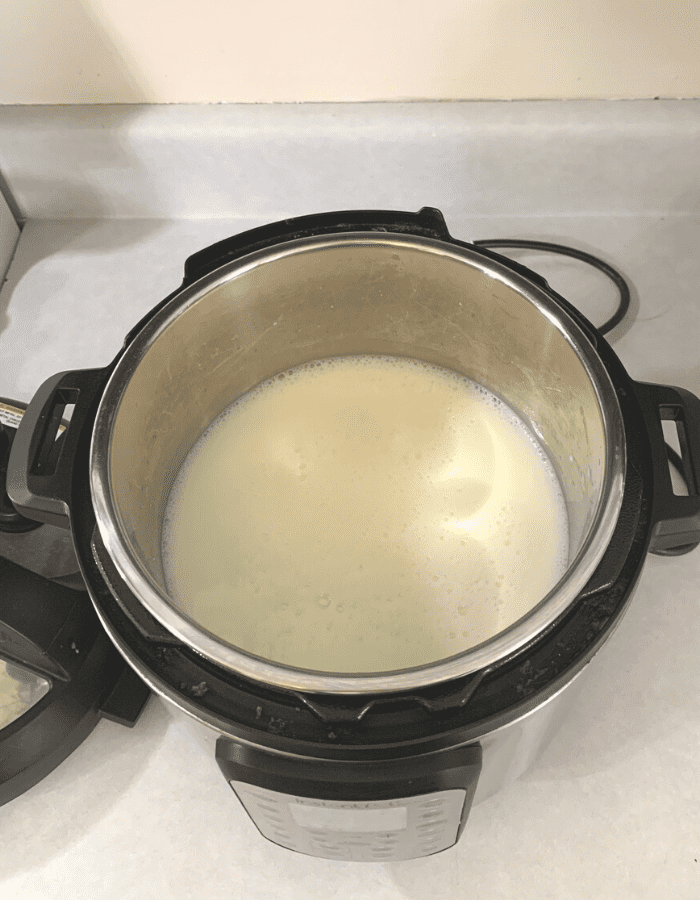
1. Heat up your milk to 161°F (72°C).
There are multiple ways to heat up your milk using an Instant Pot. Also, you can add your Instant Pot lid or leave it off for the heating step.
Use a hot liquid dial thermometer to be sure your milk reaches the correct temperature.
If your Instant Pot has a “Yogurt” button:
Push the “Yogurt” button and set your temperature to “High.” (Setting it on “Medium” temperature won’t get it up to 161°F.) The Instant Pot screen should display “boil.”
Then stop the cooking as soon as the screen display changes from “Pre-heating” to “Cooking.” My temperature is usually higher than 161°F but that’s fine.

If your Instant Pot does not have a “Yogurt” button:
If your Instant Pot does not have a yogurt function, just make sure to set your temperature to “High” so your milk will heat up. You can use the sauté function. Then check your temperature periodically so that you know when it hits 161°F (72°C).
2. Remove the “skin” that forms on the top of your pasteurized milk.
Your heated milk will naturally develop a protein skin on top. Get a fork or something else to skim that off.
I haven’t seen a dog, cat, or chicken who doesn’t love to eat the protein skin, so save the skin!

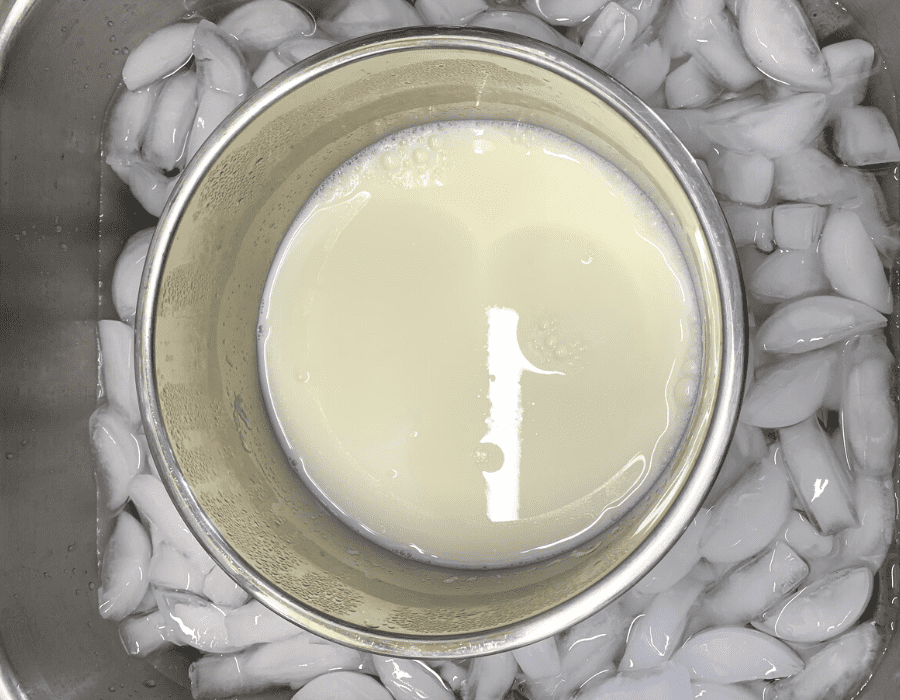
3. Cool down your milk.
Then you need to cool down your milk.
I like using the Instant Pot for pasteurizing milk because I can simply lift the stainless steel pot and set it into a sink of ice water to cool it down rapidly. The stainless steel pot won’t crack or break due to thermal shock the way that glass or ceramic would.
Then I pour off what I need to make buttermilk and leave the rest of the pasteurized milk in my Instant Pot, add yogurt culture from my prior batch, and push the “Yogurt” function. I don’t dirty any extra pots! Less dirty dishes is always my goal.
That’s it and you’re all done! You can use your pasteurized milk right away or store it in your refrigerator until you’re ready to use it.
If you’re using a stainless steel pot on your stove to pasteurize raw milk:
Add your milk to your pot and bring it up to 161°F (72°C) over medium-high heat while stirring often to make sure the milk doesn’t scorch and burn. Then take it off the heat once it reaches temperature. It’ll stay at 161°F for 15 seconds even when you quickly take it off the heat.
Then cool it down rapidly in a sink full of ice water.
That’s it! Your raw milk has now been pasteurized and can be used to make other cultured dairy products.
Shop This Post
Half-Gallon Mason Jars (Check your local hardware store or big box store. I’ve been able to find these for as little as $5 each.)
Wide Mouth Mason Jar – Plastic Lids
Pin It For Later!
Other Posts You May Enjoy
If you enjoyed this post, you might enjoy these:
Easy Homemade Butter: How to Make and Store It
The Secret to Raising Livestock for Cheap!
What are the Health Benefits of Bovine Colostrum?





Have you ever noticed a difference in the taste or texture of the raw milk versus the pasteurized milk (e.g. instant pot milk)?
Hi Jen,Yes, it’s not my preference to drink pasteurized milk. I only pasteurize milk when I want to culture it into yogurt, buttermilk, or cheese. I much prefer drinking raw milk from my dairy cow because it has an extra creaminess plus all the delicious flavor of raw milk that changes over time. The texture does change a bit when you pasteurize raw milk, but it’s not the same as homogenized milk. The cream will still rise to the top if you pasteurize raw milk. Also, when you pasteurize raw milk, the milk won’t turn sour because you’ve killed the good bacteria that keep the milk from spoiling. I hope this helps!
Love, Rebekah