Step-by-Step: How to Clean a Milking Machine
Are you overwhelmed hand milking your dairy cow every day, and did you buy an electric milking machine? I was in the same boat. I needed a break from hand-milking and bought a Melasty milking machine…but the milk went sour after 3 days. In this simple step by step guide, I’ll show you how to clean any milking machine so that the milk lasts just as long as if you’d hand-milked!
This post may contain affiliate links. Please read our disclosure policy.
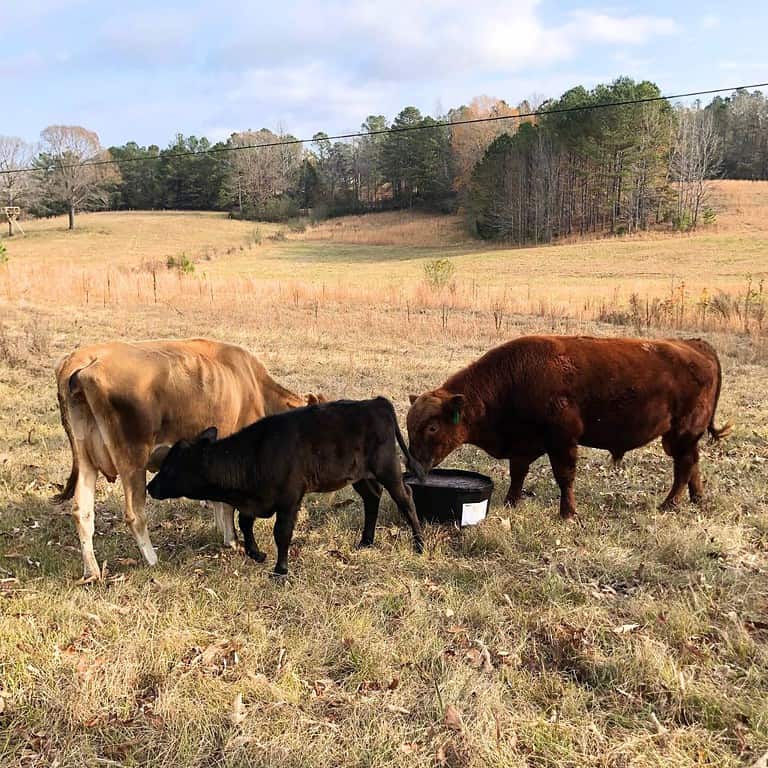
I really enjoy hand-milking my dairy cow, Belle, with my dad. The time we spend together milking Belle and talking is priceless. And his hands are huge and he seems to get all the milk and cream out of his two quarters in a short period of time while I do the best I can with my two quarters. Then he finishes off my two quarters while I hold the milking bucket.
Dad and I would milk when we wanted or needed to, and we would skip days and let Belle’s calf have her. That gave us a much needed break and days off.
However, when it was time to wean the calf off Belle, we were stuck milking her every single day. We were able to keep it up for roughly 6 weeks before our hands just couldn’t take it anymore, and then we would dry her off.
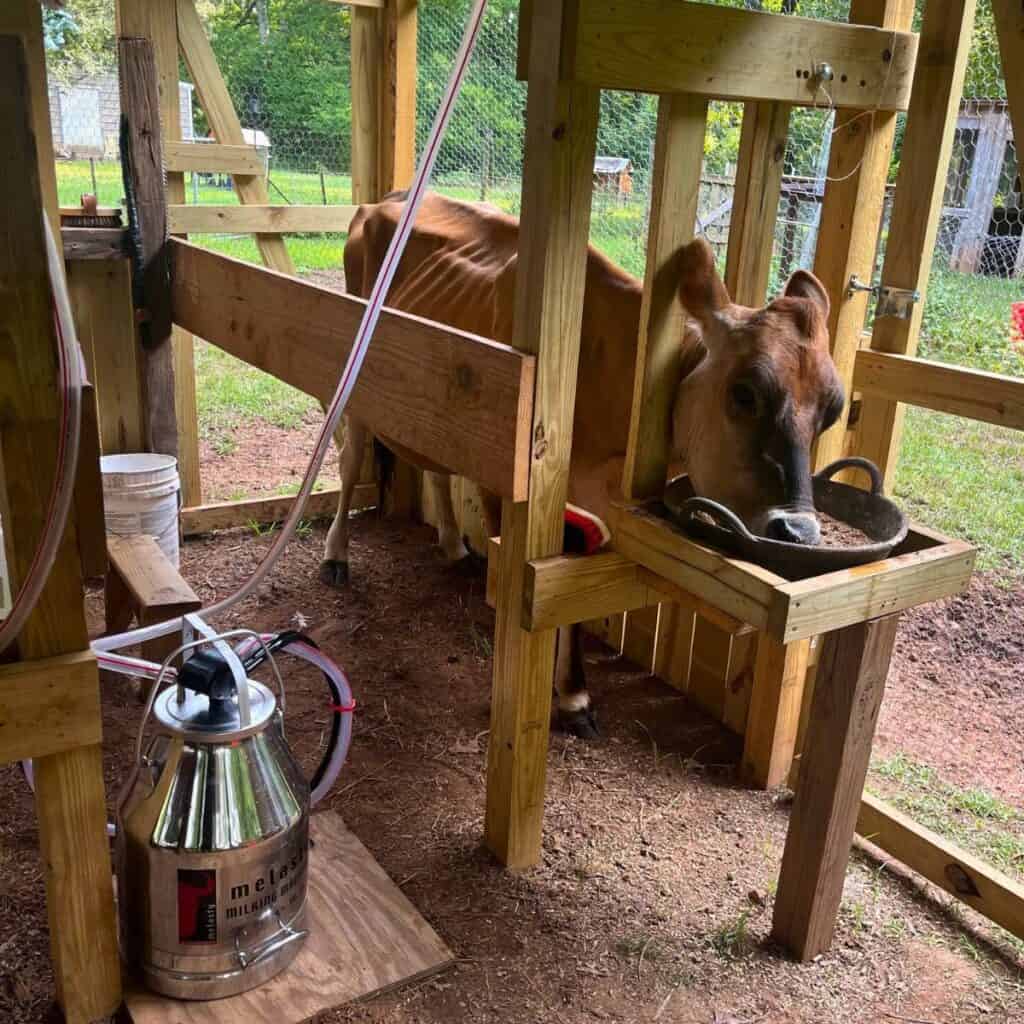
And then we got two more Jersey cows and my sweet husband suggested getting an electric milker. Oh, Happy Day!!
Derek set it all up, I cleaned the machine very well, and my dad and I milked Belle. And her milk tasted great…for 3 days. Her milk would taste great for 2 weeks when we did traditional hand-milking. So we had to troubleshoot, but discovered my process for cleaning wasn’t as good as it should have been.
In this step-by-step guide, I’ll show you how to clean your milking machine properly so that your milk will last 2 weeks or longer.
How to Clean a Milking Machine
There are a few things you’ll need to clean your milking machine properly so that your milk won’t sour prematurely. To avoid contamination that may lower the quality of the milk, cleanliness is key.
This post contains affiliate links, which means I make a small commission at no cost to you. See my full disclosure here.
What You May Need
Essentials
Water – We don’t have water in our dairy barn, but we have a nearby spigot and run a water hose from there into our dairy barn.
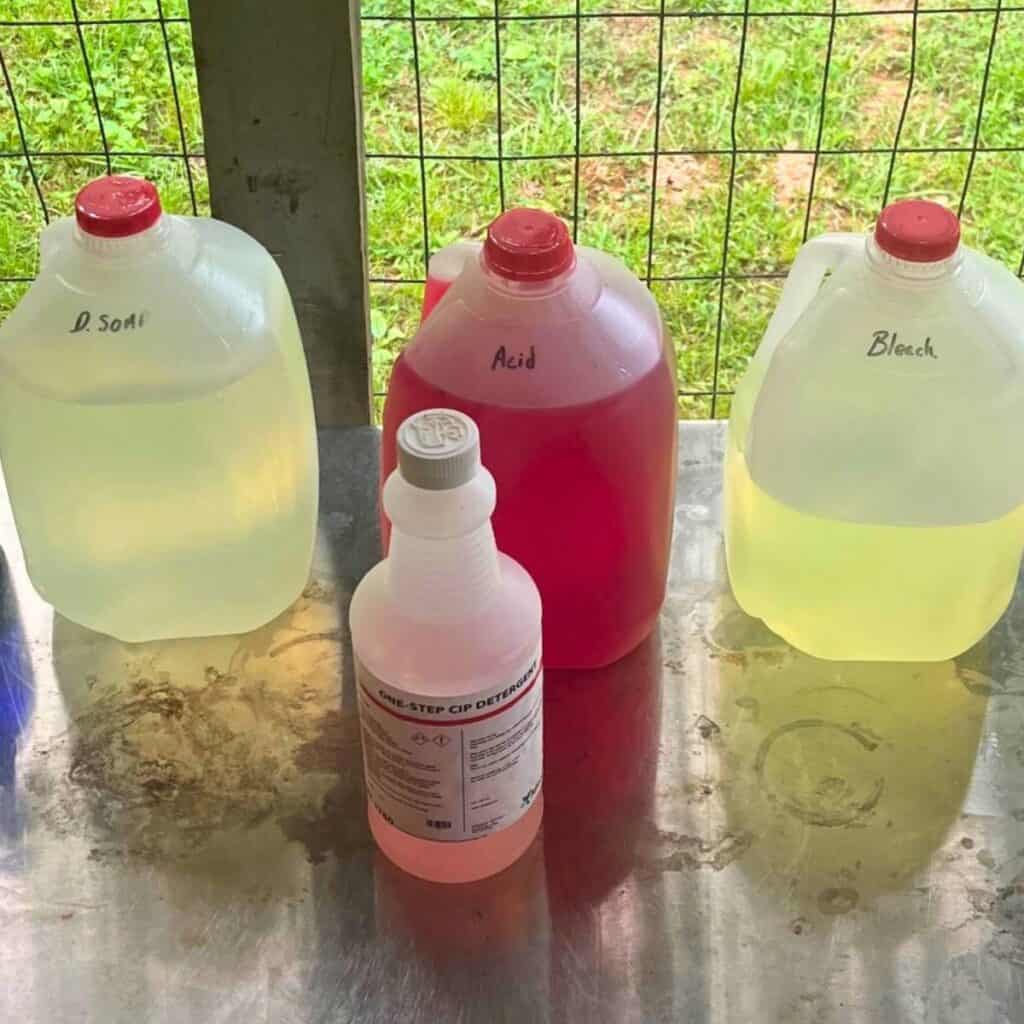
Dairy bleach – This is different from over-the-counter bleach that you would use for laundry. Food grade dairy bleach is highly concentrated and made specifically for cleaning dairy equipment. I tried using laundry bleach but it didn’t work well for me and actually left an after-taste the next time I milked…so I dumped the milk out.
It’s hard to find dairy bleach online. I get mine from a dairy farmer that lives about an hour away.
Dairy soap – This is specifically formulated for cleaning the milk solids out of your milk lines and milk buckets. I tried various dishwashing liquids but they didn’t work well for me.
It’s hard to find dairy soap online, so I get mine from the same local dairy farmer.
Dairy acid – This is also known as “one step clean-in-place system” or CIP detergent, but it’s essential to clean anything that raw milk touches, and gets milk solids out of your lines and milking equipment.
I get mine from the same local farmer but CIP detergent is available online, too.
Other Supplies
Dishwashing gloves – To keep the milking process sanitary during milking, I wear long dishwashing gloves. It’s also a great protection for my hands because I wash the udder with soapy water and a dairy bleach solution.
Washing tub – I had an old canning pot that wasn’t doing anything, so I use it in the dairy barn to wash the milking equipment. Any large tub or pot big enough to do the washing will work, though.
Heat resistant grilling gloves – To protect your hands from burns when you’re plunging them into very hot water.
Cotton glove liners – To further protect your hands inside the heat resistant grill gloves.
Large turkey fryer pot with lid and thermometer – Most water heaters don’t get hot enough to properly clean milking gear. A deep turkey fryer pot hooked up to a propane tank will get your water hot enough, though.
Propane tank – We tried alternatives to heat our water, but a propane tank hooked up to huge fryer pot works great to heat up our water quickly at the dairy barn.
Gallon water pitcher – To transport gallons of hot water to your washing tub or large pot.
Rags – For cleaning your milking equipment.
Steps to Take
There are probably more ways to do this, but I’ll share what works for us. This works whether you have a stationary milking machine (like me) or a portable milking machine.
When I come outside to milk our cow, I always bring a milk bucket full of hot water from the house; a gallon pitcher full of hot, soapy water; cleaning rags; my dishwashing gloves; and heat resistant gloves (with liners).
Prepare your work area.
Cleanliness starts before our dairy cow even gets into the stanchion.
To start with, I put on long dishwashing gloves that go to my elbows for a few different reasons.
First, I don’t want chemicals like dairy bleach to get on my skin or on the sleeves of my shirt. Second, I don’t want bacterial contamination from my skin to get into the raw milk. Third, the gloves are reusable and I don’t waste money buying single-use latex gloves. They don’t last forever but they do last for several months.
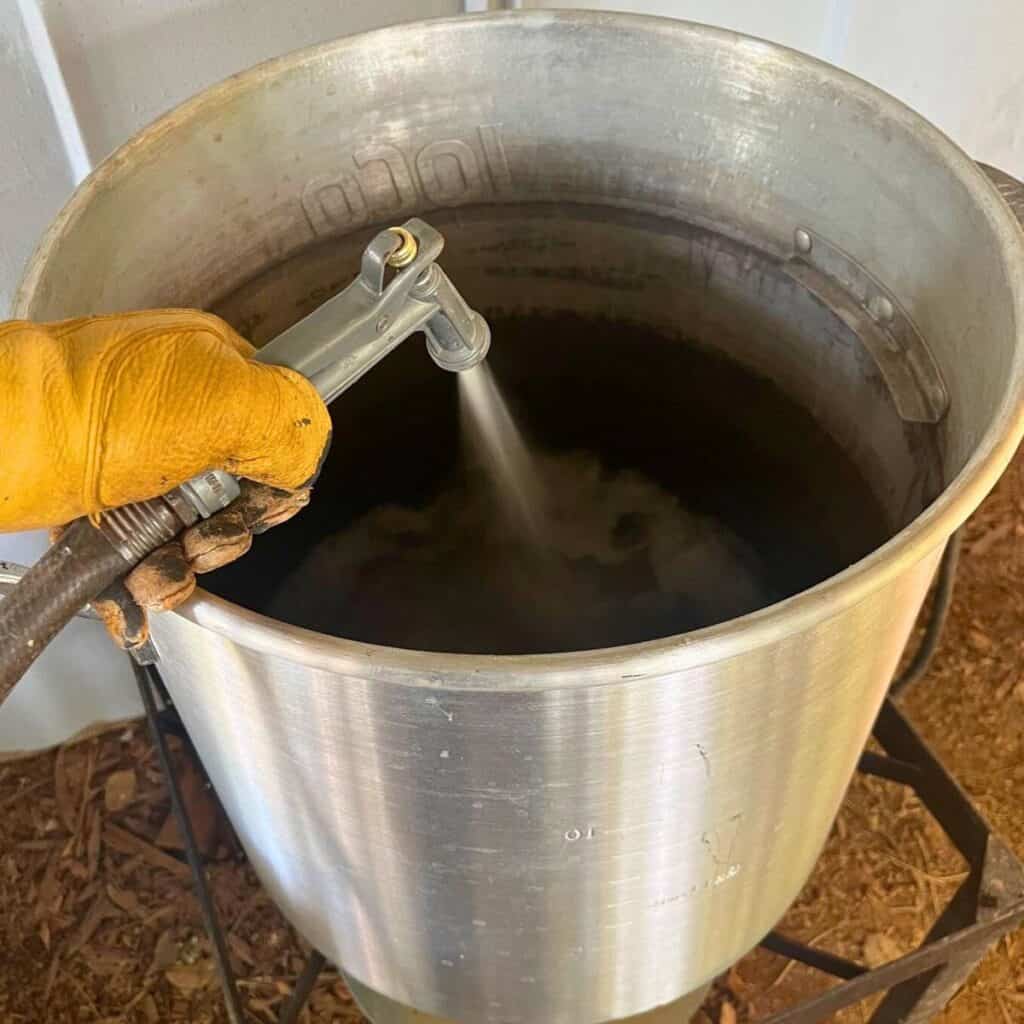
Next, fill up a large turkey fryer pot with about 15 gallons of water.

Then turn the propane on, light the fire, and let the water come up to 170 – 190°F. The water will heat up while you’re milking your dairy cow.

It’s nice if you can attach a propane tank gauge to your tank so that you’ll always know how much fuel you have. For efficiency, always have a second tank full and ready.
You might have to play around with the level of heat you use a few times until you get it to heat your water to the exact temperature you want within the time it takes to sanitize your milking gear and milk your cow.
Last, make sure you have dairy soap, dairy acid, and dairy bleach nearby.
Sanitize your milking clusters, milk lines, and milk buckets (at least 2 minutes).
These are the steps you’ll need to take to sanitize your equipment before use. For best results, make sure your equipment is already clean from the last time you used it. (In a few steps, I’ll share how we store our milk buckets after cleaning them.)

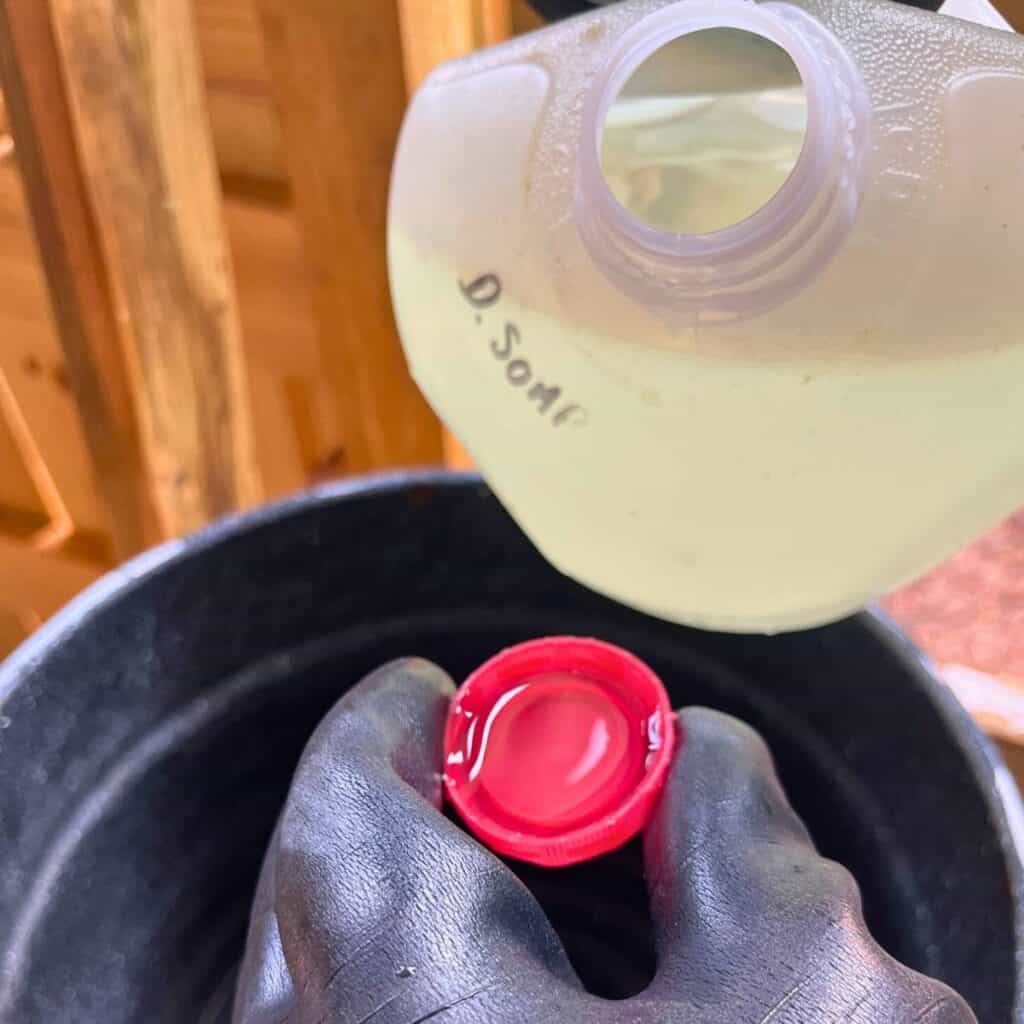
You can use more bleach, but I add a cap full of dairy bleach per gallon to about 3 gallons of lukewarm water to my large canning pot. A solution of dairy bleach usually requires at least 2 minutes of contact time to sanitize equipment with some sources saying 10 minutes is best.

You want to dunk the lid of your milk bucket and the rubber ring separately in the bleach water to get it sanitized. Be careful not to submerge the pulsator if it’s attached to your lid. After the required time, put the ring in place and set the lid on your milk bucket.

Next, dunk the milking clusters in the bleach water to sanitize it. Make sure the suction cups are completely submerged.
Then switch your vacuum pump on, and keeping the milking claw submerged, let the bleach water circulate through the milk lines into your milk bucket. I like to pull the milk clusters up out of the bleach water every few seconds so that when I submerge it again there’s a strong burst of bleach water through the lines. I don’t know if that helps make it more clean, though.
Once all the bleach water has been sucked up, turn off the vacuum pump, and hang your milking claw up so that the bleach water in the milk line will flow downward into the milking bucket.

I keep a 5-gallon bucket nearby and pour out the used bleach water from both sides of the milking bucket.
Then I add about 2 – 3 gallons of plain lukewarm water to my large canning pot and do the whole process again to rinse any residual bleach water off. Once all the plain water has been sucked up into the milking bucket and poured out, I set the milking machine up for use.
Wash and sanitize your cow, then strip her out.

Bring your cow into the stanchion or wherever you plan on milking her. It’s time to wash her udder and teats.
Using a rag and hot soapy water, wash and clean your cow’s udder and teats very well. I like to take care and scrub the bottom of her teats where the opening is.
Once she is visibly clean from any dirt or debris, clean your cow’s udder and teats again using a mixture of half water and half dairy bleach. (I keep this mixture in an old vinegar bottle that I keep in the dairy barn with the other cleaning liquids.) Again, I like to scrub the bottom of her teats very well with the bleach solution.
Then, strip out your cow by squirting several squirts of milk onto the ground or in a separate bowl for a milk quality test. There are several kinds of mastitis test strips that are available. At this point, dairy farmers will check for mastitis.
As for stripping out your cow, I like to squirt out 7 squirts from each teat. If there is any bad bacteria toward the tip of her teats, stripping her out will get rid of it. Then I scrub the tip of each teat with the rag soaked in bleach solution again.
This is optional, but dairy farmers will also use a teat dip with iodine to sanitize the teats even more. We don’t do that at this stage. If you choose to do this, make sure you let the iodine air dry for the required time and wipe off the extra with a clean rag or paper towel before applying the suction cups.
Milk your cow.

After your cow is clean and sanitized, and your milking equipment is sanitized, switch your vacuum pump on and attach the suction cups to each teat to begin milking your cow.
I won’t go into more detail here, but just be sure to keep your milking area clean during this process. We keep an extra 5-gallon bucket lined with hay handy just in case our cow needs to use the bathroom while she’s in the stanchion. Most of the time it’s not an issue, though.
After milking, if we don’t have a calf to put with our dairy cow, I will spray her teats with an iodine spray to sanitize her teats and keep them clean from any bacterial infection. If she does have a calf, I don’t bother using iodine.
When you’re done milking, filter and refrigerate your milk since you want to get that done right away to keep the milk sweet. Then come back within 30 minutes to an hour to clean up the equipment.
Clean the milking machine.
If you take care of your farm equipment, it will take care of you.
Here are the cleaning steps in a nutshell:
- Run plain lukewarm water through your milking machine.
- Run a solution of hot water and dairy soap through your machine, and scrub the parts with a clean rag.
- Run a solution of hot water and dairy acid through your machine, and scrub the parts with a clean rag.
- Run a solution of hot water and food grade dairy bleach through the machine, and hang the parts upside down to dry.
When you’re done milking and ready to clean your milking equipment, get your washing tub back out. I put my large canning pot back on the stanchion table, which is where I do all my pre-milking sanitizing and post-milking cleaning and sanitizing.
1. Clean with lukewarm water.
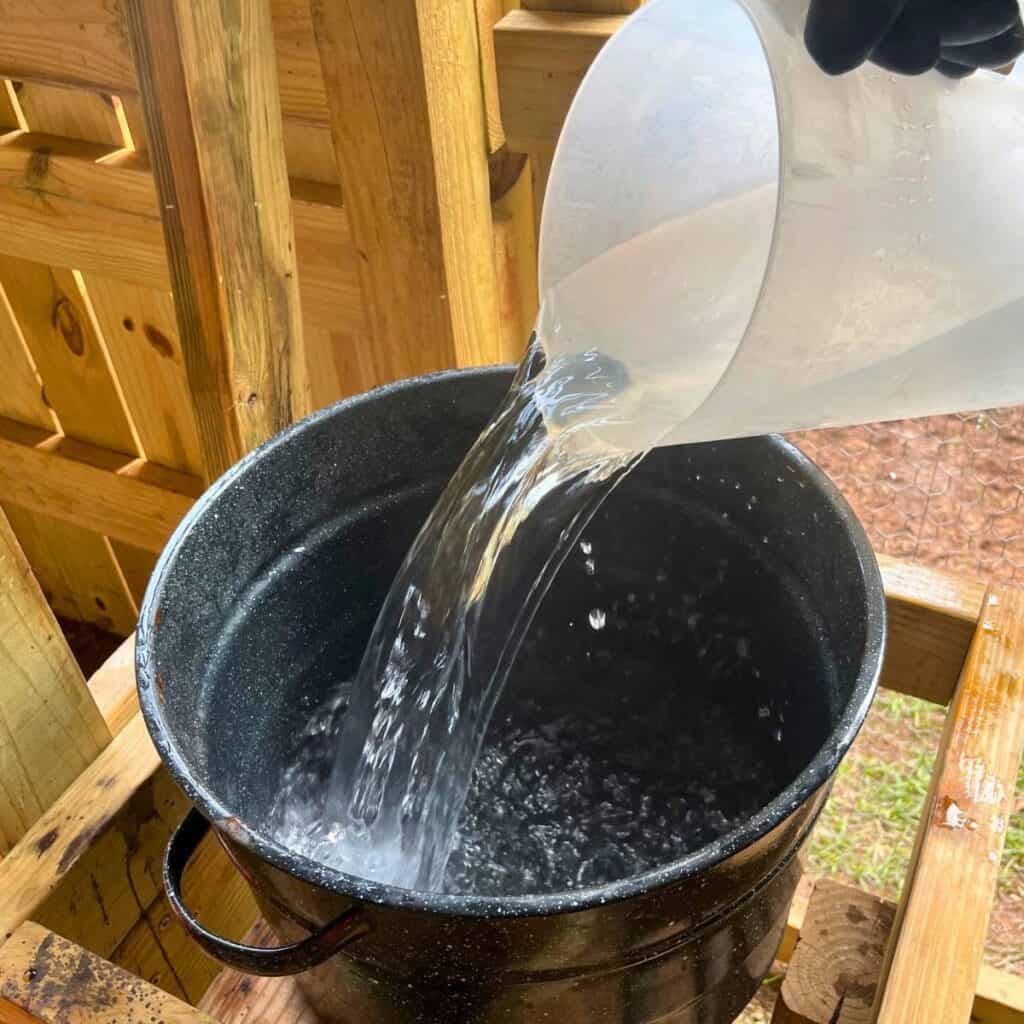
Fill your pot with 4 or 5 gallons of lukewarm water.
This is important. The first water that goes through your milk machine after milking HAS TO BE LUKEWARM and not hot or cold water. That’s because the milk solids that are left behind can get turned into milk stone, which is when the residue reacts with minerals in water to form hard deposits that adhere to the milking equipment.
If that happens, it takes extra elbow grease to get milk stones off your dairy equipment and out of your milk lines. You also want to avoid creating milk stones because they can be a breeding ground for bacterial contamination that will make your raw milk turn sour quickly. So keep your water around 100°F.

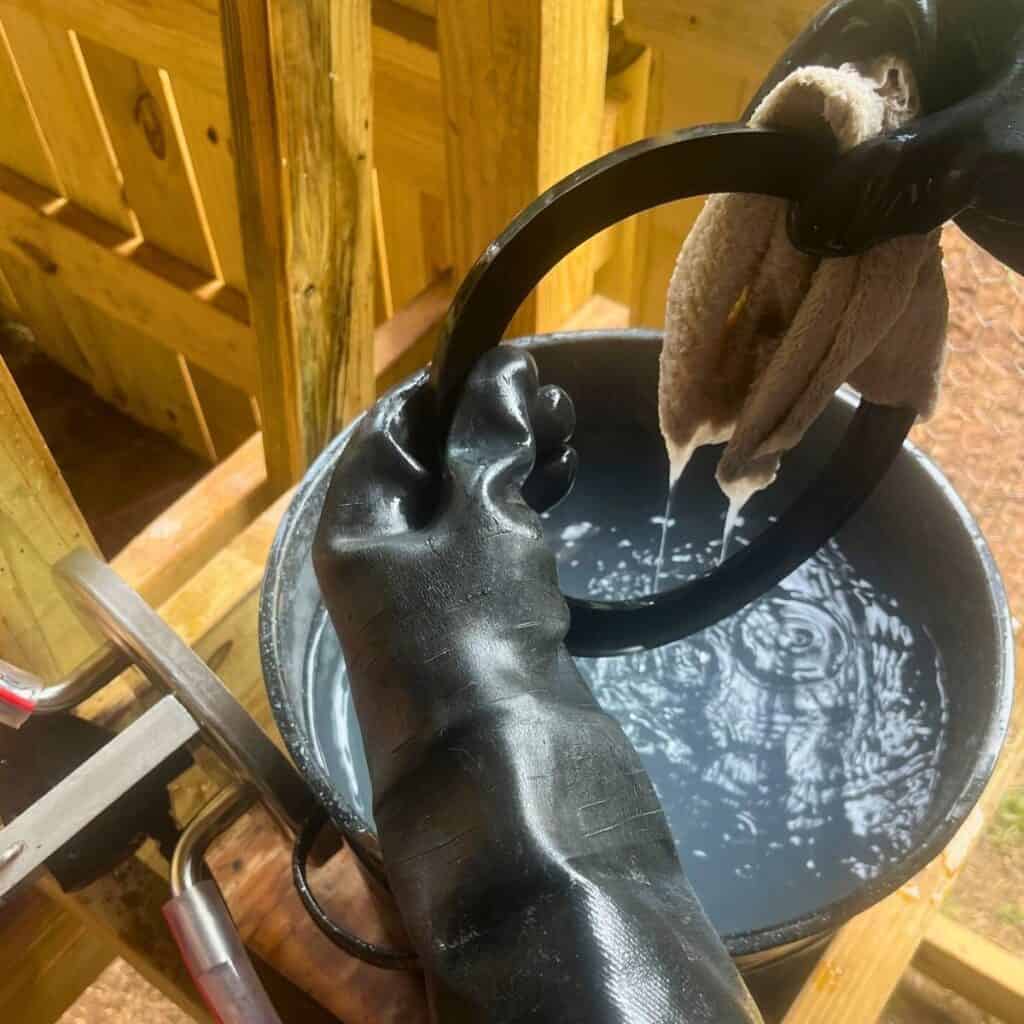
Next, use a clean rag to wash the lid and rubber seal in the lukewarm water. I wear my heat-resistant gloves.

Then clean the top of the milk bucket that would touch the lid. Sometimes milk gets splattered all the way up to the top of the milk bucket. Once clean, attach the lid to your milk bucket.

Then put the milking cluster into the lukewarm water and wash it with your rag.

I roll up the rag and insert it into the teatcup shell to clean it out the best I can, too.
Now turn your vacuum pump on and suck all the lukewarm water up and through the milk lines. Again, I like to pull the milking cluster out of the water every few seconds so that when I re-submerge it, the water will shoot through the lines with extra force. Turn off your vacuum pump when all the water has been sucked up.
Then I like to take the lid off and clean the inside and outside of the milk bucket with my rag. Next, I slosh the water around and dump it out.
2. Clean with dairy soap.

Next, check the temperature of your hot water from your fryer pot. You want it to be at least 170°F.
Fill your washing tub with about 5 gallons of very hot water and two capfuls (or 2 tablespoons, which is 1 ounce) of dairy soap.
Then, repeat the cleaning steps.
Wash the lid and rubber seal with your cleaning rag. And then wash your milk bucket. I like to wash the inside and outside of the milk bucket before it’s filled with all of that very hot water. Be careful not to get burned!
Next, put the lid on your milk bucket, and submerge and wash the milking claw. Then switch the vacuum pump on, and let the hot and soapy water run through the lines. Last, turn off the pump and dump out all the soapy water.
3. Clean with dairy acid (one step CIP detergent).

Next, fill your washing tub up with 4 or 5 gallons of hot water and 1 ounce of dairy acid per gallon of water, or use the recommended amount per the manufacturer if it’s different. Then repeat the cleaning steps.

Wash the lid and rubber seal with your cleaning rag and the inside and outside of your milk bucket. Then wash the milking cluster.
Next, turn the pump on and allow the acid water to clean the milk lines. Dump out all the acid water.
4. Sanitize with food grade dairy bleach and hang to dry.
The last step is to clean your milking machine with a dairy bleach to sanitize it.
Fill your washing tub with 4 or 5 gallons of hot water and 1 ounce of dairy bleach per gallon of water. This time, you won’t use a rag to clean your milking gear.
Dip the lid and rubber seal into the bleach water, and then put it on your milk bucket. Then dip the milking cluster, turn the vacuum pump on, and let the bleach water run through the milk lines.
This step sanitizes everything that the raw milk touched.

Dump the bleach water out and hang your buckets, lid, milking cluster, and milk lines upside down to drip and air dry. If it’s in an enclosed area, it should stay pretty clean until the next time you use it.
And that’s it!
If you follow these pre-milking and post-milking cleaning steps, your raw milk will last just as long as it does if you had hand-milked your cow!
Shop This Post!
Dairy acid (one-step CIP detergent)
Long dishwashing gloves, 3-pack
Heat-resistant grilling gloves
Pin It For Later