Canning Raw Chicken
Canning is a time-honored skill to add to your homesteading repertoire. Pressure canning raw chicken creates a shelf-stable food that doesn’t require refrigeration or freezing, and provides a quick and easy meal on busy days.
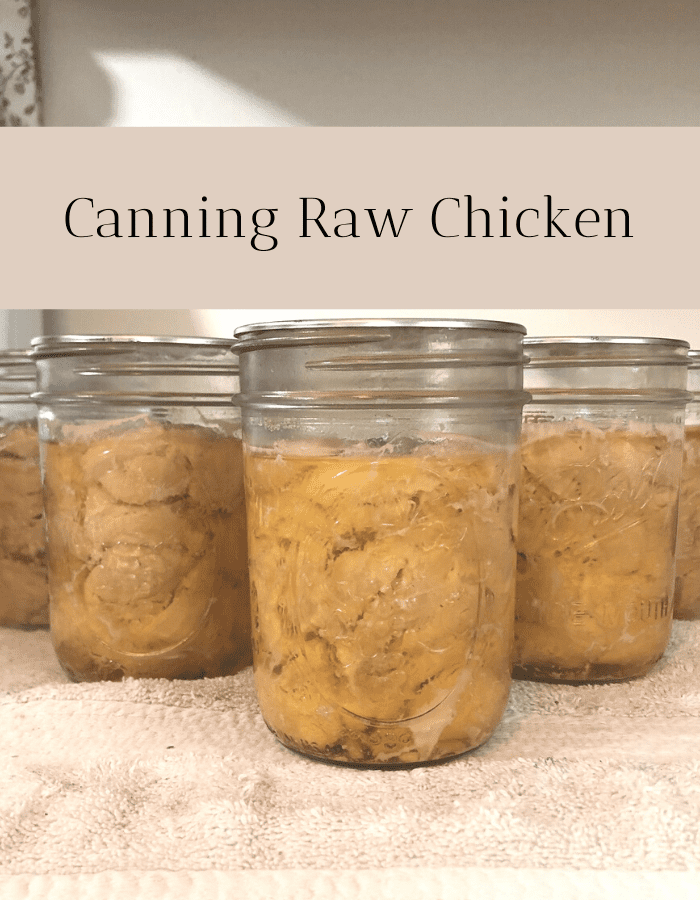
Have you priced canned chicken in your grocery store lately? Oh my goodness, it’s twice as expensive!
I confess that I love the convenience of using canned chicken but I make my own. I never buy canned chicken in the store because the options available have been farmed in a way that I disagree with.
Plus, organic canned chicken isn’t an option where I live.
We raise and harvest our own meat chickens. I love having full freezers, but I need to start making room for turkeys, venison, and more chickens this fall.
Canning to the rescue! I can clear out quite a lot of room in our freezers by canning raw chicken.
I’ll also be rendering and canning lard in the coming weeks to clear out more space in our freezers. Pork fat takes up a lot of space in the freezer, too.
Why you should can your own food.
Having multiple streams of food is food security, and it should be a goal we all have. Whether it’s food in your pantry that is shelf-stable, or food in your refrigerator or freezer, or bulk dry goods stored away in a closet or basement, multiple streams of food is important for overall preparedness.
If you have a job loss, or food prices continue to rise, or if weather or sickness prevents you from leaving your house, having enough food in your house to feed your family is a game-changer.
You can do a little preparation now for peace-of-mind in the future.
The beauty of canned foods is that they are shelf-stable and no energy is required to keep them preserved.
You can have a power outage and they won’t go bad. And since the food is already cooked, you can just reheat and serve! It’s a great convenience food and time-saver.
You can buy cans of food from the grocery store but you’re limited to the options available. Canning your own food lets you control all the ingredients in your mason jar, which is the method that I prefer.
My love language is cooking. I joke around with my husband that if I ever stop cooking he should know that something is seriously wrong!
As a wife and mom of four, I take joy in knowing that I have food in different forms available for feeding my family.
How do you can raw chicken?
The simplest way to preserve raw chicken and make it shelf-stable is to use the raw-pack method of pressure canning.
The canning process kills potentially harmful microorganisms. It also inactivates naturally occurring enzymes that lead to deterioration in food.
Meats and similar low-acid foods (pH greater than 4.6) require using a pressure canner, while high-acid foods (pH of 4.6 or lower) can be canned using a water bath canner.
I wouldn’t recommend pressure canning to a first-time canner but it’s really not complicated.
If you’ve canned your own jams, preserves, and juices using a water bath canner but haven’t made the switch to pressure canning foods, I want to encourage you to give it a try!
There’s no better time than the present to learn a new skill.
What is the raw-pack method?
The “Ball Complete Book of Home Preserving” defines the raw-pack method as filling jars with raw, unheated food prior to heat processing.
It is also known as cold-packing. It’s used for raw vegetables, meat, poultry, and fish.
Don’t worry! The canning process will cook your food!
Instructions for canning raw chicken.
If you are using whole chickens from the freezer, you want to start thawing your chicken, but leave it slightly frozen so it’s easier to cut.
I got out nine whole chickens from my freezer for this project.
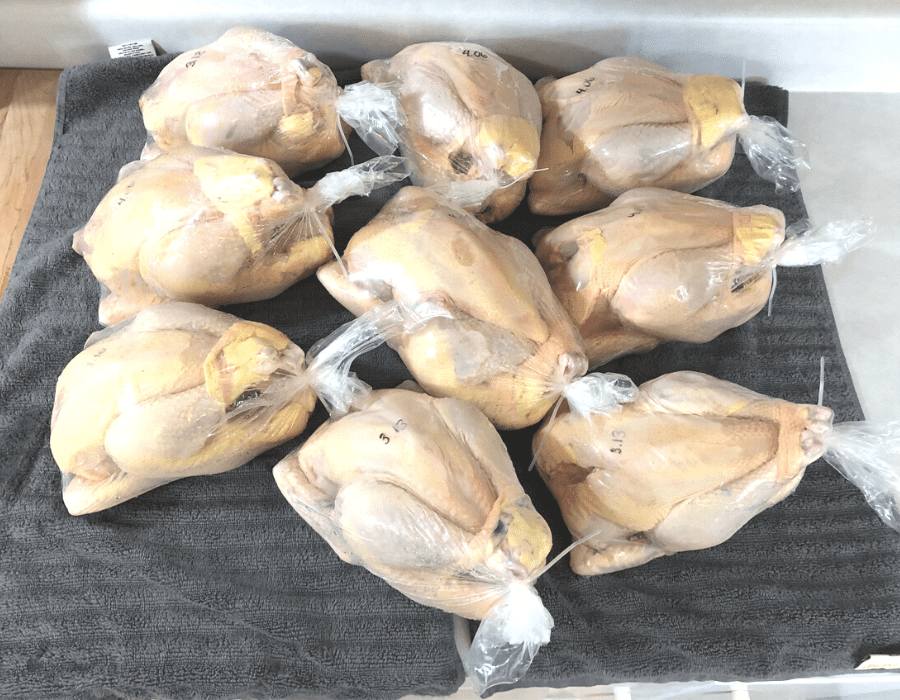
1. Cut up your raw chicken.
I wanted to can the white meat, so I used boneless, skinless chicken breast.
The first step was to get out and sharpen your knife. I like to use a large, heavy chef knife for this project but you can use what you have.
Then, cut the breasts off, remove the skin, and cut it into chunks. I got as much of the breast meat off the bird as I could but I wasn’t a slave to it. If a little bit was left behind, all the better for making bone broth.
I also cut off the drumsticks and the chicken thighs for future use.
To do that, you’ll make your cuts at the joints. Make sure to save your chicken carcass for making your own chicken bone broth!
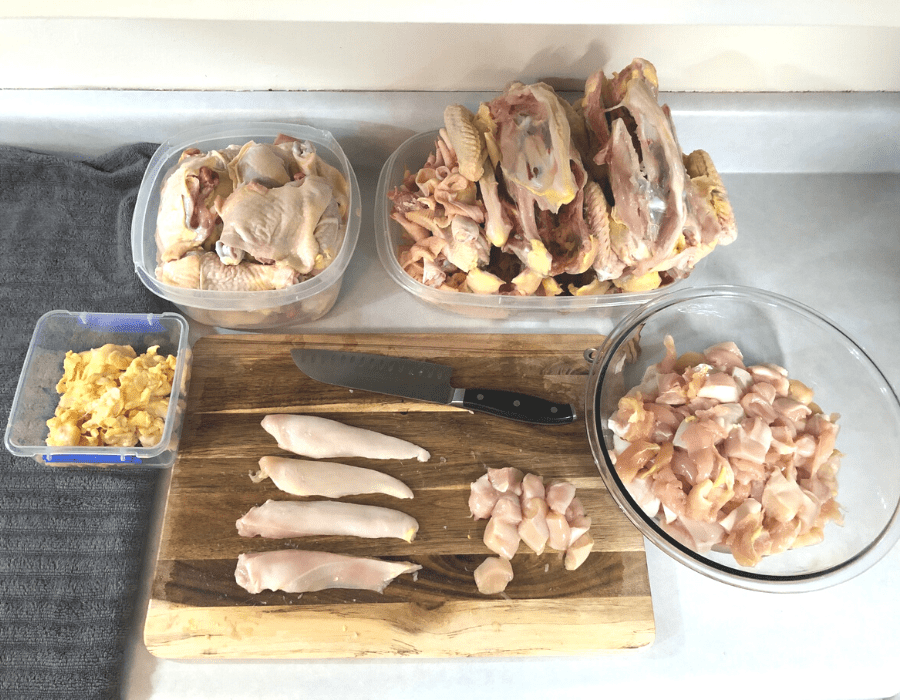
During this process, I also removed all the bright orange fat. See the clear/blue container above?
I will render the chicken fat down to make schmaltz, which is a delicious cooking fat and excellent for frying potatoes.
It’s important not to waste anything…especially when it comes to animals you’ve raised and harvested yourself.
In the above picture, I also have a container of drumsticks and chicken thighs, a large container of chicken carcasses, and a glass bowl of one-inch chunks of chicken breast.
2. Fill your canning jars.

When all the chicken breasts are cut into chunks, you’re ready to move on to the next step.
Get out your pressure canner. I’ve used the same Presto dial-gauge pressure canner since 2015 and I’ve never had any issues.
Add about two inches of water to the bottom of your empty canner, but make sure that when your filled jars are placed inside, it doesn’t go more than half-way up your jars.
I like to add a couple tablespoons of distilled white vinegar to the water to prevent mineral deposits on my jars, but that’s optional. I have hard water, so I do the same thing in my water-bath canner.
Make sure to add your canning rack to the bottom of your canner and turn the heat on low.
Then get your clean pint jars, lids, and rings ready. Make sure to use new canning lids when you water-bath or pressure-can mason jars.
For meats, I prefer to use wide-mouth jars but you can use regular-mouth jars if that’s all you have.
Fill your mason jars with the chicken breast chunks, but leave a good inch to an inch and a half of empty space at the top of your jars.
Pro Tip
Every spring before canning season gears up, I take my pressure canner to my local county extension office, and they double-check the pressure regulator to make sure it’s accurate.
Every county in the United States has an extension office with a wealth of knowledge to help you with kitchen, gardening, and agricultural-type questions.
Your extension office will check your pressure regulator for free, and it’s nice insurance that your canner will safely perform its job and your food will be safe.
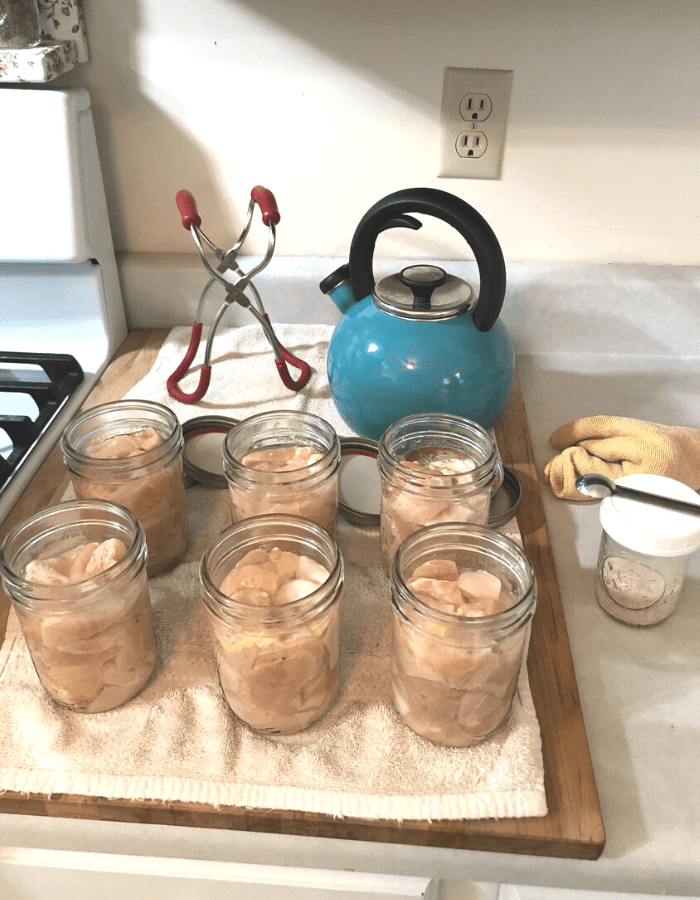
When your jars are full, you’ll need to heat up some filtered water or broth. I like to boil Berkey filtered water in a tea kettle on the stove when I can meat.
Add the hot water or broth to each jar so it fills up to about half-way. The juices of the chicken will also come out during the canning process, and you don’t want to over-fill your jars because the seepage of fatty liquid might make the lid seals fail.
Use a spatula or canning bubble popper/measurer to slide around your jars several times making sure to remove any air bubbles. Add more liquid, if necessary.
Once you add your water or broth, you can add any seasonings you like.
If you’re adding salt and seasonings, make sure there are no anti-caking agents or other additives that might make the brine cloudy and unappealing. Iodized salt may also darken your chicken.
3. Clean the rims of your jars.
When your jars are filled with meat, hot liquid, and seasonings (if using), you need to wipe the rim of the jars. I use a rag dipped in hot water, but you can also use vinegar to clean the rims.
The goal here is to get any grease from the chicken off the rim so that the lids seal properly. I also check the rim to make sure there are no cracks or chips.
Then add your clean lids and bands/rings.
It’s important to tighten the bands to just fingertip-tight. That means you screw the bands on until you meet resistance, and then tighten a little bit more.
If you over-tighten or under-tighten, your lids won’t seal properly.
4. Process your jars in your pressure canner.
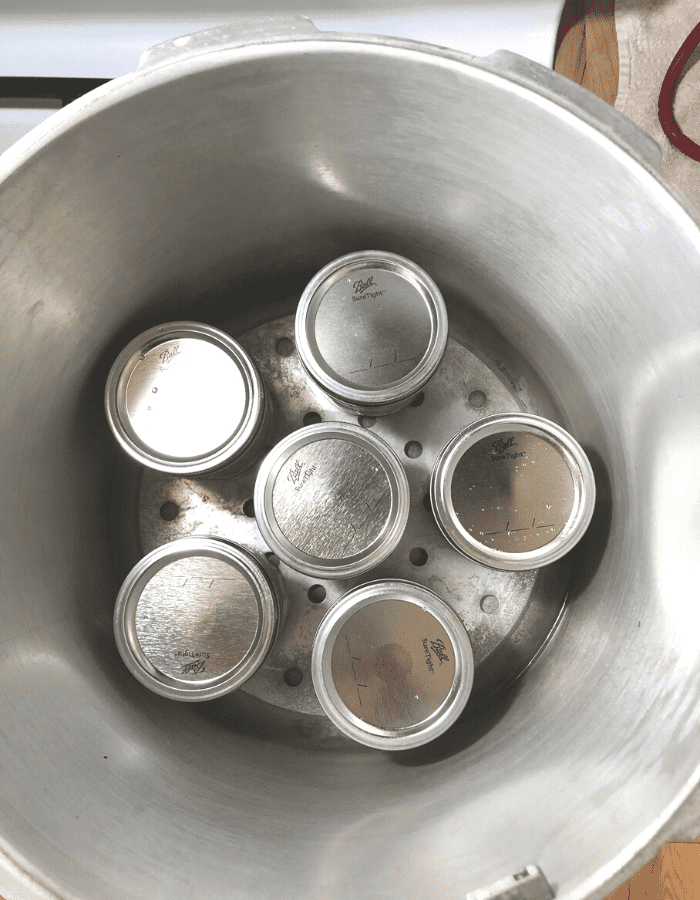
Place your jars in your pressure canner, and space them out so they won’t be banging into each other.
Place the lid on your canner and lock it into place. Leave the weight off the vent pipe, and turn the heat on medium.
When the water starts to boil, allow the steam to escape through the vent. Set your timer for 10 minutes when you see steam coming out the vent in a steady stream.
After 10 minutes, put the weight on the vent and allow the canner to come up to the correct pressure for your altitude.
Can raw chicken at the right pressure.
Here’s the Ball Low-Acid Altitude Adjustment Chart:
| ALTITUDE (feet) | WEIGHTED- GAUGE CANNER (pounds of pressure) | DIAL- GAUGE CANNER (pounds of pressure) |
| 0 to 1,000 | 10 | 11 |
| 1,001 to 2,000 | 15 | 11 |
| 2,001 to 4,000 | 15 | 12 |
| 4,001 to 6,000 | 15 | 13 |
| 6,001 to 8,000 | 15 | 14 |
| 8,001 to 10,000 | 15 | 15 |
When your pressure canner is at the correct pressure for your altitude, start your timer and keep an eye on your dial-gauge, or keep an ear out for your weighted-gauge.
If you’re using a weighted-gauge pressure canner, you want to listen for four “jiggles” per hour. Adjust the heat as necessary, and keep an eye (or ear) on your pressure.
If your pressure canner goes above pressure, that’s fine. However, if it ever drops below the target pressure, you need to bring the canner back up to the correct pressure and restart your processing time.
Can raw chicken for the correct amount of time.
Here’s the Ball recipe processing time for poultry (chicken, duck, goose, turkey or game birds):
| PINT JARS (minutes) | QUART JARS (minutes) | |
| BONE-IN POULTRY | 65 | 75 |
| BONELESS POULTRY | 75 | 90 |
You can use boneless poultry but it’s also acceptable to use bone-in poultry. Example: canning raw chicken drumsticks.
5. Cool your jars overnight.

When you have processed your jars for the correct amount of time, turn the heat off and allow the pressure to return to zero naturally. Do not jiggle the weight to vent the steam quicker, which could crack your jars.
Once the pressure is zero, wait 2 minutes longer. Then open the vent and remove the canner lid with some oven mitts.
Be careful to open the lid away from you so that the steam doesn’t burn you.
With the lid off, wait 10 more minutes, and then remove your jars with a jar lifter and set them on a soft kitchen towel away from little hands.
Space your jars out so that air can move freely between the jars to cool them down. Leave the jars alone overnight so that they cool all the way down.
Inspect your jars the next day.
Take the bands off and make sure the lids are sealed tight. Wipe the jars, if necessary.
Don’t ever store your canned foods with the bands on. If you do and one of the lids pops off, the band may create a false-seal, which would make the food hazardous to feed your family.
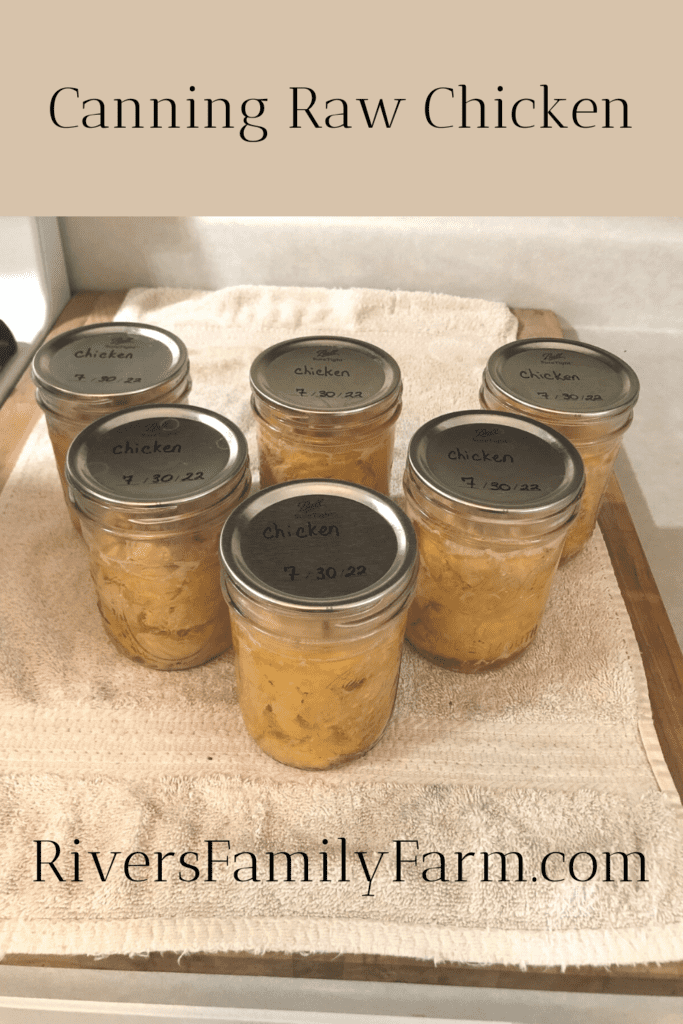
This next step is crucial. Label your jars with the contents and the date.
Home-canned food is best if used within 12 months. After 12 months, the nutrition starts to degrade. Nevertheless, as long as the lids are still sealed tight, the food will be safe to eat.
For the canning equipment and cookbooks I use, head on over to my Shop page and browse!
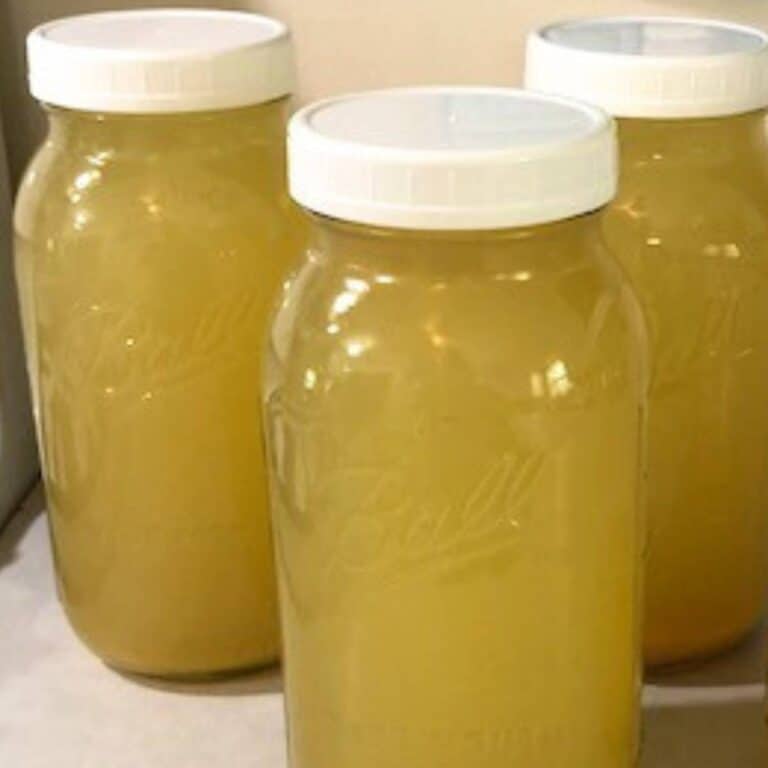
Once you’re done canning your raw chicken, make delicious, nutritious, homemade chicken bone broth! I wrote a post about how I use all the meat and vegetable scraps to make my own chicken bone broth.
I want to encourage you to give it a try! The flavor of homemade broth is more superior than anything you can purchase in a store.
Leave me a comment.
Do you enjoy canning? Please leave me a comment and let me know if you’re a beginner or seasoned canner!
Pin it for later!


I raw packed boneless skinless chicken thighs I cut into 1” pieces. I pressure cooked as instructed. One of the pint jars seemed only half full when finished. Also some liquid seeped into the canning water I noticed.
Should the 1/2 full jar be good to eat if the seal seem very good?
If your canning lid seal is strong, I’d say that your jar of canned meat will be just fine. Meat does tend to shrink during the canning process. However, I am a little bit concerned if your jar is half full of air that may lead to a seal failure in the future. I’d keep an eye on that jar to re-check the seal. As long as the seal is strong and you processed your meat for the correct amount of time for your elevation, it’ll be fine. If you’re concerned at all or if the seal does break, you can immediately refrigerate that jar and use it the next time you want to have chicken. I hope this helps!