Is buttermilk low carb? Plus, how to make buttermilk!
Find out how to make buttermilk and learn if buttermilk is low carb!
Learning how to make this essential ingredient is super easy and simple and it’s one of the first cultured dairy products that I learned how to make. From pancakes to homemade ranch dressing, buttermilk is a versatile ingredient that you’ll want to have in your kitchen.
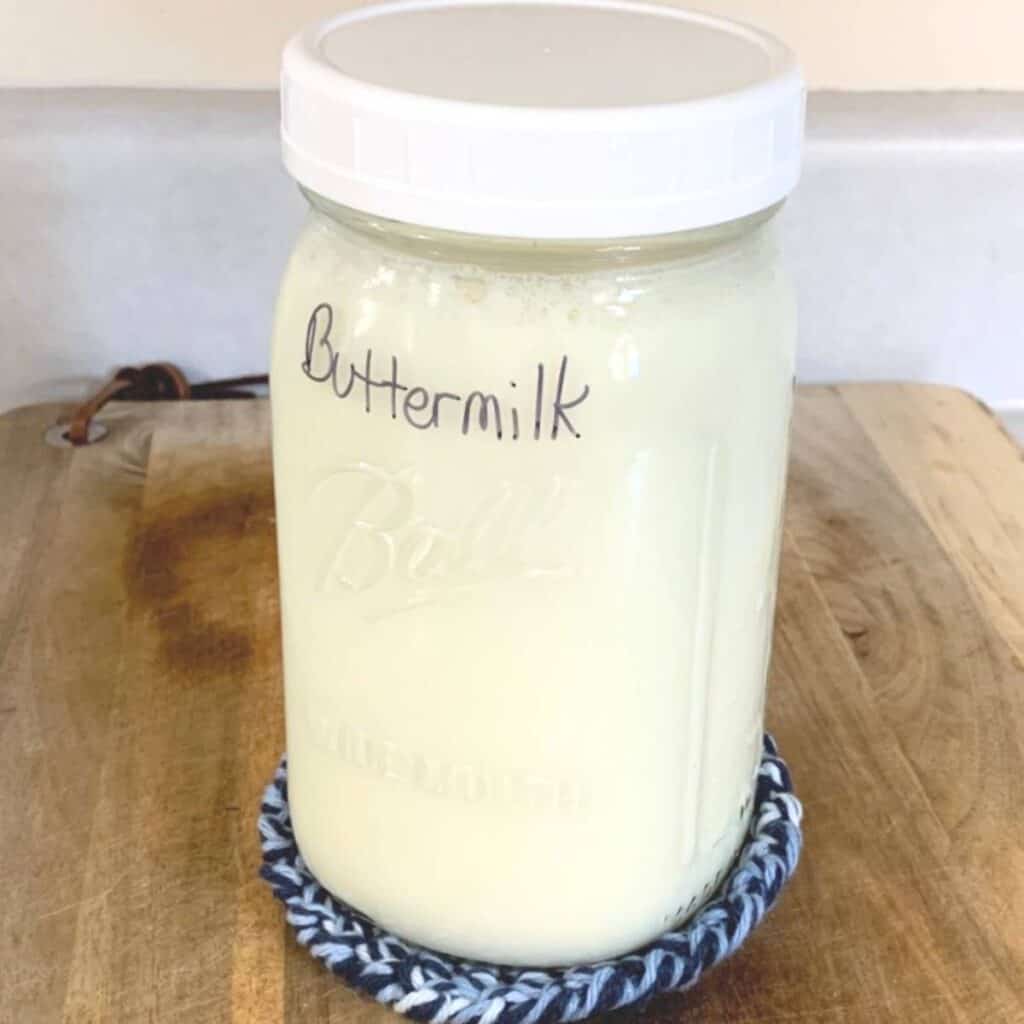
Buttermilk literally used to be the leftover liquid after churning butter. However, manufacturers don’t produce it that way anymore. Read about the history of buttermilk if you want to learn more. It’s fascinating!
You don’t have to make tons of butter to get your buttermilk, although I do save mine when I DO make homemade butter.
Is buttermilk low carb?
According to the USDA Food Data Central database, buttermilk is generally low in carbohydrates. About 3.5 ounces (100 grams) of low fat buttermilk has 4.81 grams of carbs, most coming from lactose (3.66 g). If you are on a low-carb diet like the keto diet, buttermilk is fine.
This post contains affiliate links, which means I make a small commission at no cost to you if you place a qualifying purchase through any of the links. Read my full disclosure here. Thanks for your support!
Instructions for How to Make Buttermilk
It’s very easy to make your own buttermilk. In fact, you can make it once and never run out again!
Ingredients you’ll need
Buttermilk with active and live cultures – This is your starter so that your finished buttermilk will have the same taste and texture as the original.
Make sure to get the freshest and smallest container that’s economically priced. You don’t need much to get started. I look at the expiration date to make sure I get the freshest option available.
Milk – You can use pasteurized milk or raw milk that you pasteurize yourself. You can also use 2% or whole milk, but I would stay away from the less fatty milks if your end goal is to have thick buttermilk.
If you have your own dairy animal, make sure that you pasteurize your milk and let it cool down some before you use it.
Tools you may need
Glass jar with tight fitting lid – All you really need to make buttermilk is a glass and a lid. Just judge your measurements, add the lid, and shake it well!
I like to use quart mason jars with the measurement lines on the sides. They come with lids but I prefer to use the plastic screw-on lids that are made to fit mason jars.
Measuring cup – If you’re using a mason jar that already has measurements on the side, that will work.
Pot – This is not necessary if you will be using pasteurized milk instead of raw milk for this recipe.
Thermometer – A thermometer is also not required if you’re using pasteurized milk.
Spoon – You’ll need to mix your milk and buttermilk. A spoon works great but you can also use a wire whisk or pretty much anything else that you can stir with.
Process to make buttermilk
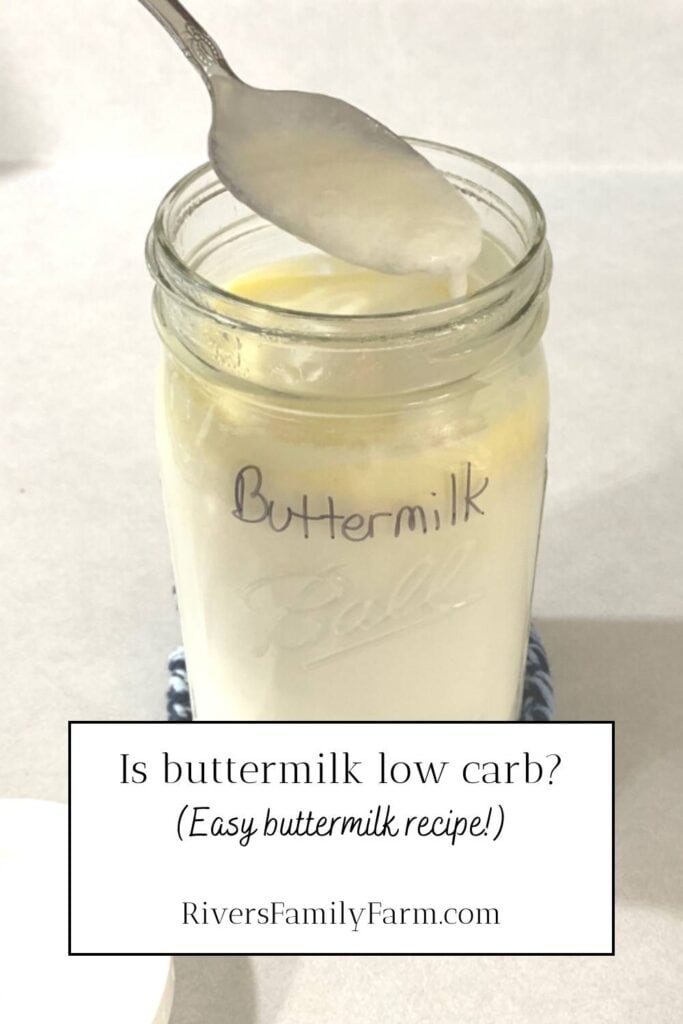
The first step in making your own buttermilk is to pour a half cup of grocery store buttermilk into your clean jar. That’s your starter culture.
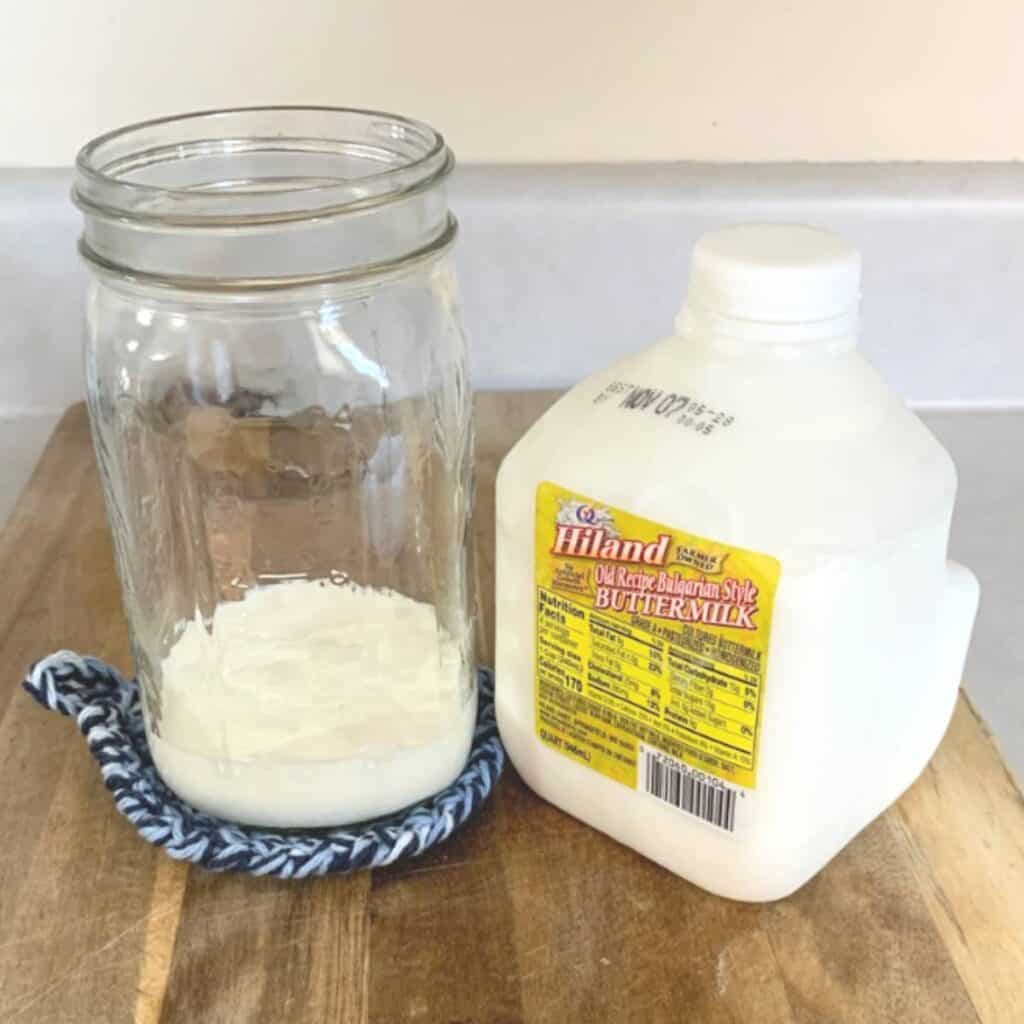
If you don’t have a dairy animal and will be using milk purchased from the grocery store, go ahead and add your pasteurized milk to your jar to fill it up to almost full.
If you are using raw milk:
If you do have your own dairy animal, pasteurize enough milk to fill up the rest of your glass. You’ll do this by heating up your raw milk slowly until it reaches 161°F (72°C).
Then take it off the heat and cool it down quickly in a clean sink with ice and water in the bottom. Stir the milk and skim off the “skin” that forms on the top. You’re done when the temperature drops to 110-115°F (43-46°C).
I wrote a helpful blog post on how to pasteurize raw milk if you want to see all the steps and pictures.
The reason you should use pasteurized milk is because raw milk already has beneficial bacteria that may compete with the buttermilk culture. You want to start with a clean, pasteurized milk so that the culture you add will reproduce true to form.
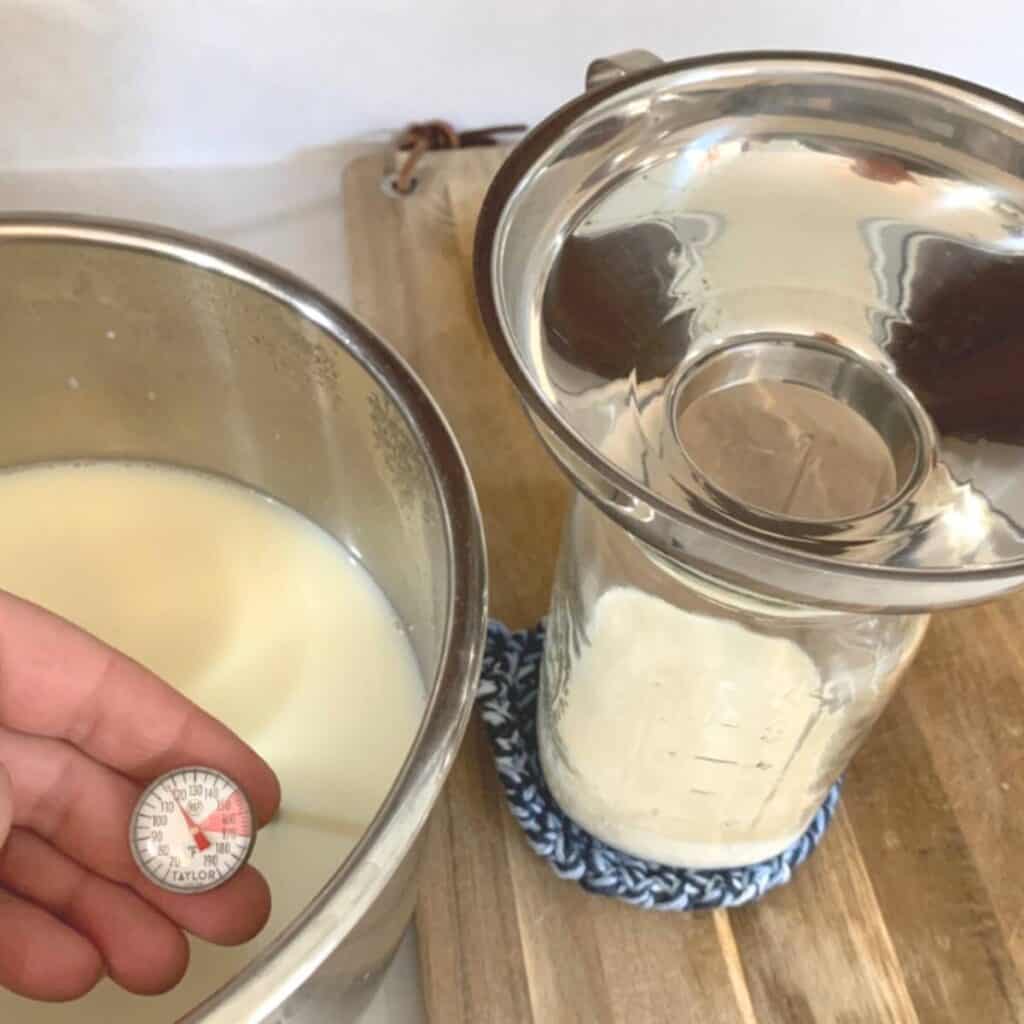
Then stir the buttermilk and pasteurized milk together, put a lid on it, and set it out on your counter for anywhere from 8 to 24 hours. The time it takes will depend on the temperature of your kitchen. If your kitchen is warm, it will speed up the culturing process.
Checking your buttermilk
You can start checking your buttermilk after 8 hours by giving it a stir to see how thick it is.
And of course you can smell and taste it. Your finished buttermilk should have the same tangy smell and taste as the one you purchased from the grocery store.
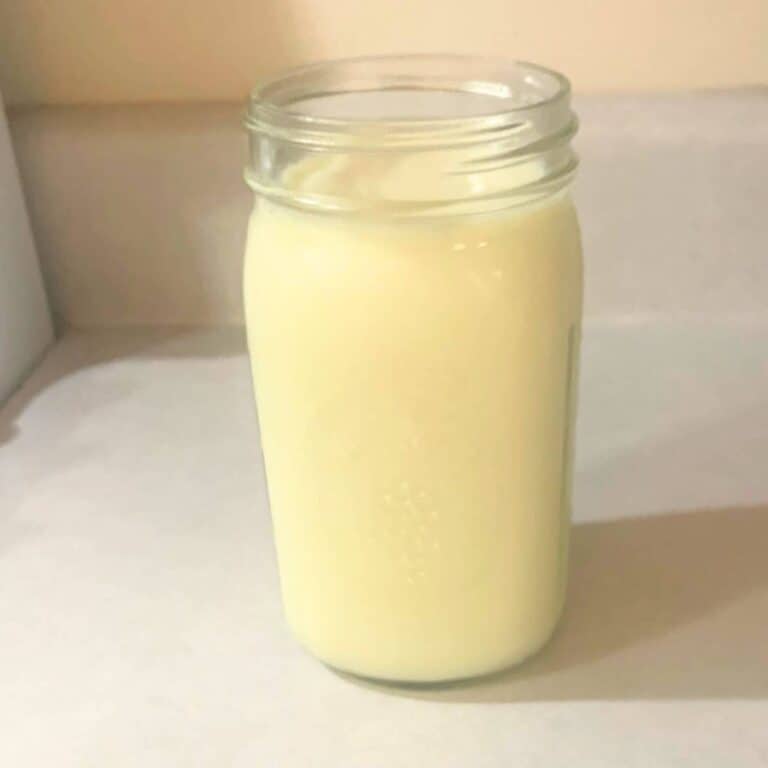
It should be thick and a little bit lumpy.
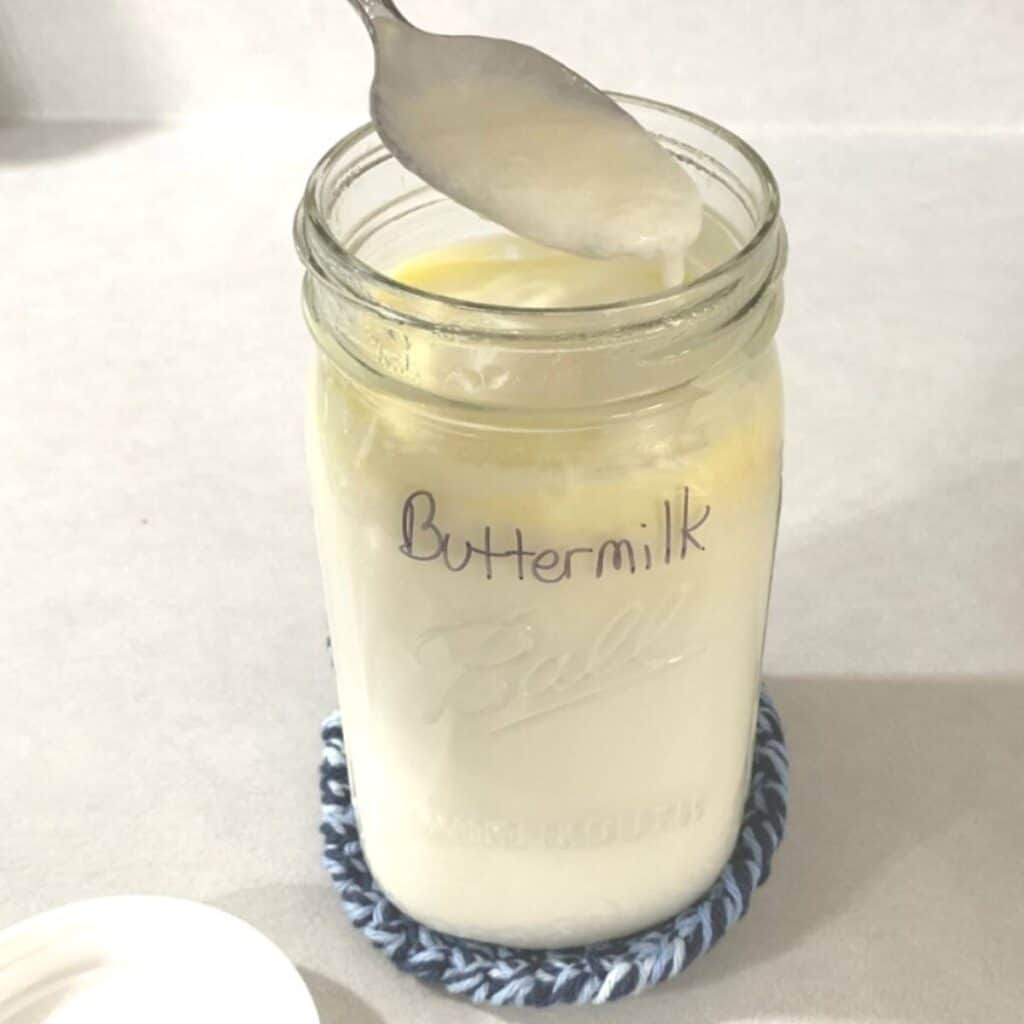
And that’s all there is to it! Now you can make your own homemade buttermilk any time you want.
Label and put a date on your jar so you can keep track of how long it’s been in your fridge. If you don’t use it all within a few weeks, you can store recipe-size portions in your freezer.
Save a Starter
I reserve a half cup of freshly made buttermilk in a small mason jar so that I can make a new batch when I need it.
It’s important to keep a starter going in your fridge if you don’t want to keep buying it from the grocery store. Also, label it along with the date so that you don’t forget about it.
Alternatively, you can just add pasteurized milk to your jar of buttermilk when it gets low, give it a shake, and let it sit out overnight. I know ladies who do this with a half-gallon jug of buttermilk when their supply starts running low. Use a clean jar each time, though.
Uses for Buttermilk
Use your buttermilk for homemade biscuits, pancakes, homemade salad dressings, and even for soaking your wild game and organ meats.
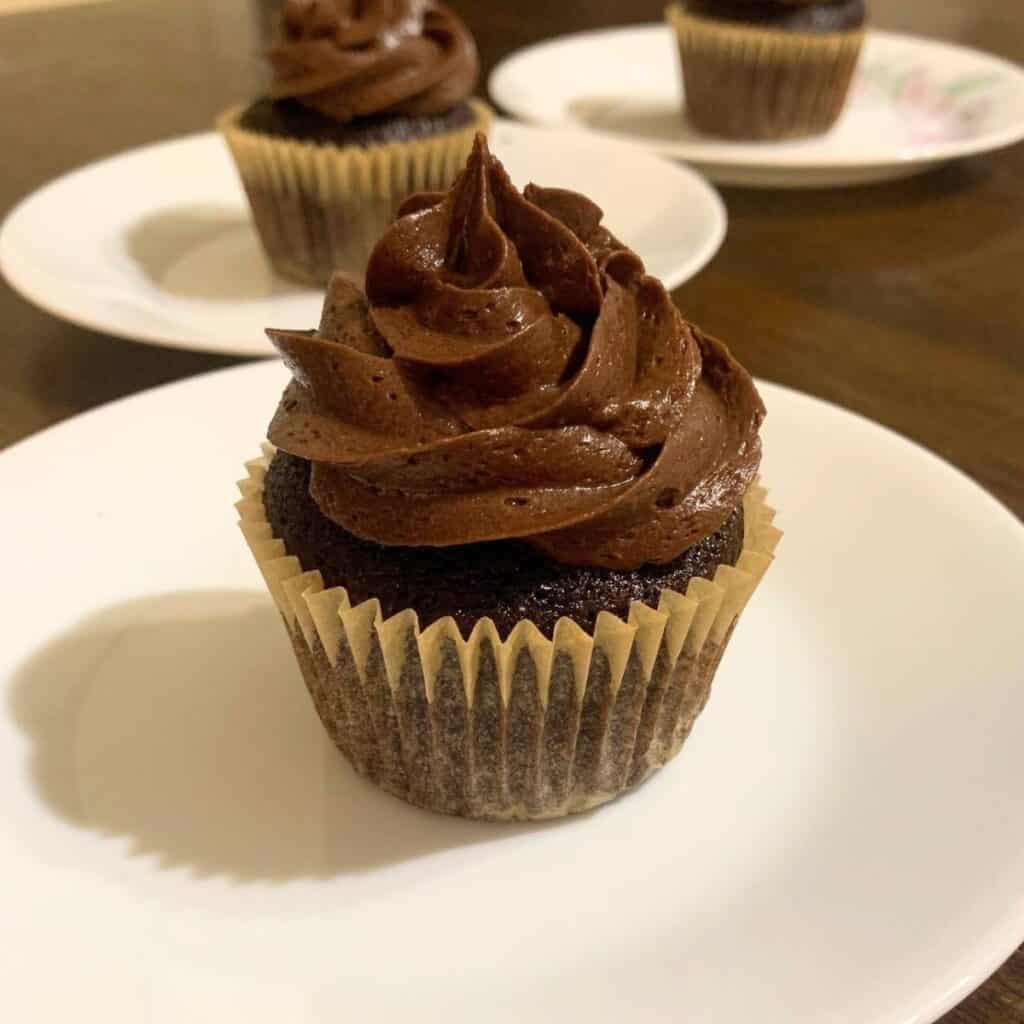
You can also dip your meat in buttermilk before you batter and fry it. It’s also great in baked goods like these delicious chocolate cupcakes!
Did you know that pouring buttermilk down your toilet is good if you have a septic tank? It regulates the biology so that your septic system never gets backed up.
But you have to pour it down your drain every month or so. I need to be better about doing that at our house to prevent any potential future problems!
And just in case you are like me and try to pour buttermilk down your sinks…DON’T! I think I accidentally clogged our sink pipe doing that. Just flush it down the toilet instead.
Buttermilk
Equipment
- glass quart jar with lid
- measuring cup
- spoon
Ingredients
- 1/2 cup store bought buttermilk with active and live cultures
- 3 cups pasteurized milk, 2% or whole milk
Instructions
- Pour 1/2 cup of store bought buttermilk in a glass quart jar and fill the rest of the way with pasteurized milk.
- Stir well and set it out on your counter anywhere from 8 to 24 hours. Once buttermilk reaches the desired tanginess, put a lid on it and store it in your refrigerator. Be sure to label it and put a date on it. Fill a separate smaller jar with starter culture so that you have it for making your next batch of buttermilk.
Shop This Post!
Ball Wide Mouth Quart Jar Set of 12
Wide Mouth Mason Jar Lids, Pack of 16
Other Posts You May Enjoy
Easy Homemade Butter: How to Make and Store It
How Long Can Cow Milk Sit Out?
Pin It For Later!

I was under the impression that liquid leftover after making butter from raw cream is the buttermilk. Is this not the case?
You’re right; this tutorial was to show how to make your own cultured buttermilk at home without first making cultured butter. If you only have milk and some store-bought cultured buttermilk, you can have perpetual buttermilk going week after week as long as you keep making fresh batches of buttermilk from your most-recent batch by just adding in more milk.
If you would like to make your own butter and have buttermilk leftover from that process (the old-fashioned way that I love), I go into all the details in this post: https://riversfamilyfarm.com/easy-homemade-butter-how-to-make-and-store-it/
Here’s a pro tip: Buttermilk can also be stored in your freezer so that you always have some on hand!